
How to Create a Year in Review Photo Book (Without Losing Your Mind!)
Feeling overwhelmed by the thought of creating a Year in Review photo book? Take it one step at a time! This guide breaks down the process into easy, doable steps so you can turn your favorite memories into a beautiful keepsake.
The idea of making a Year in Review photo book can feel a bit...daunting. With a year's worth of photos scattered across your phone, computer, and maybe even a few in the cloud, where do you even start? But trust me, it's easier than it seems. Like any big project, it's all about breaking it down into manageable steps. So, grab a cup of coffee (or wine—no judgment here) and let's get started!
(and remember, these steps don’t have to happen all at once. Do 1 a day, or 1 a week….make it doable for you! It typically takes me a month to put this together!)
Step 1: Gather Your Photos
Start by collecting all your photos in one place. This means scrolling through your phone, digging through cloud storage, and maybe even scanning a few physical prints. Create a dedicated folder labeled "Year in Review 2024" to keep things organized. Don't overthink it—just grab the ones that make you smile! You can also create folders in your photo gallery app on your phone.
Step 2: Narrow It Down
Now that you've got all your photos in one place, it’s time to curate. Aim for quality over quantity. Pick the moments that truly mattered—family celebrations, vacations, everyday smiles, and even those perfectly imperfect moments. Remember, this book is about telling your story, not including every single photo.
Step 3: Choose a Theme or Layout
Decide if you want your book to follow a specific theme. Will it be organized by month? Events? Milestones? Some people prefer a chronological approach, while others like grouping by categories (holidays, travel, family time). Pick what feels right for you! I just go chronologically!
Step 4: Pick a Photo Book Platform
There are so many user-friendly platforms out there—Shutterfly, Chatbooks, Blurb, and more. Choose one that fits your budget and design preferences. Most of them have easy drag-and-drop templates that make the process painless. (Bonus tip: Sign up for their emails and wait for a promo codes!). I use Blurb- it integrates seamlessly with Adobe Lightroom where most of my photos are stored.
Step 5: Start Designing
Here comes the fun part! Upload your curated photos and start designing. Don't stress about making it perfect. Play around with layouts, backgrounds, and text. Keep it simple or get fancy—it's totally up to you. Pro tip: Mix in some candid shots with the posed ones for a more authentic feel.
Step 6: Add Captions and Stories
A picture is worth a thousand words, but a few captions can make your book even more special. Jot down funny quotes, special memories, or inside jokes. These little notes will bring your photos to life and make your photo book even more personal. I’ll be honest that I don’t have the time or patience for captions and I just let the photos speak for themselves!
Step 7: Review and Order
Before you hit "order," take a moment to review your work. Check for typos, photo placement, and overall flow. Maybe even have a family member look it over—fresh eyes catch things we miss! Once you're happy with it, go ahead and place that order. Future you will be SO glad you did.
Step 8: Celebrate Your Success
You did it! Creating a Year in Review photo book isn’t just about the end product—it’s about reflecting on all the wonderful moments you had. So give yourself a high-five (or another glass of wine), and get ready to relive those memories when your book arrives.
Don’t want to do this on your own? I’m available to design for you!
Mini Session vs. Full Session: How to Choose the Right Family Photo Experience
Wondering whether a mini or full family session is right for you? Here's a heartfelt guide to help you choose based on your family's needs, energy, and story.
Every family is at a different season of life and with unique needs. Part of my job is help you clarify what feels right for your story. Here’s a practical guide to choosing between a full private session and a mini session.
Location: Meaning Matters
Mini sessions: Say yes to simplicity. These are held at pre‑selected locations and are perfect when you want a good photo without fuss. A mini session is ideal for seasonal cards or a quick family update.
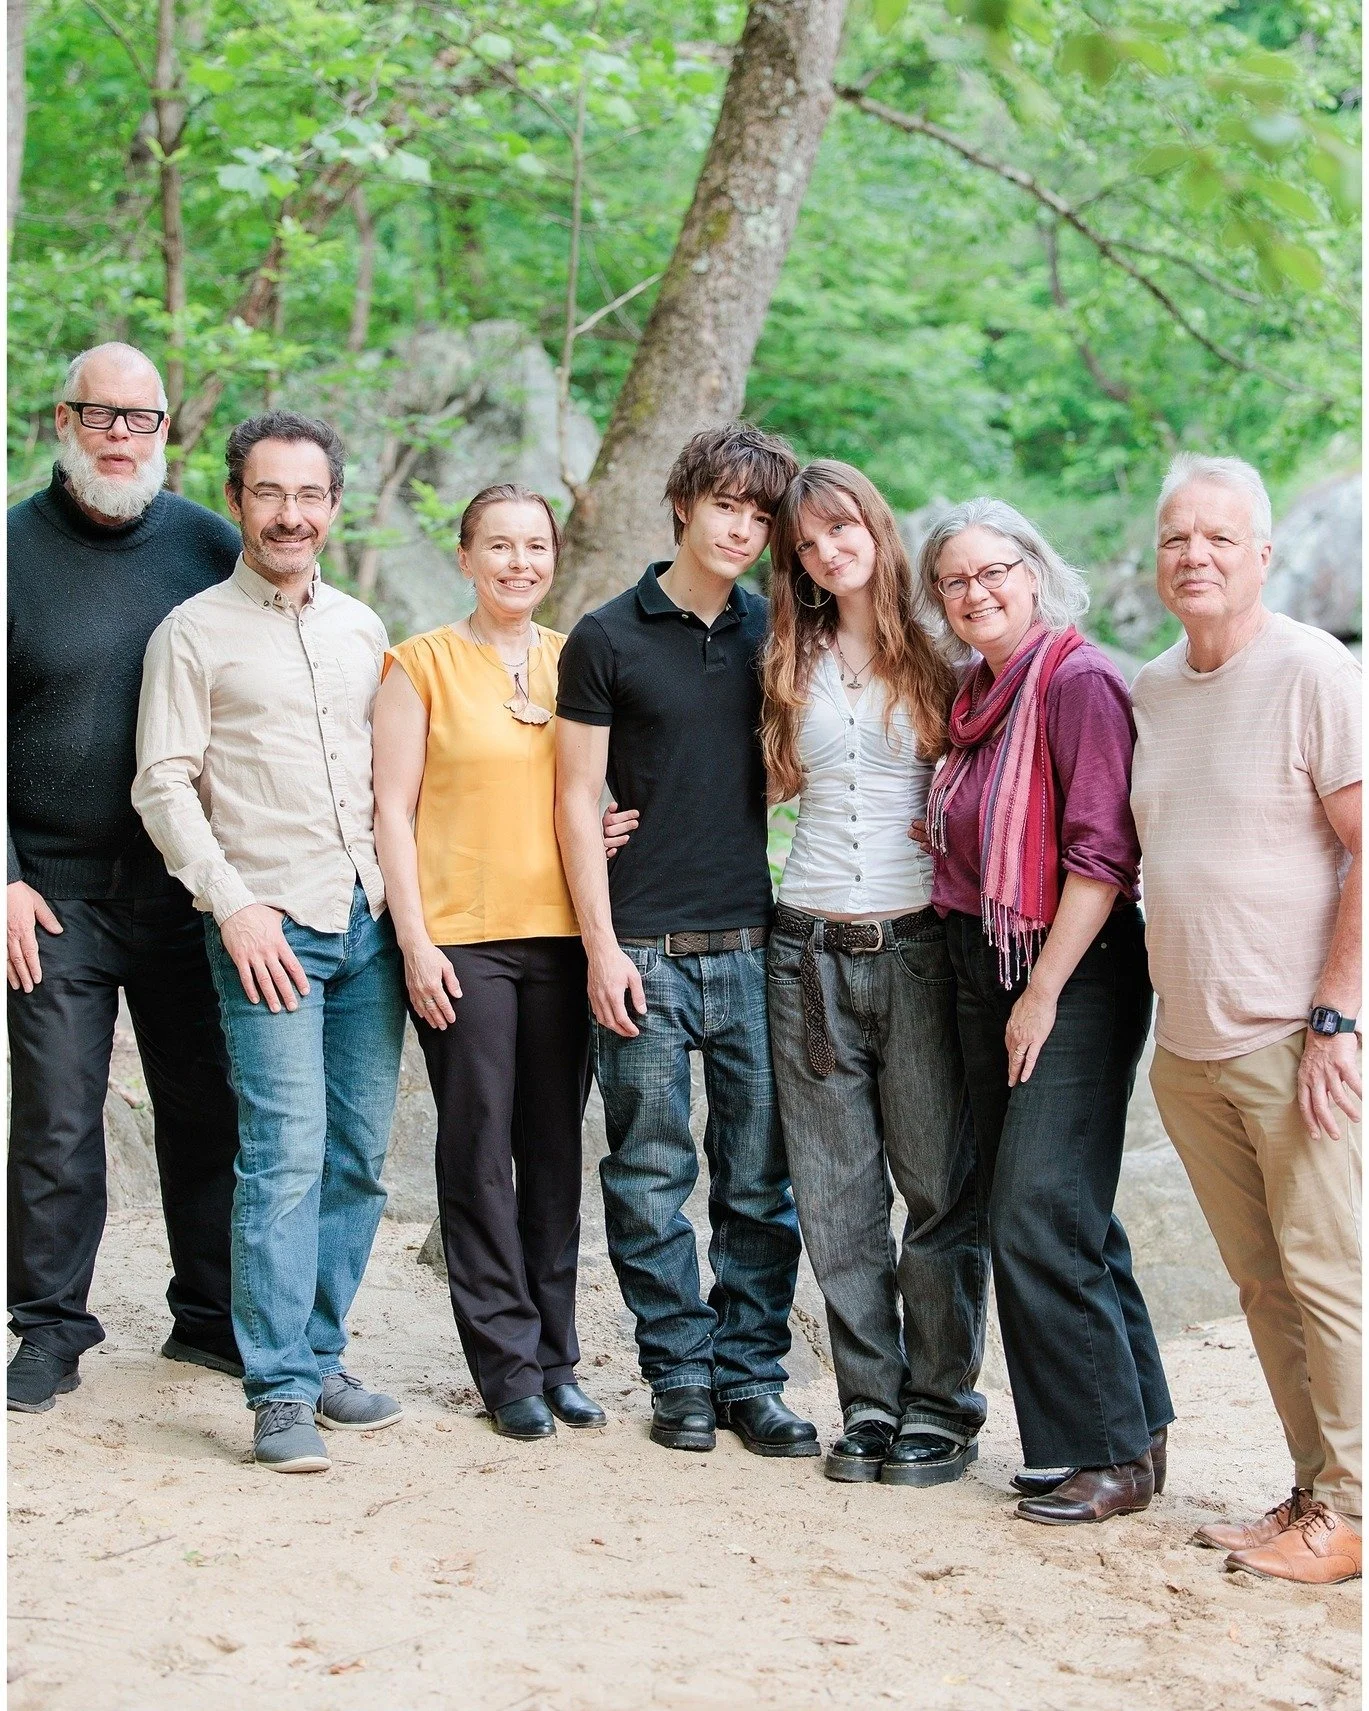
Full private sessions: Choose a spot that means something—your backyard, a favorite park, or a meaningful neighborhood. This choice adds comfort, convenience, and authenticity. It’s especially helpful when you want easy access to snacks, toys, or a change of clothes.
Warm‑Up Time: Let It Flow
With seasoned kids who know the drill, a mini session works great.
But for little ones who need time to adjust or families building trust, the flow of a full session allows for natural moments to surface—the shy smiles, the breath before a laugh, the shift into comfort. Many of the best images come at the end.
Age & Energy: Match the Moment
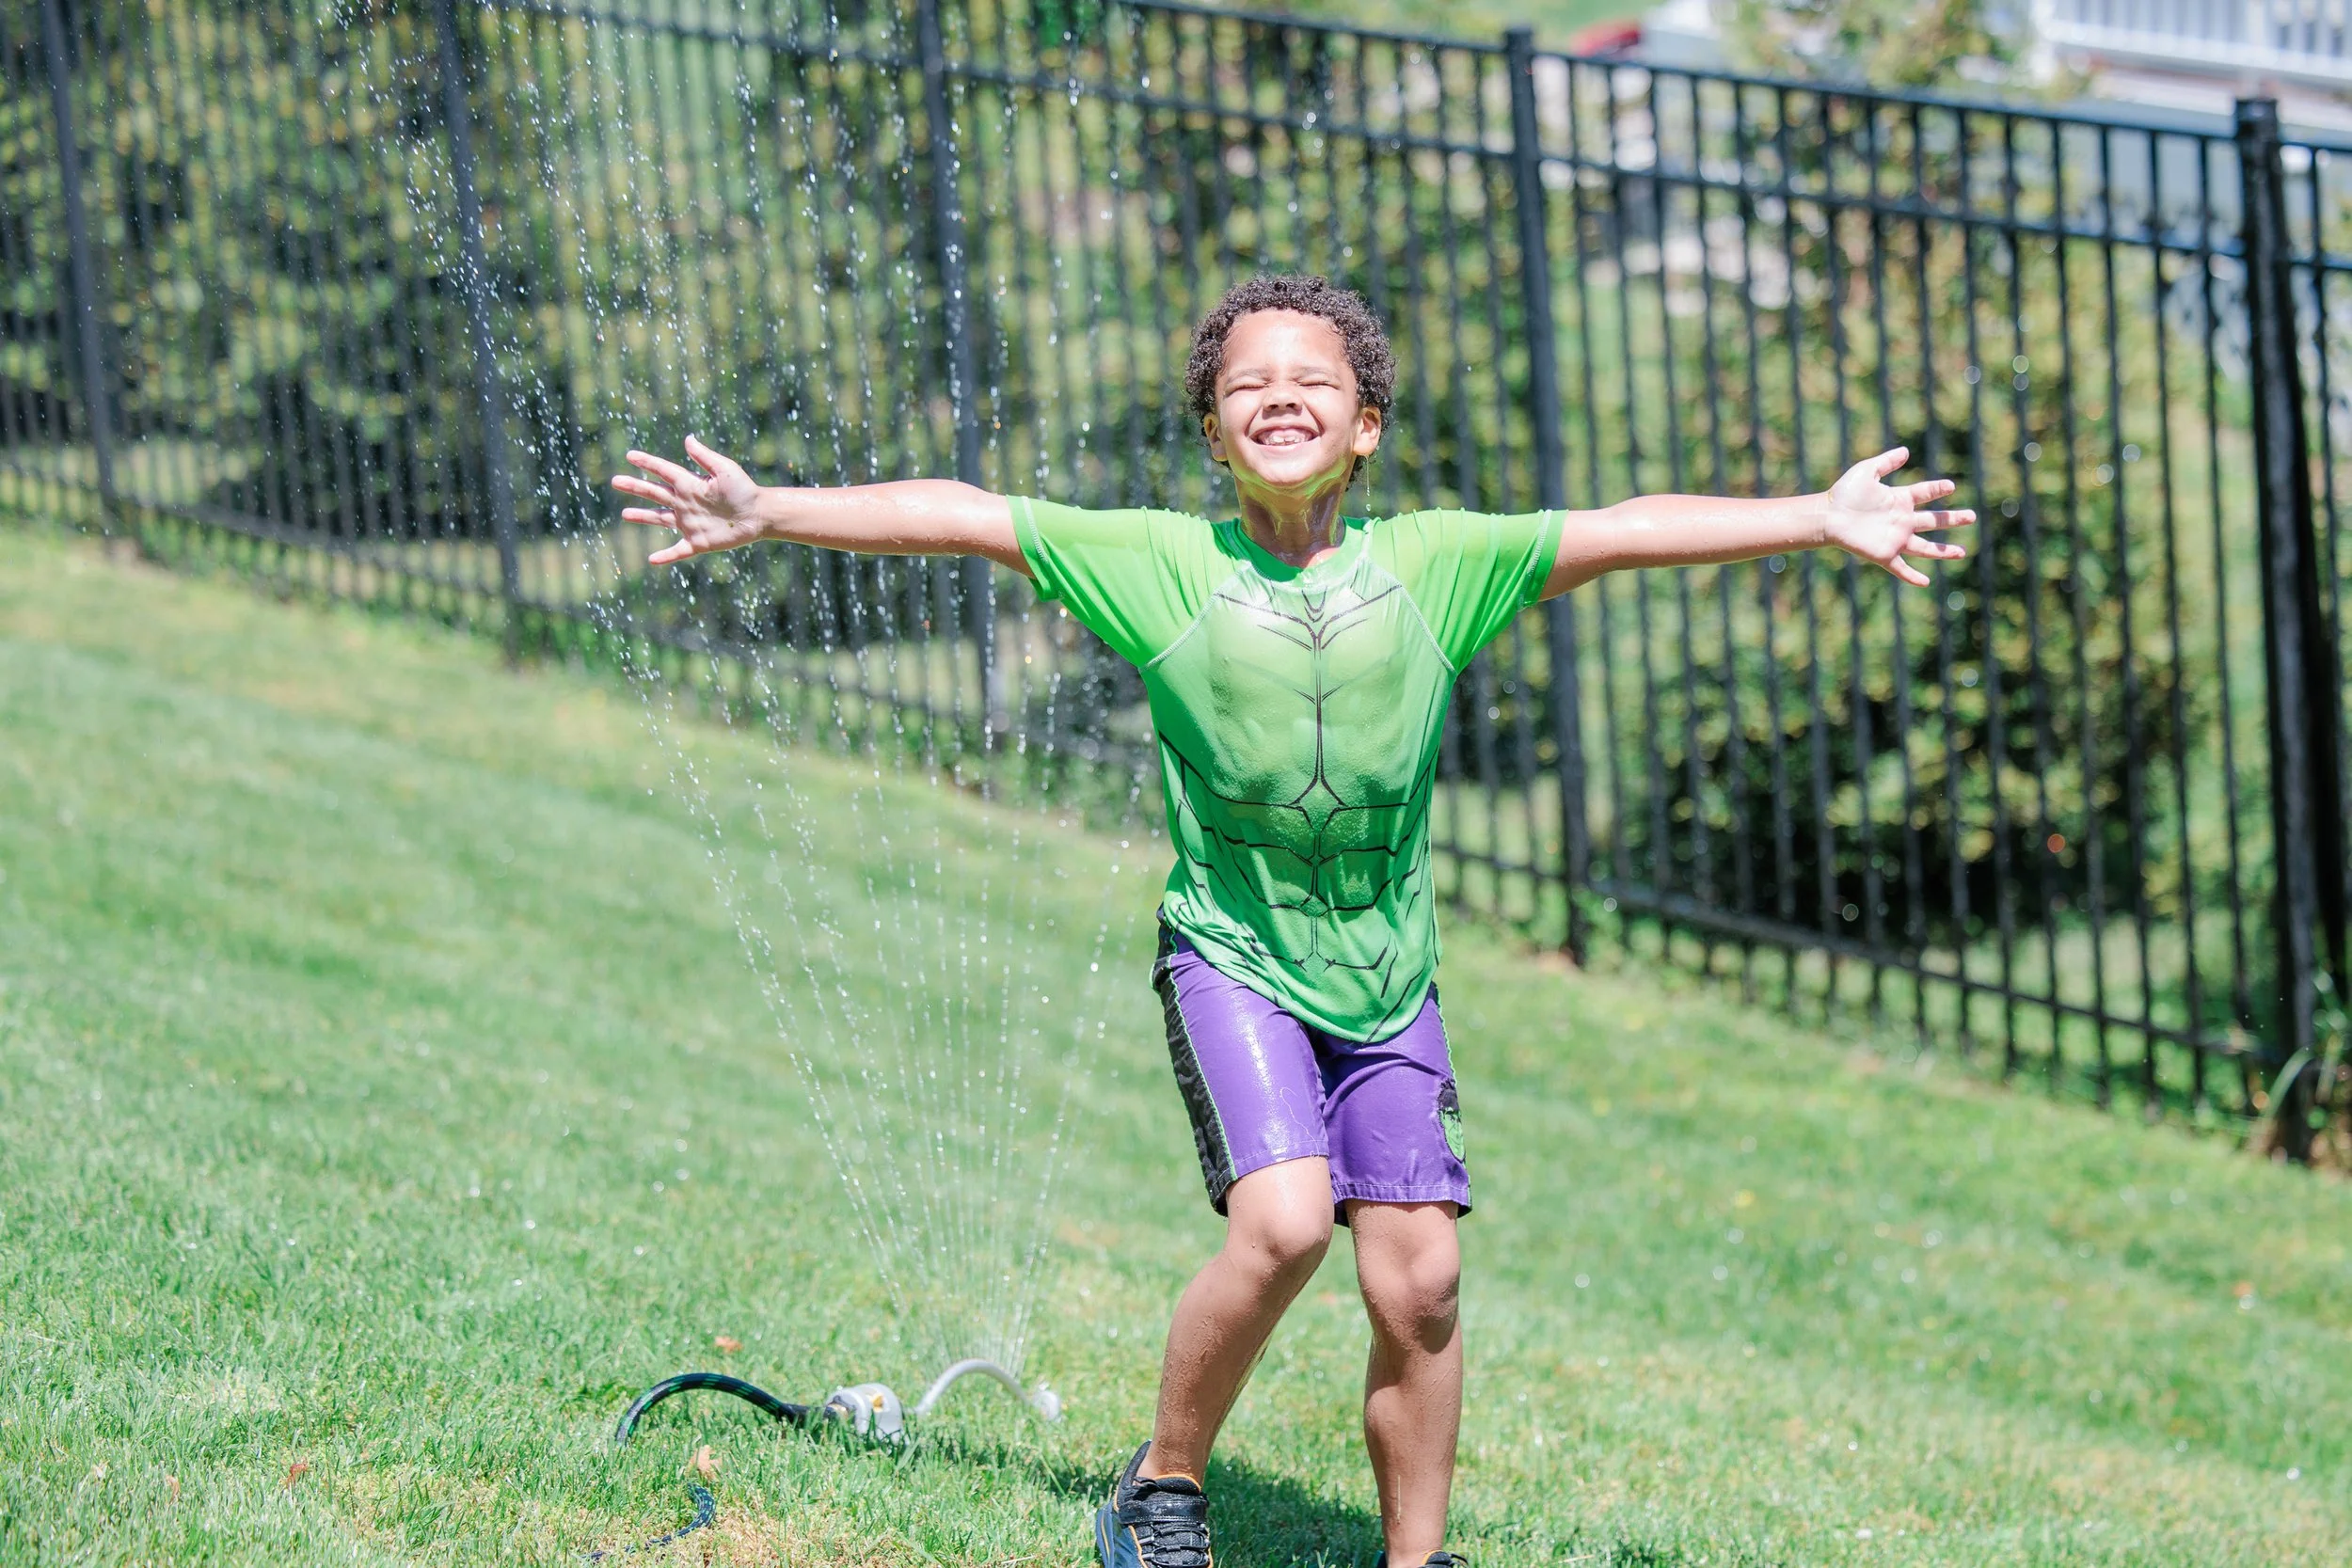
Toddlers and energetic kids: Keep it short and sweet with a mini session. These pockets of focus often fit their rhythm better.
Older kids or families who love leisurely pace: A full session lets you capture that spark, layered emotions, and real stories instead of surface smiles
Reliability: Time & Timing Matter
Mini sessions run back‑to‑back—lateness eats into your time. If arriving late feels likely, a private session offers needed flexibility.
If tight schedules or traffic stress are a factor, plan for a buffer so that the session doesn’t feel rushed.
Variety vs. Simplicity: What’s Your Goal?
Mini sessions are about one beautiful shot or two. Great if you want something simple for holiday cards or a quick refresh.
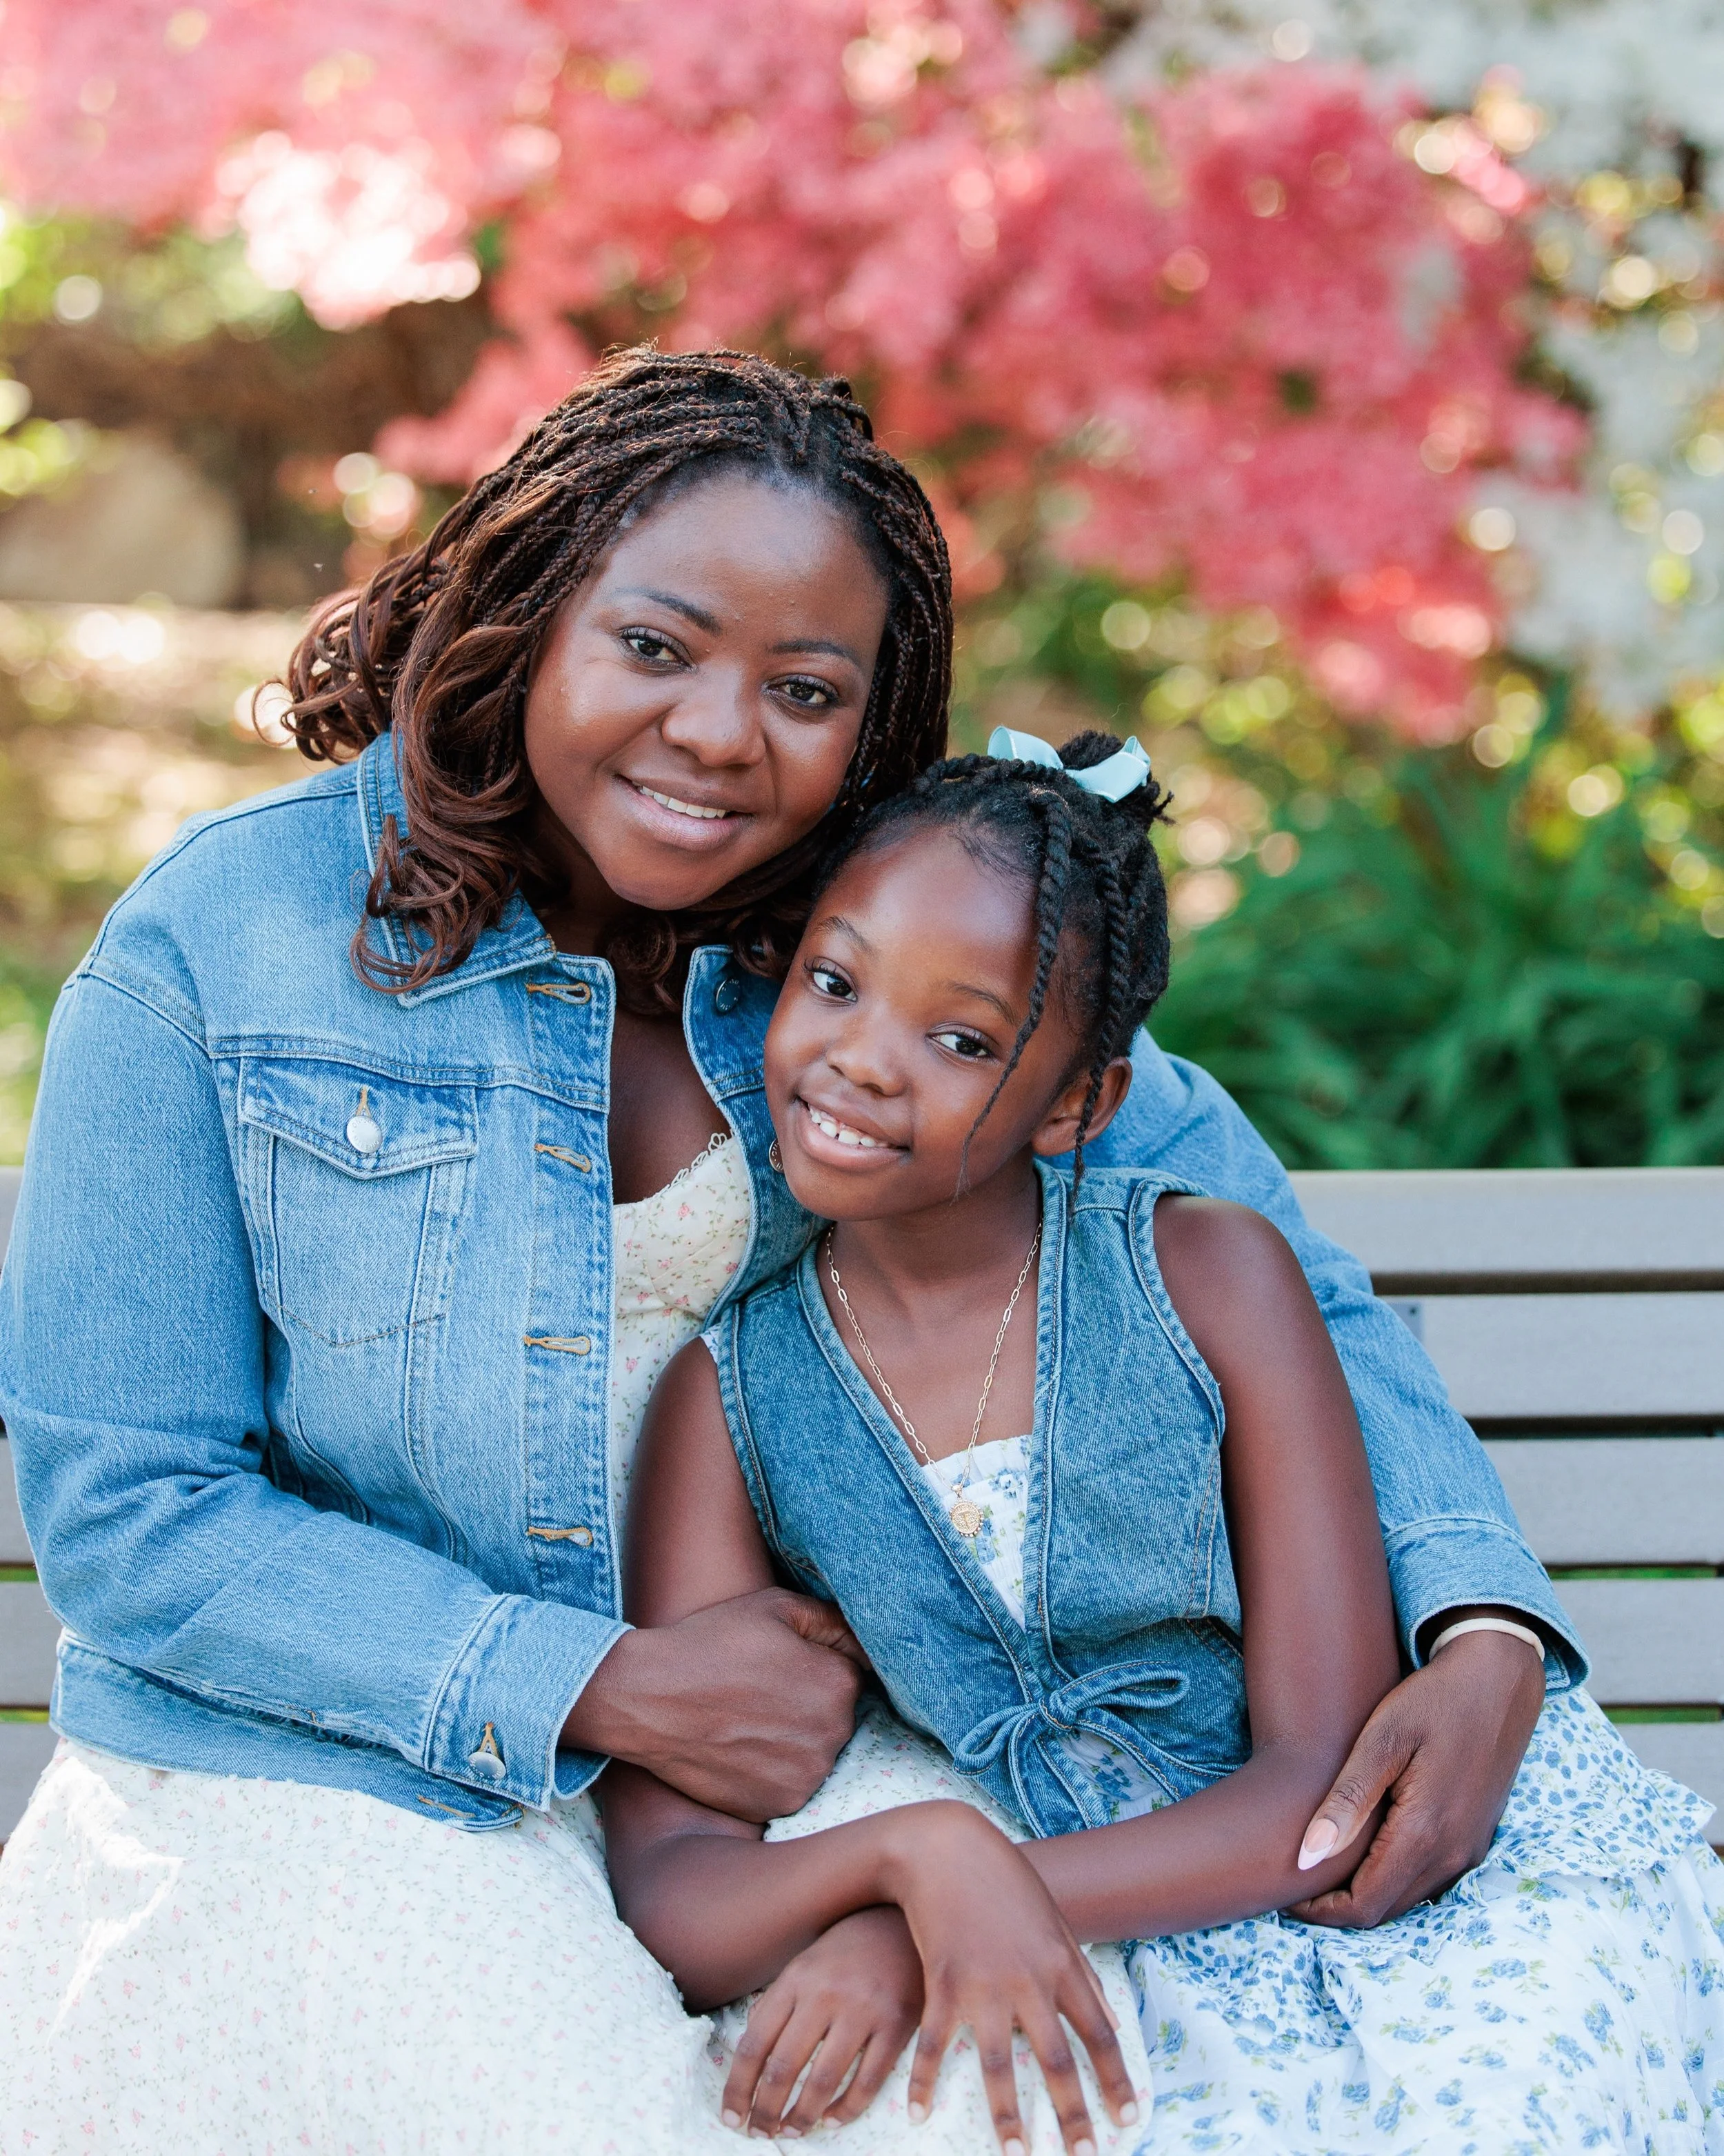
Full sessions give variety—different poses, sibling closeness, pauses in between interactions, and more candid storytelling. You get a richer mix of images to choose from.
Cost & Creative Value
Mini sessions offer an affordable way to get polished images without the investment required for a private session.
Full private sessions deliver dozens of hand‑edited photos over a longer time, capturing connections that last. Some families choose prints or albums afterward, making the extra variety worth it.
What’s New in 2025: Fresh Perspectives
STUDIO PERSONALITY PORTRAITS
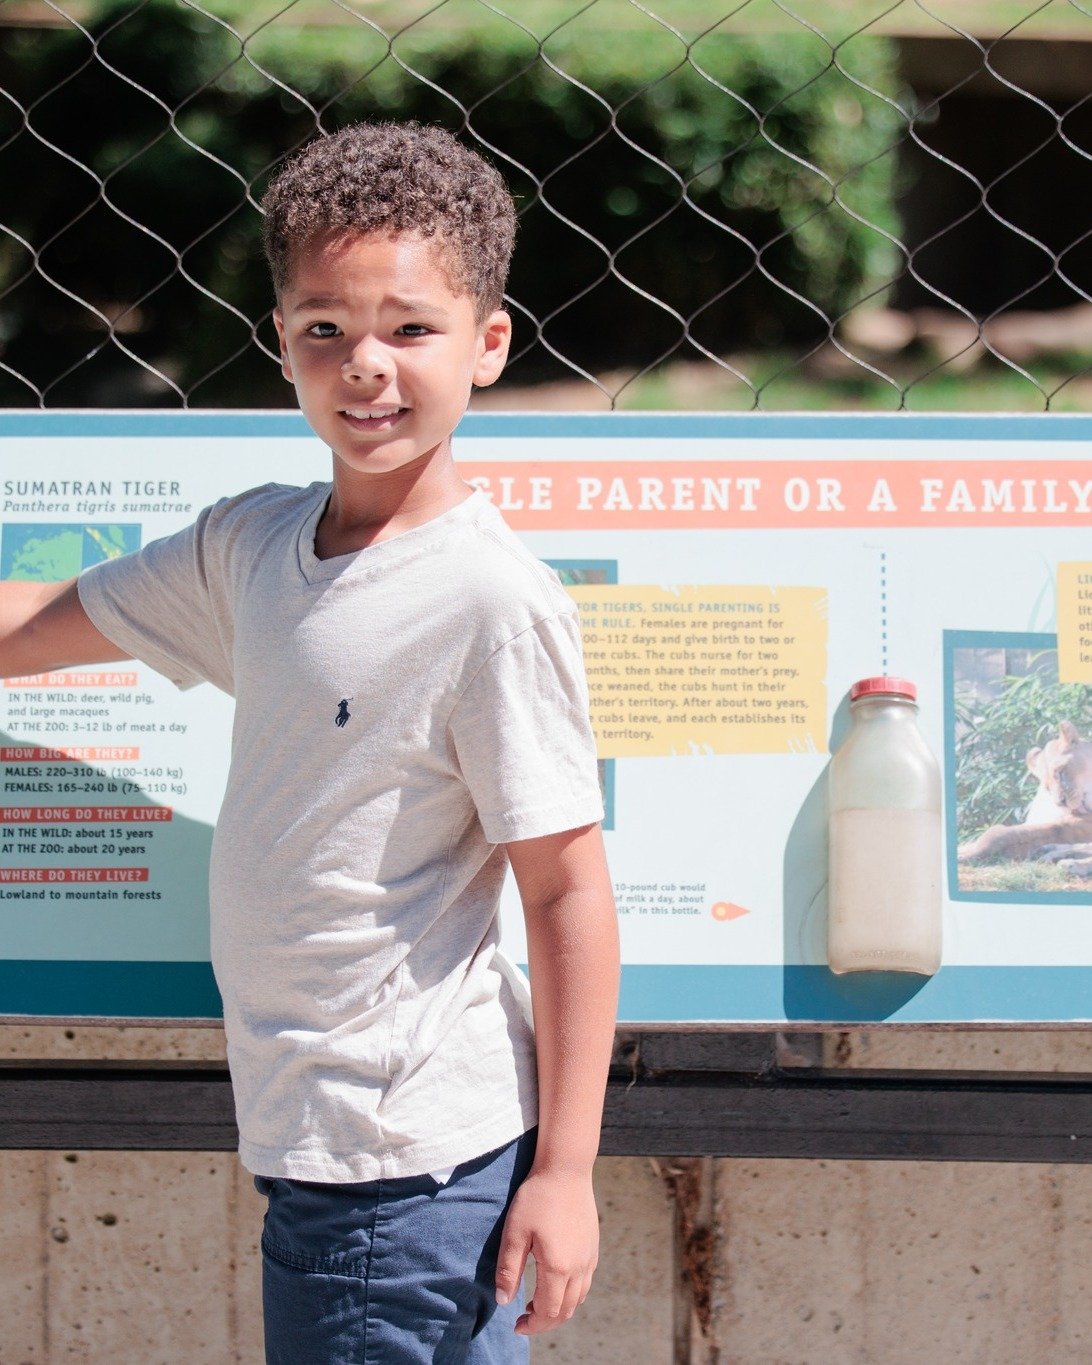
Looking for a super short session to just capture the kids being kids? Try a personality portrait in the studio. 5-10 minutes just getitng the silly, fun, raw personality of your kids. Quick, simple and silly.
STUDIO CHRISTMAS MINIS
15 minute quick family sessions in the studio with a festive setup. Keep it quick, intentially and don’t worry about the weather!
You know your family best. Think about what will feel smooth, stress‑free, and still beautiful.
If you’re still unsure, let’s chat. We can tailor something that’s just right for how you want to remember this moment in your story.

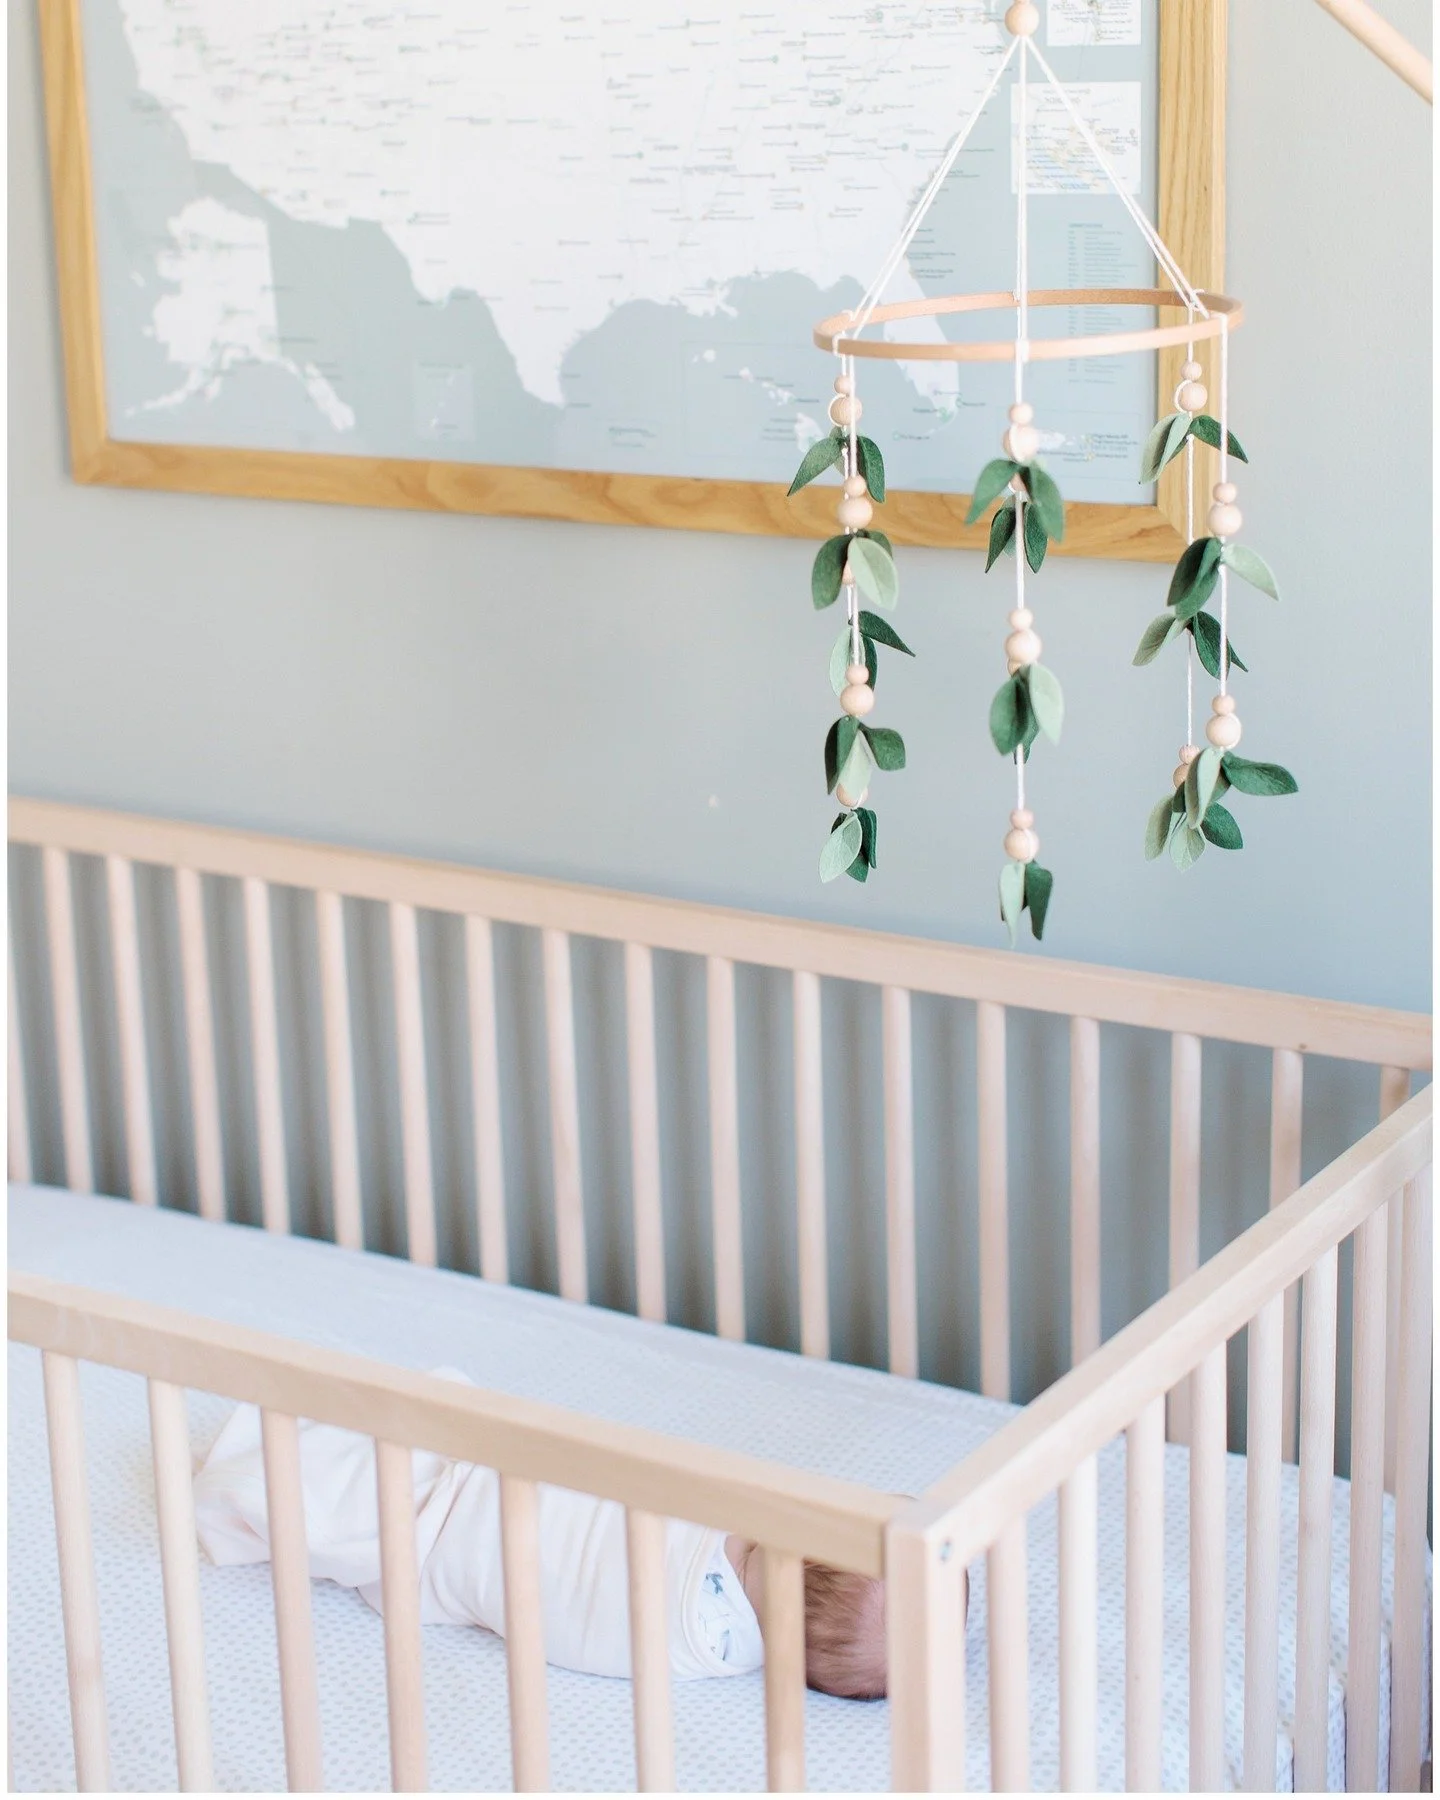
Baby Matthew | Bethesda Home Newborn Session
Meet baby Matthew! This sleepy little guy was a dream to photograph, and his big fur brother Clyde made the session extra special. Take a peek at their heart-melting newborn session at home.
Last week, I had the absolute joy of photographing baby Matthew during his newborn session, and this little guy was so peaceful! He snoozed his way through nearly the entire session.
Big dog brother Clyde was very curious about everything going on. From sniffing the gear to gently checking in on his new baby brother,
Thank you Jess and Evan for letting me into your home and trusting me with such a special moment in your lives! Welcome to the world, baby Matthew—you are so very loved already.