
How to Pose for Photos: What to Do With Your Hands, Feet and Body
How to Pose for Photos: What to Do With Your Hands, Feet and Body
One of the first things almost everyone says when they step in front of my camera is some version of, “I have no idea what to do with my hands.”
It usually comes right before, “I’m so awkward in photos.”
The good news is that you are not expected to arrive knowing how to pose. Most people do not spend much time thinking about the angle of their shoulders, where their weight is falling, or whether one hand looks more relaxed than the other. Those are things I watch and guide you through during a session.
Still, understanding a few basic posing tips can help you feel more comfortable when a camera comes out, whether you are having professional headshots taken, planning a branding session, or simply trying to look more natural in everyday photos.
I have even tested these posing tips on myself because there is a big difference between giving direction from behind the camera and experiencing how that direction feels. Some positions that look relaxed in a photograph can feel surprisingly deliberate while you are doing them. That does not mean you are doing anything wrong.
How to Pose Naturally in Photos
Natural posing does not mean standing exactly as you would while waiting in line at the grocery store. It means using small adjustments that still feel like you while helping your posture, expression, and body language translate well through the camera.
You do not need an elaborate pose. Usually, a shift of the feet, a slight turn of the body, and something comfortable to do with your hands are enough to make a noticeable difference.
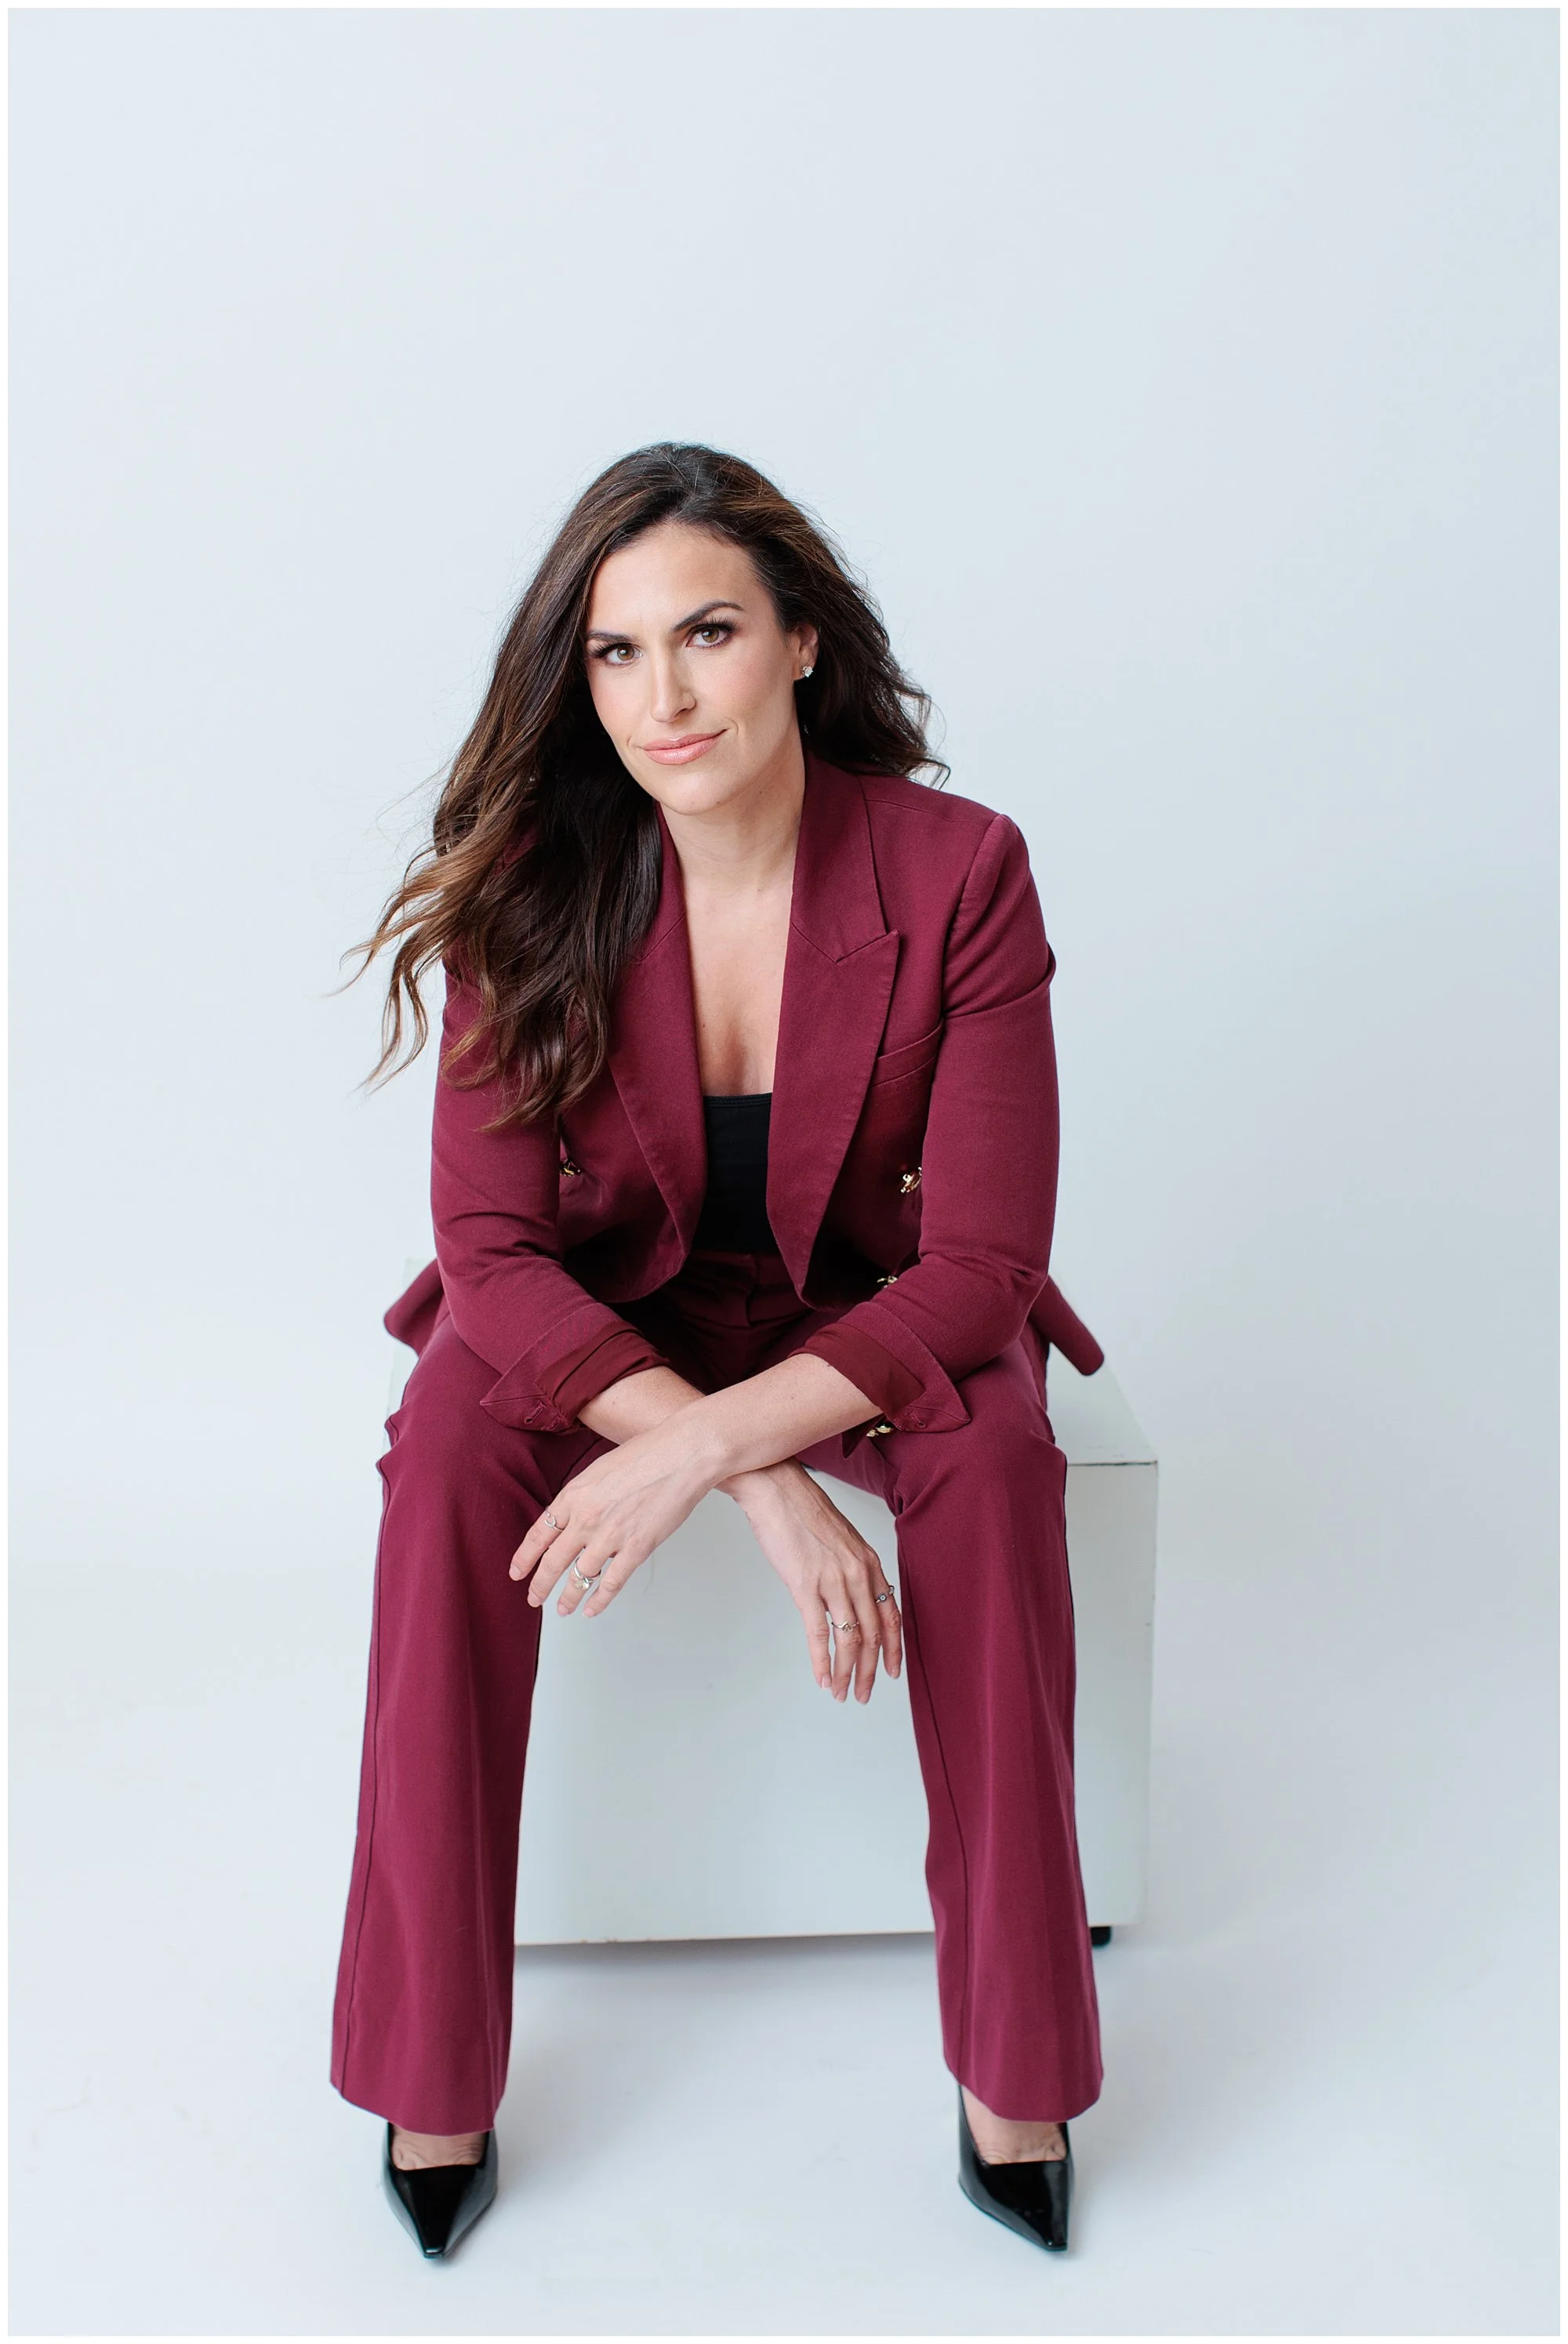
1. Start With Your Feet and Turn Slightly Away From the Camera
When people are unsure how to stand for a photo, they often plant both feet evenly and face the camera straight on. That can make the body feel rigid because everything is perfectly symmetrical.
Instead, turn your feet and hips slightly away from the camera, then bring your shoulders back toward it. You are not turning completely sideways, just creating a gentle angle through your body.
This gives the pose more shape and makes it easier to look relaxed. It also gives you somewhere to shift your weight, which brings us to the next step.
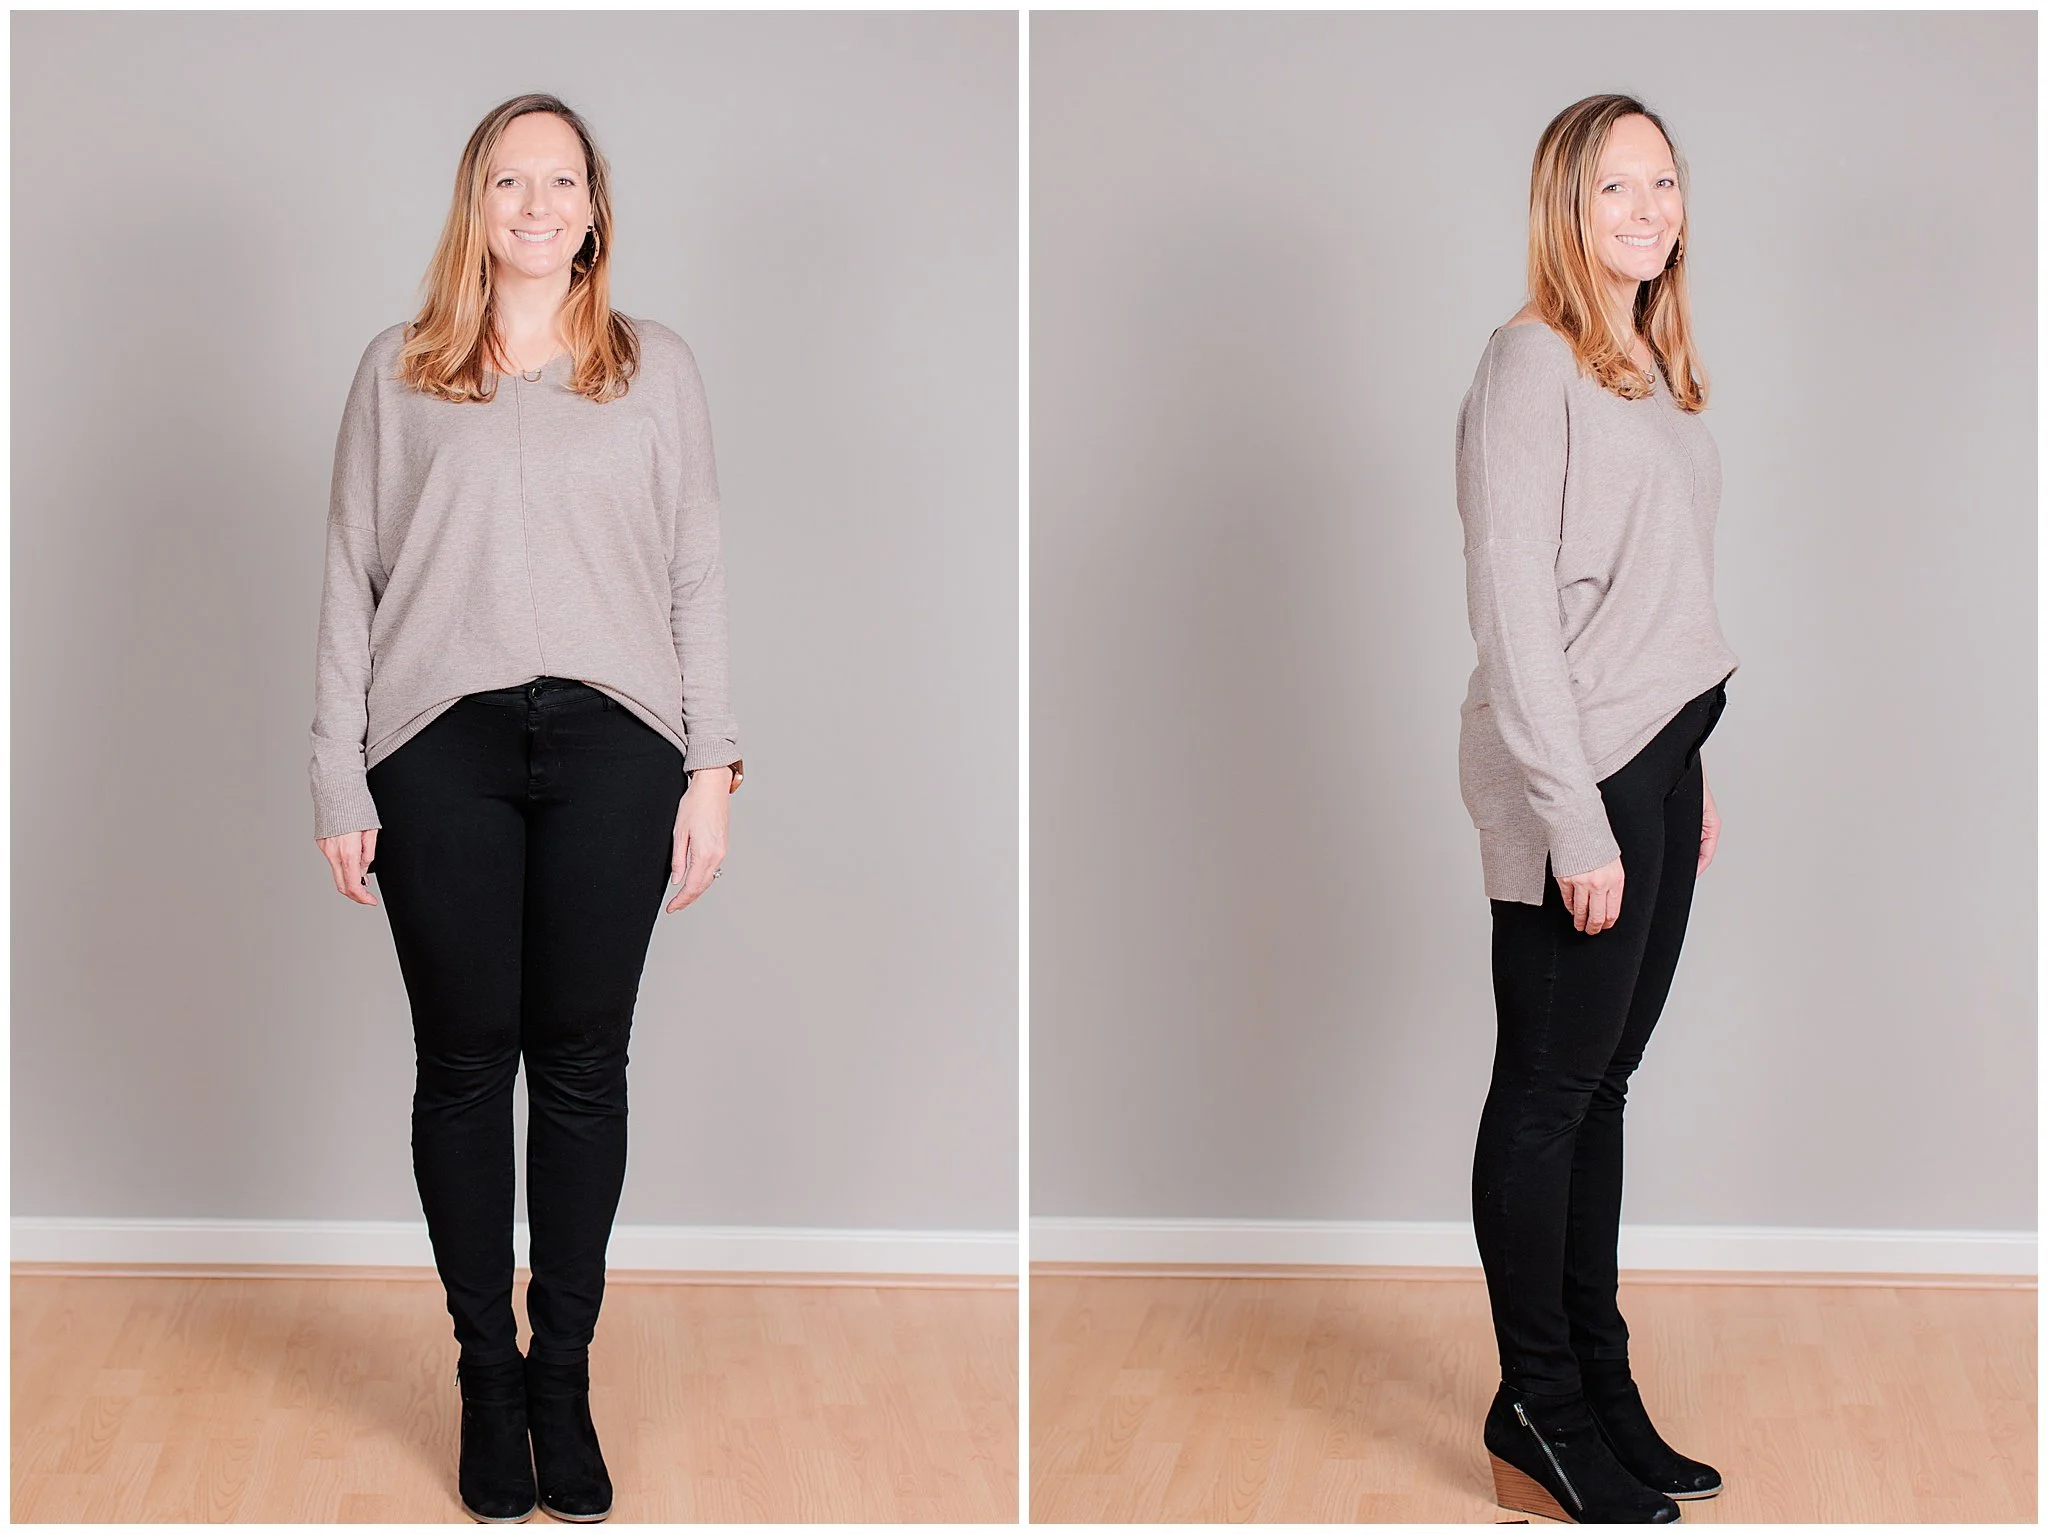
2. Shift Your Weight Instead of Standing Evenly
Place most of your weight on one leg and let the other leg relax.
If you are standing, you can bend the relaxed knee slightly or bring that foot forward. For a more polished portrait, lengthen through your back leg and keep your posture lifted. For something casual, let the front knee soften and allow the stance to feel looser.
The goal is not to force your body into a particular shape. It is to avoid the stiff feeling that often happens when both feet are planted and carrying equal weight.
A small weight shift can change the entire energy of a photograph.
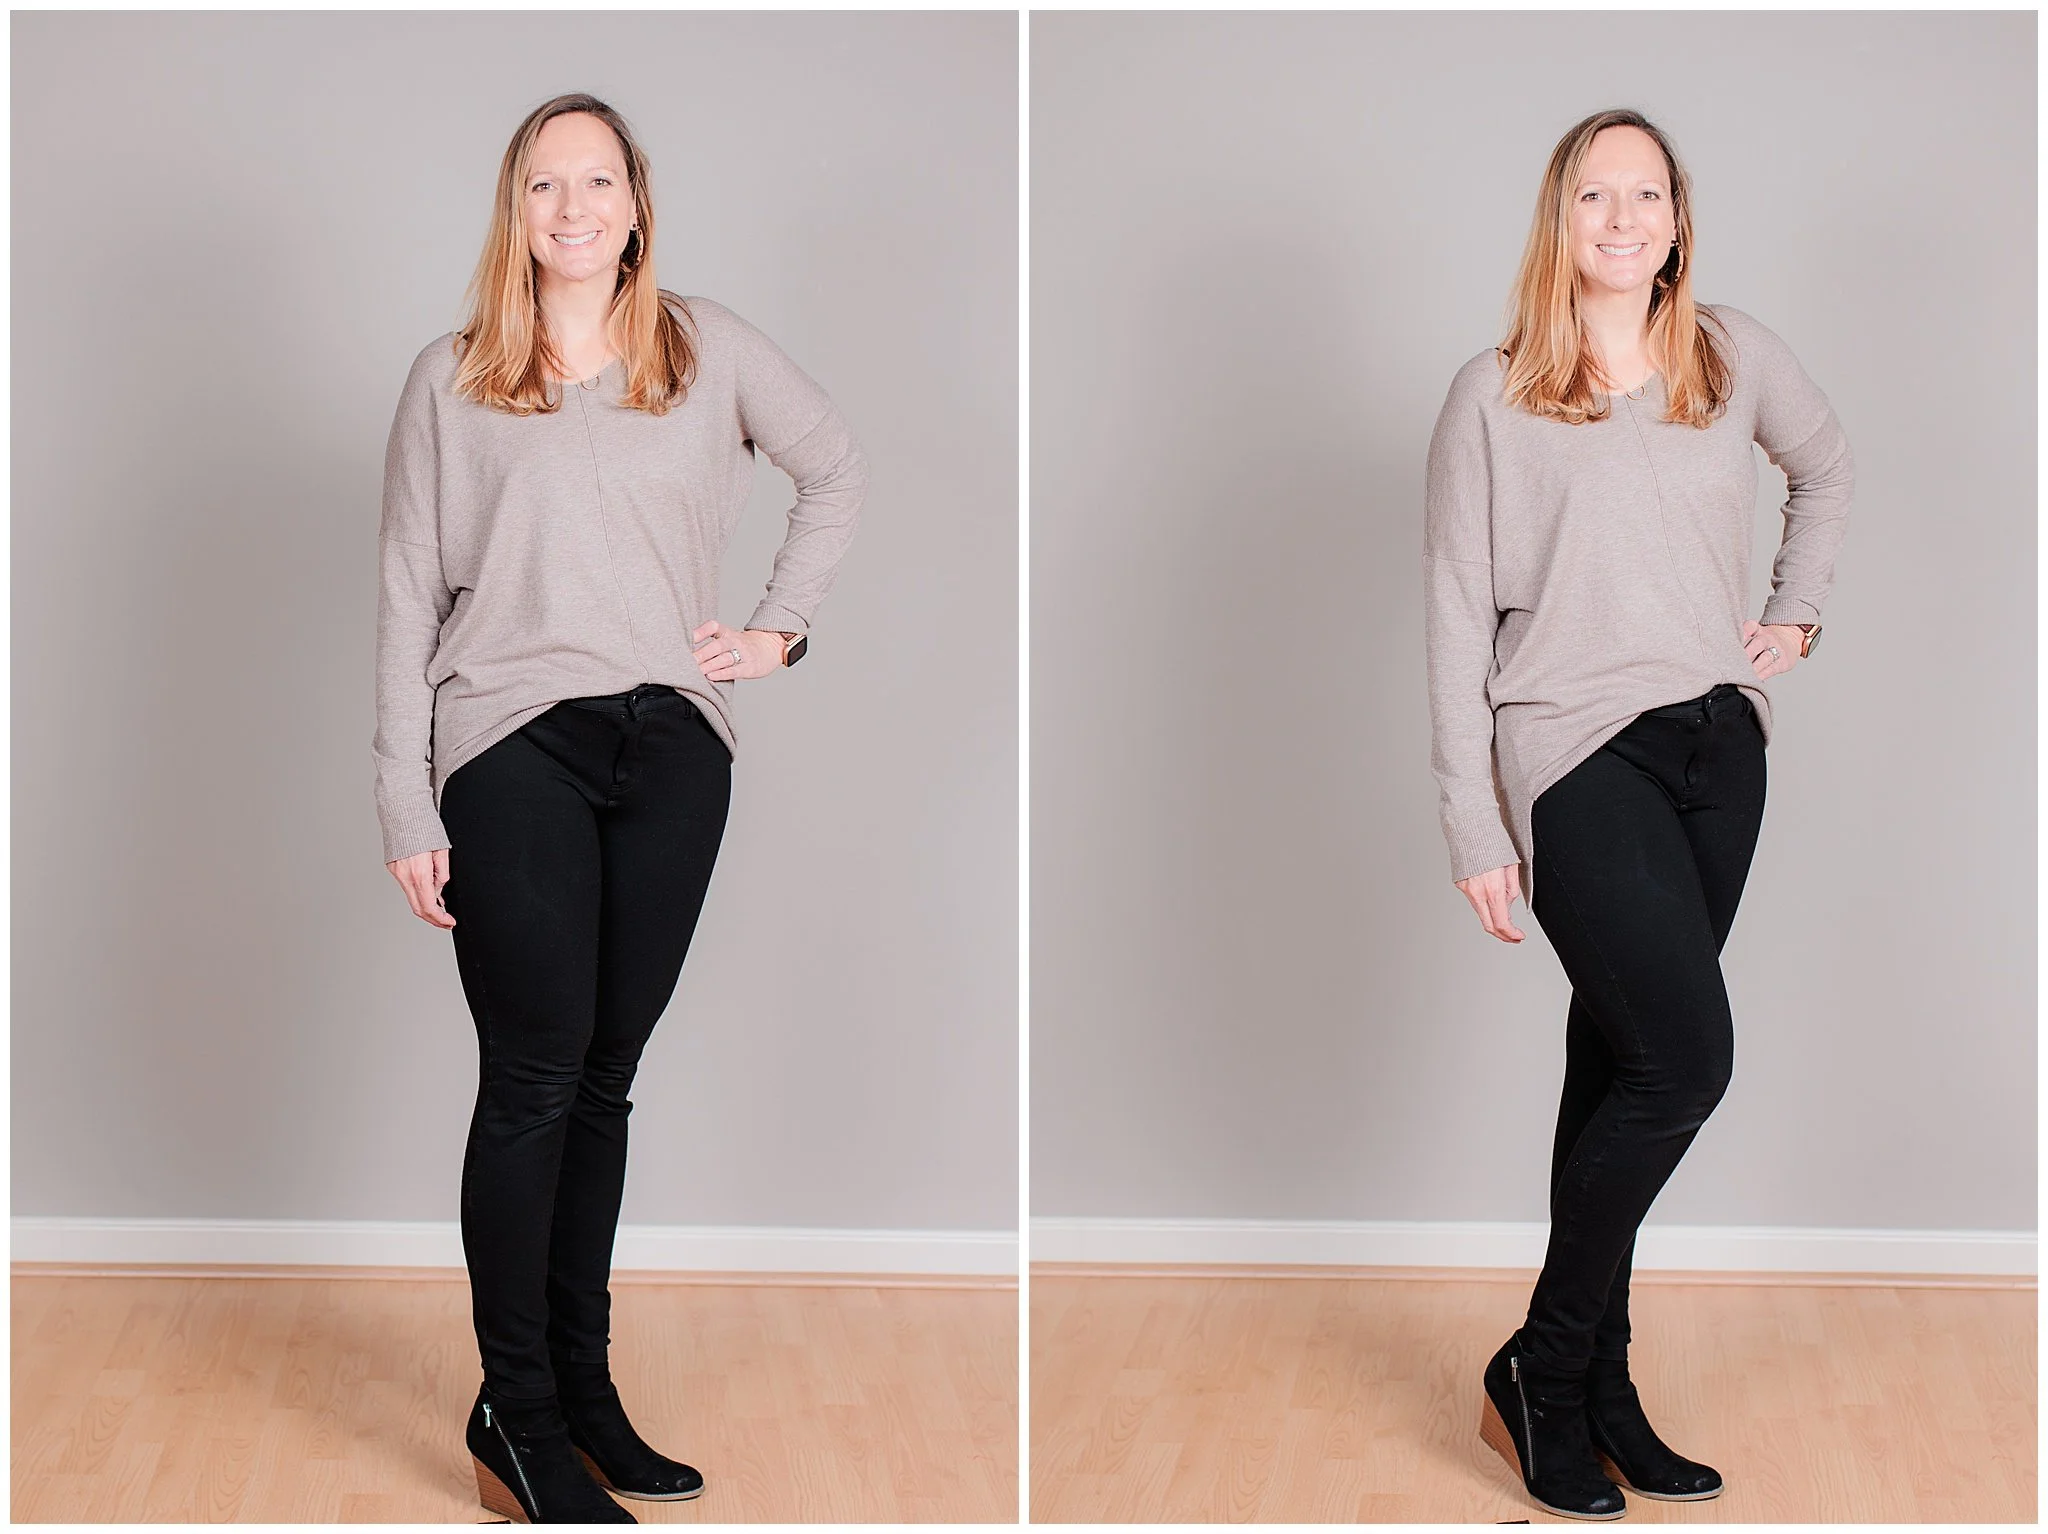
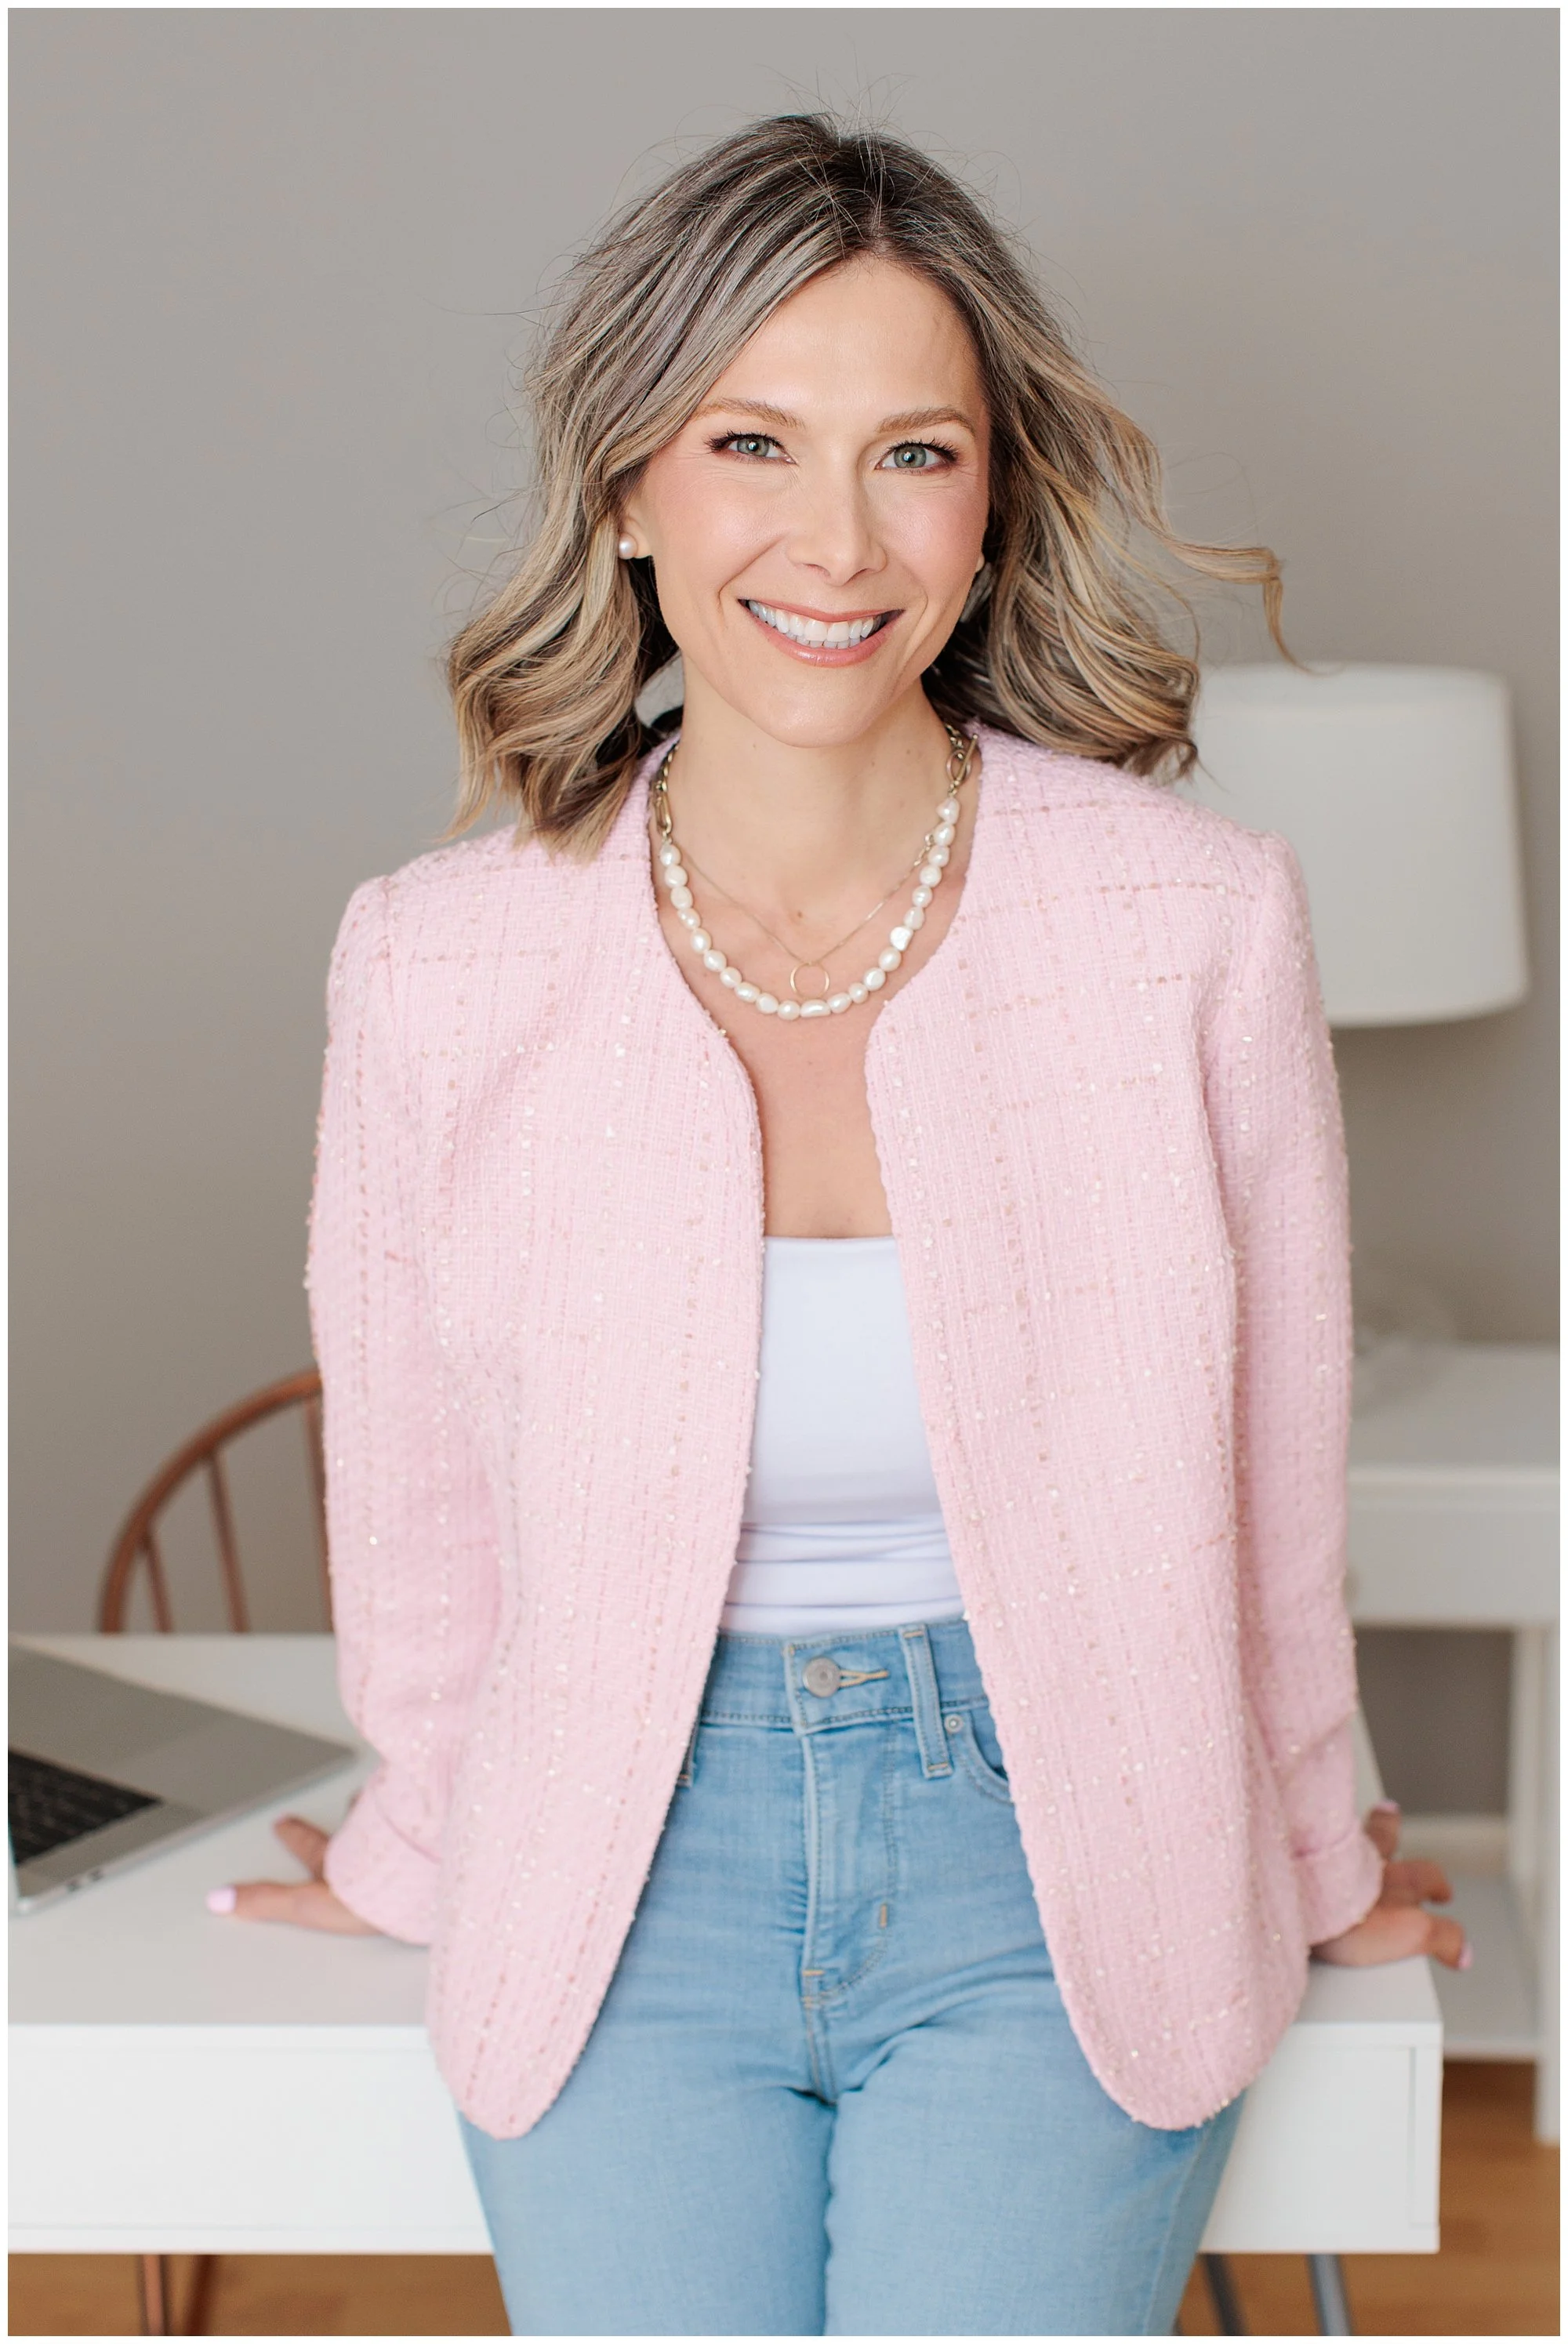
3. Create a Little Space Between Your Arms and Body
When both arms are pressed tightly against your sides, they can make the pose look tense, even if you do not feel tense.
Creating a little space gives your arms definition and helps your posture look more intentional. You can do this by:
Resting one hand lightly on your hip
Sliding a thumb into a pocket
Holding one wrist loosely with the opposite hand
Crossing your arms without squeezing them tightly
Resting a hand on a chair, table, or counter
Holding a prop that makes sense for the photograph
You do not need a dramatic gap between your arm and body. Even a small amount of space can help.
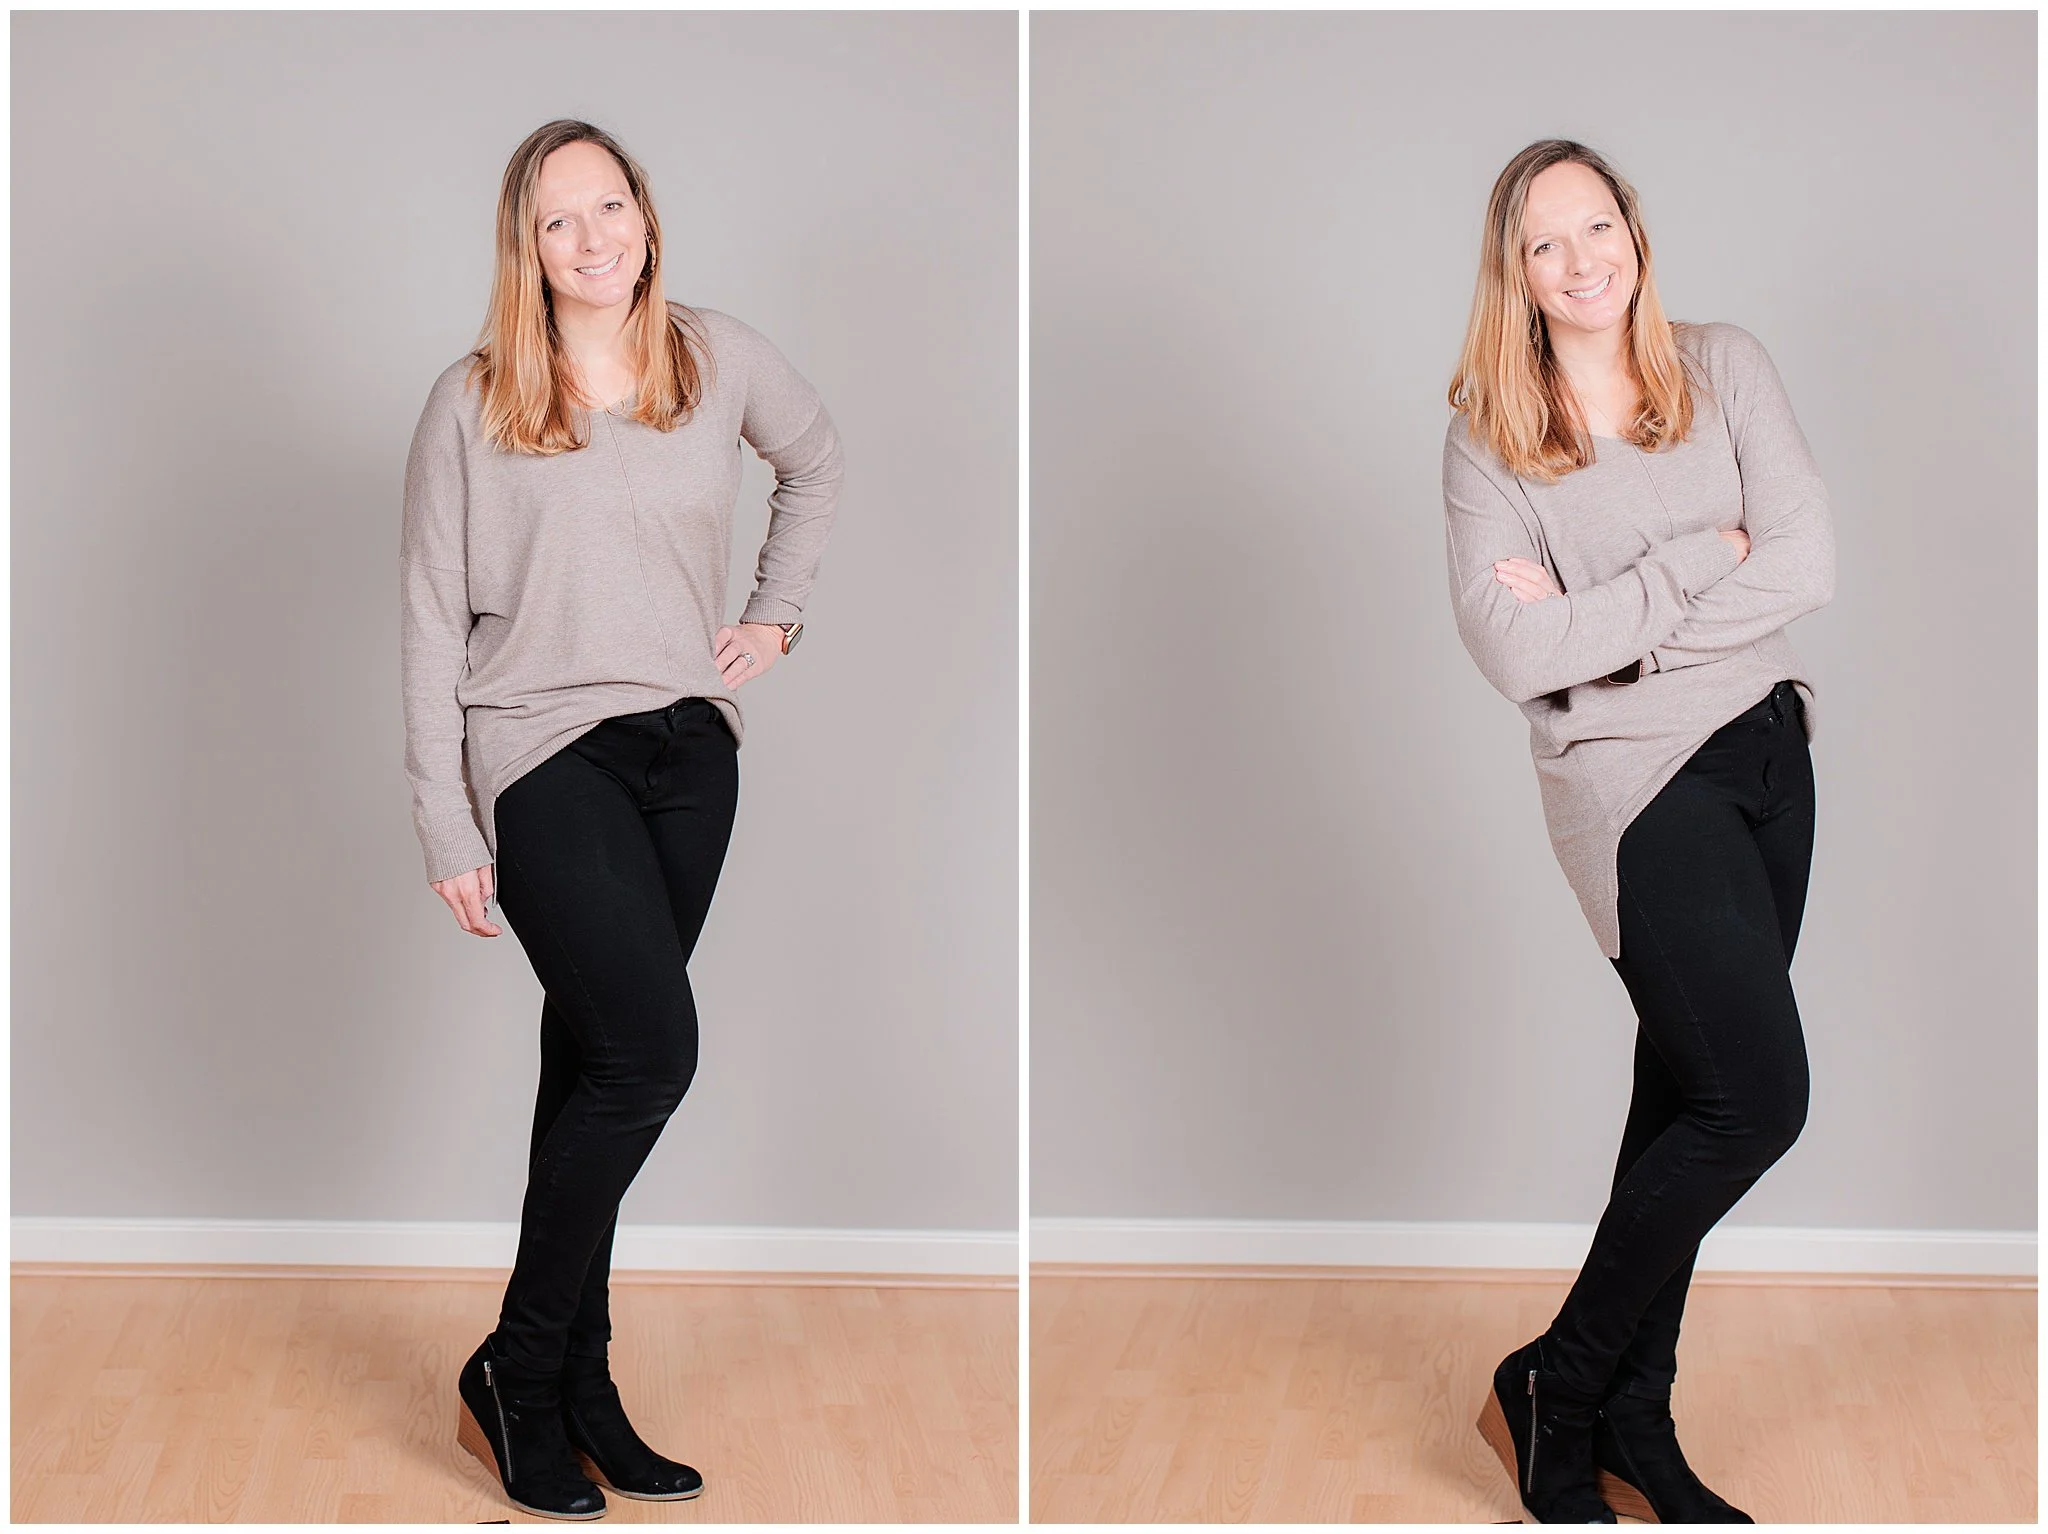
4. Give Your Hands Something to Do
Hands tend to feel awkward when they have no purpose, which is why “What do I do with my hands?” is such a common question.
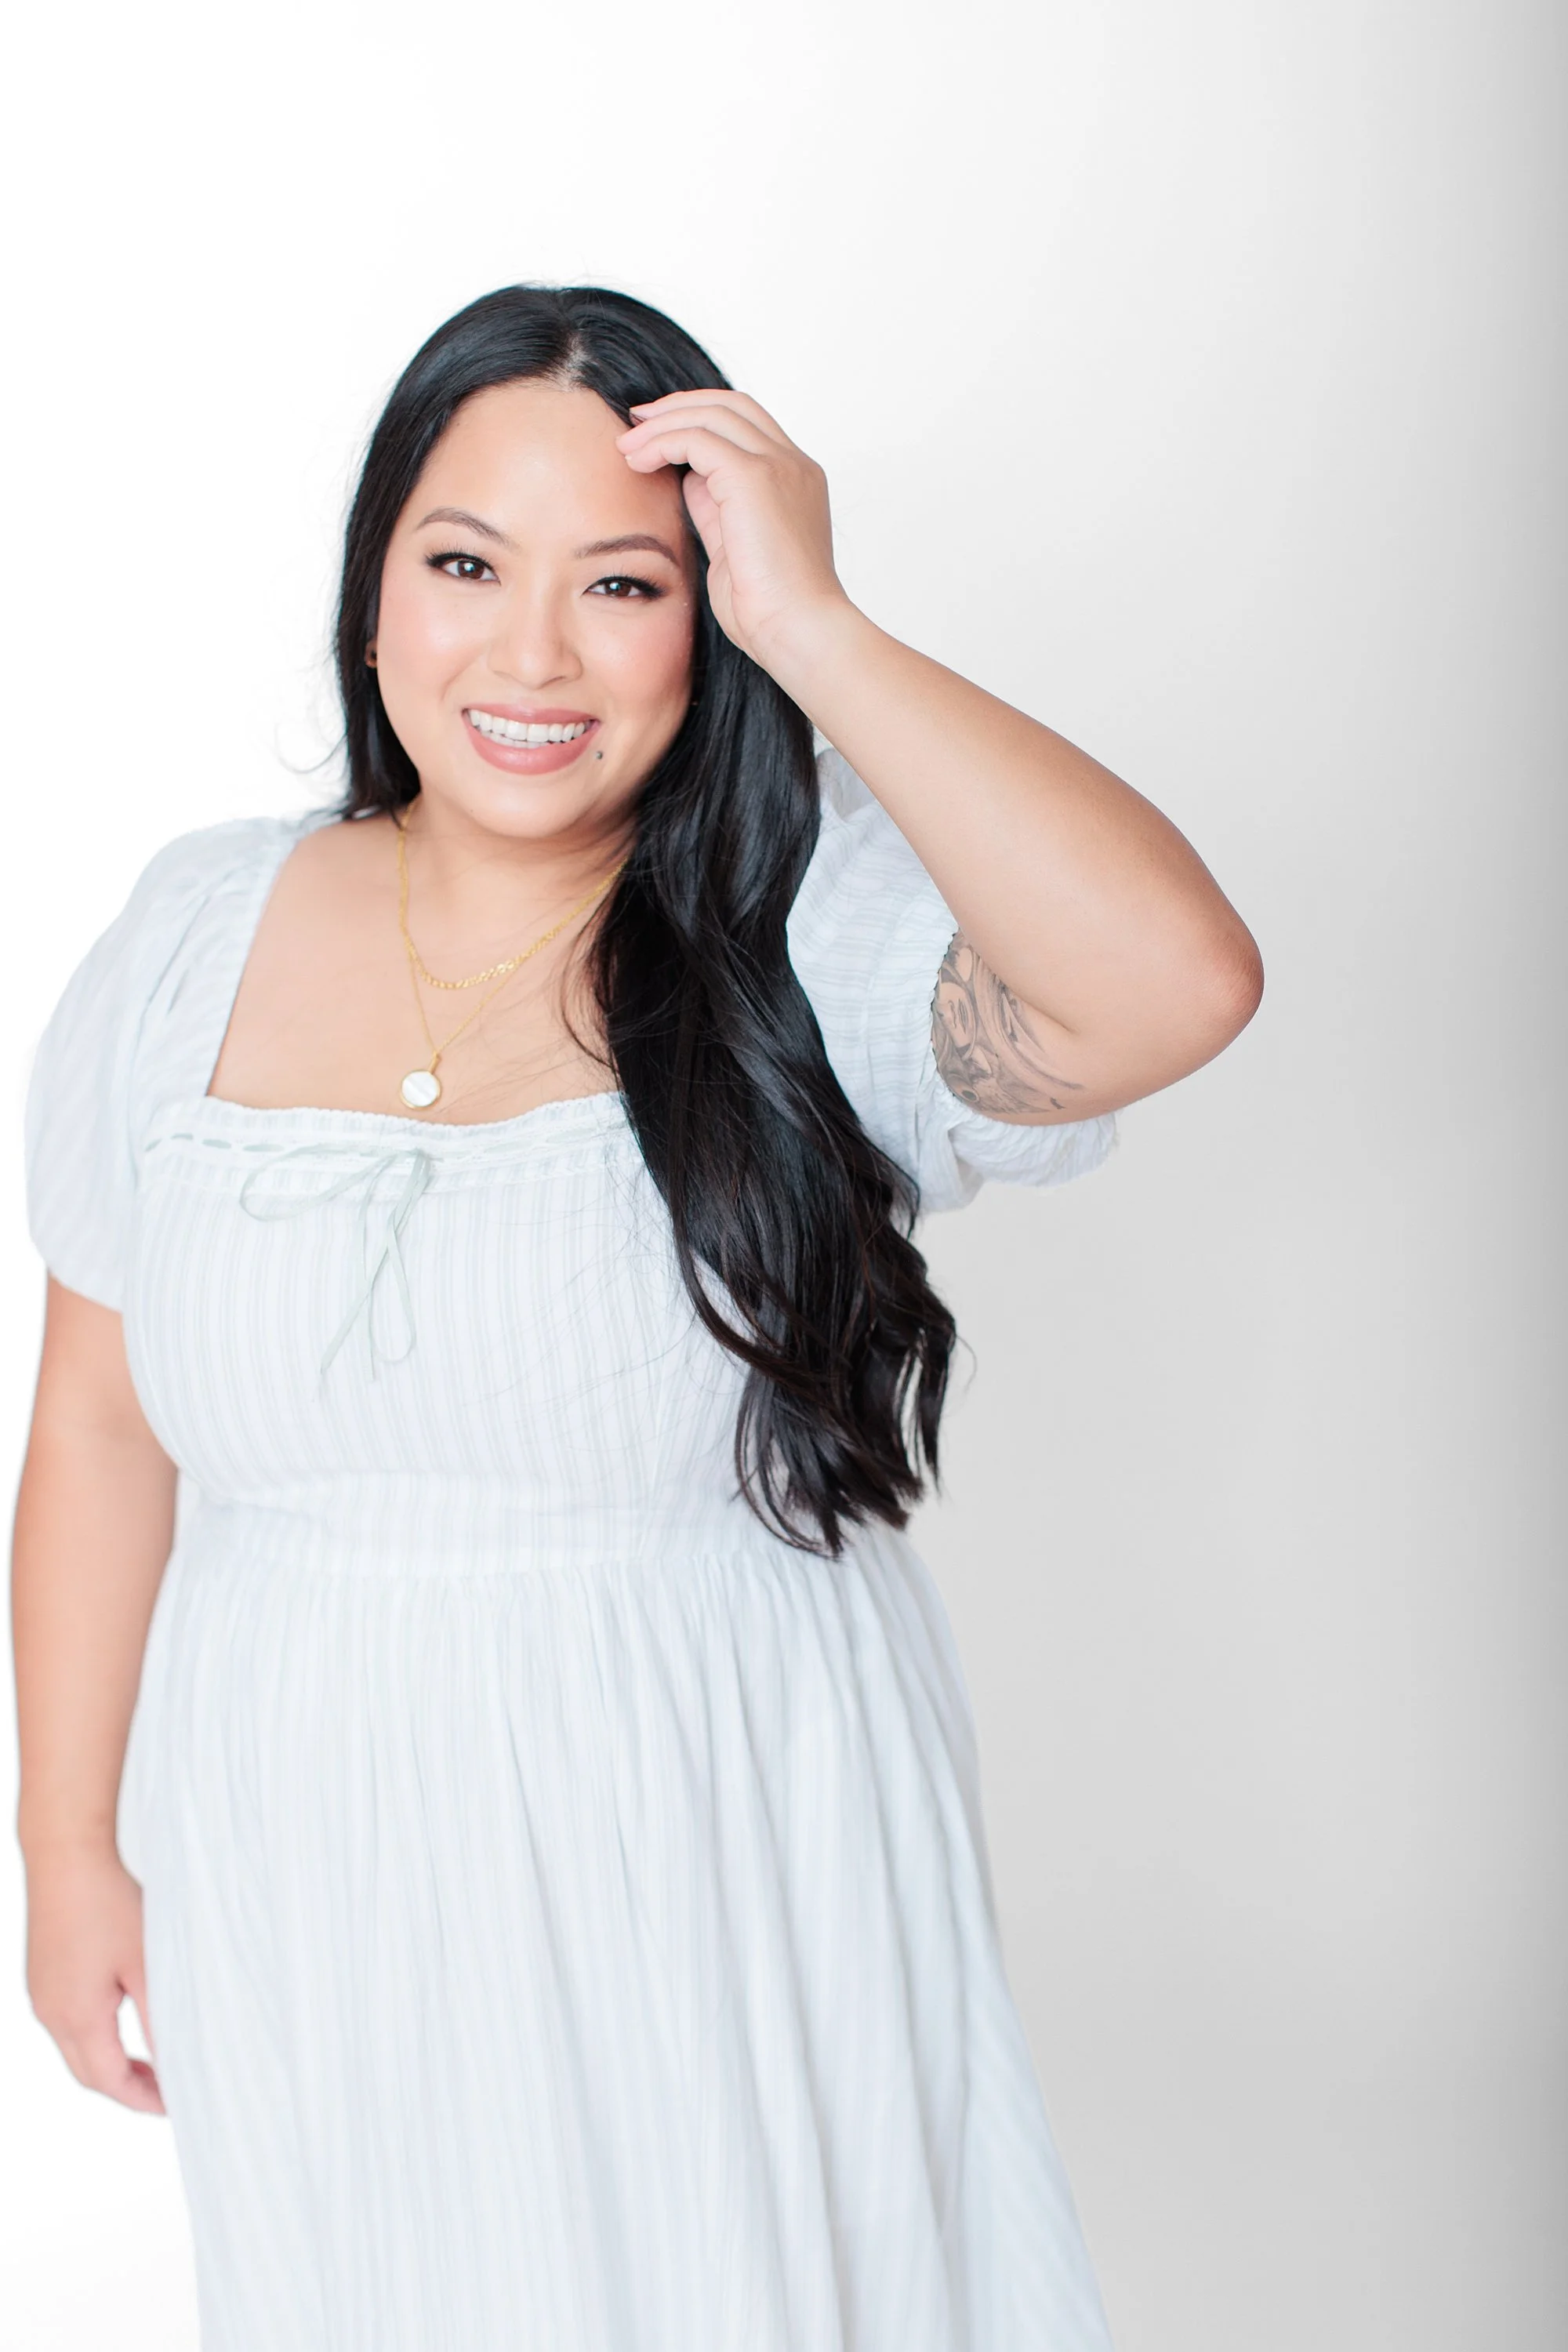
For a casual portrait, try putting your thumb in a pocket while leaving your fingers visible. Placing your entire hand into the pocket can sometimes make it look as though your hand has disappeared.
You can also adjust a sleeve, hold the edge of a jacket, touch a piece of jewelry, rest a hand on your leg, or loosely hold your other hand.
During a branding session, props can solve this naturally. A laptop, notebook, coffee cup, phone, product, or tool related to your work gives your hands a reason to be where they are. The result usually feels less like posing and more like being photographed while doing something familiar.
The most important detail is keeping your fingers relaxed. When we feel nervous, tension often shows up in the hands first.
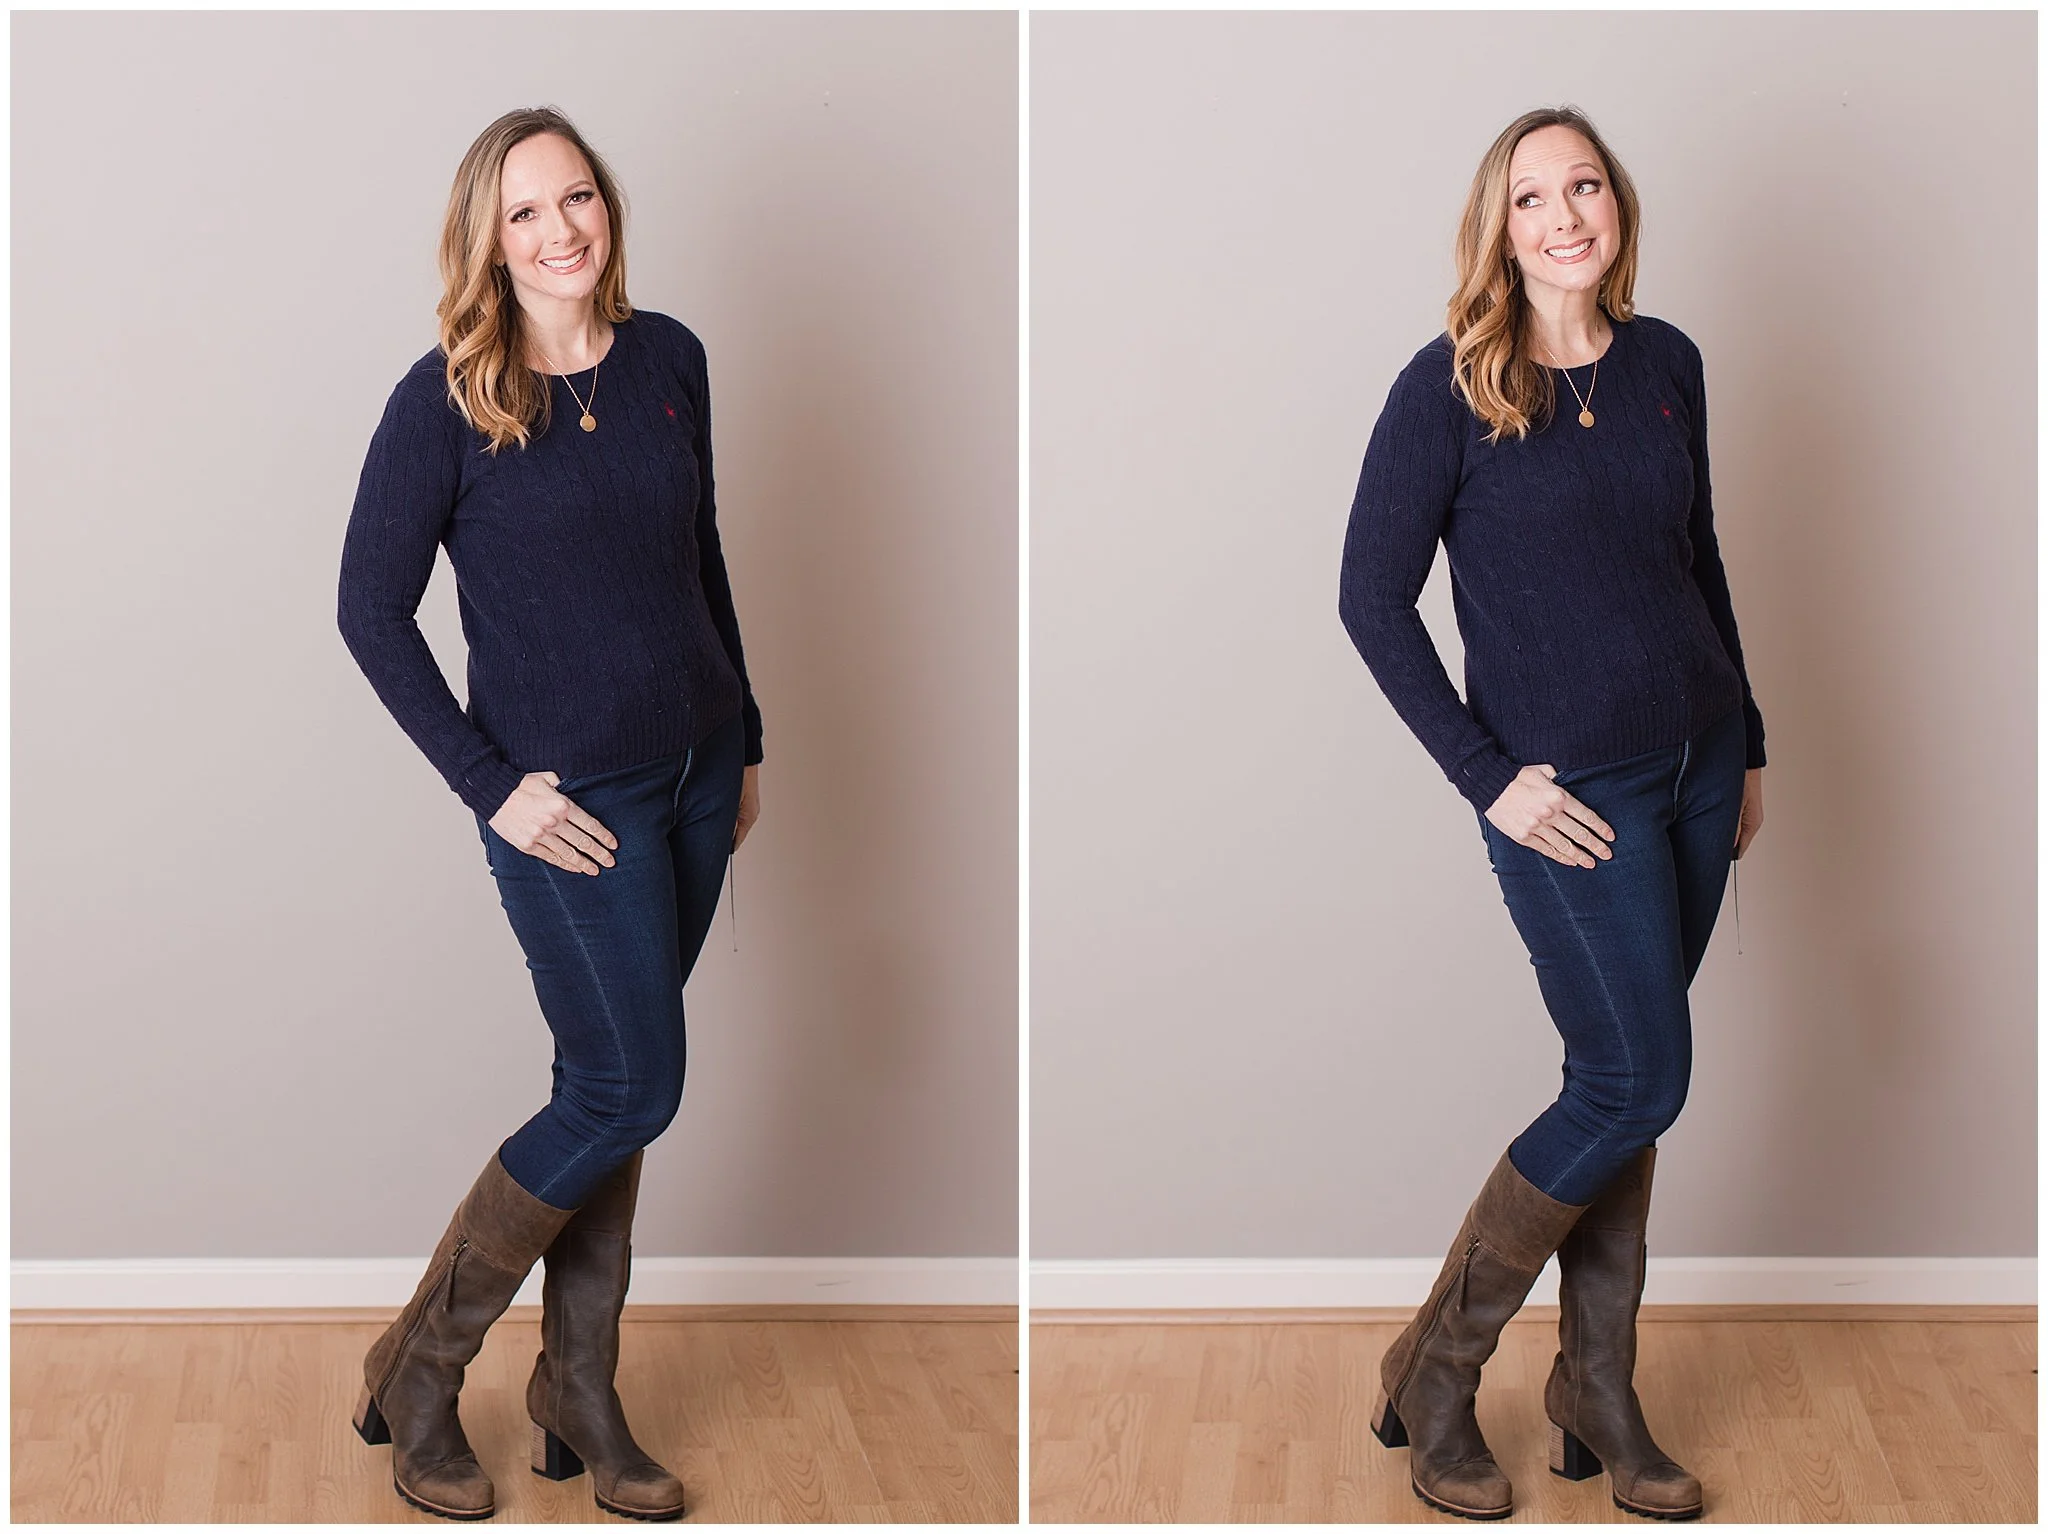
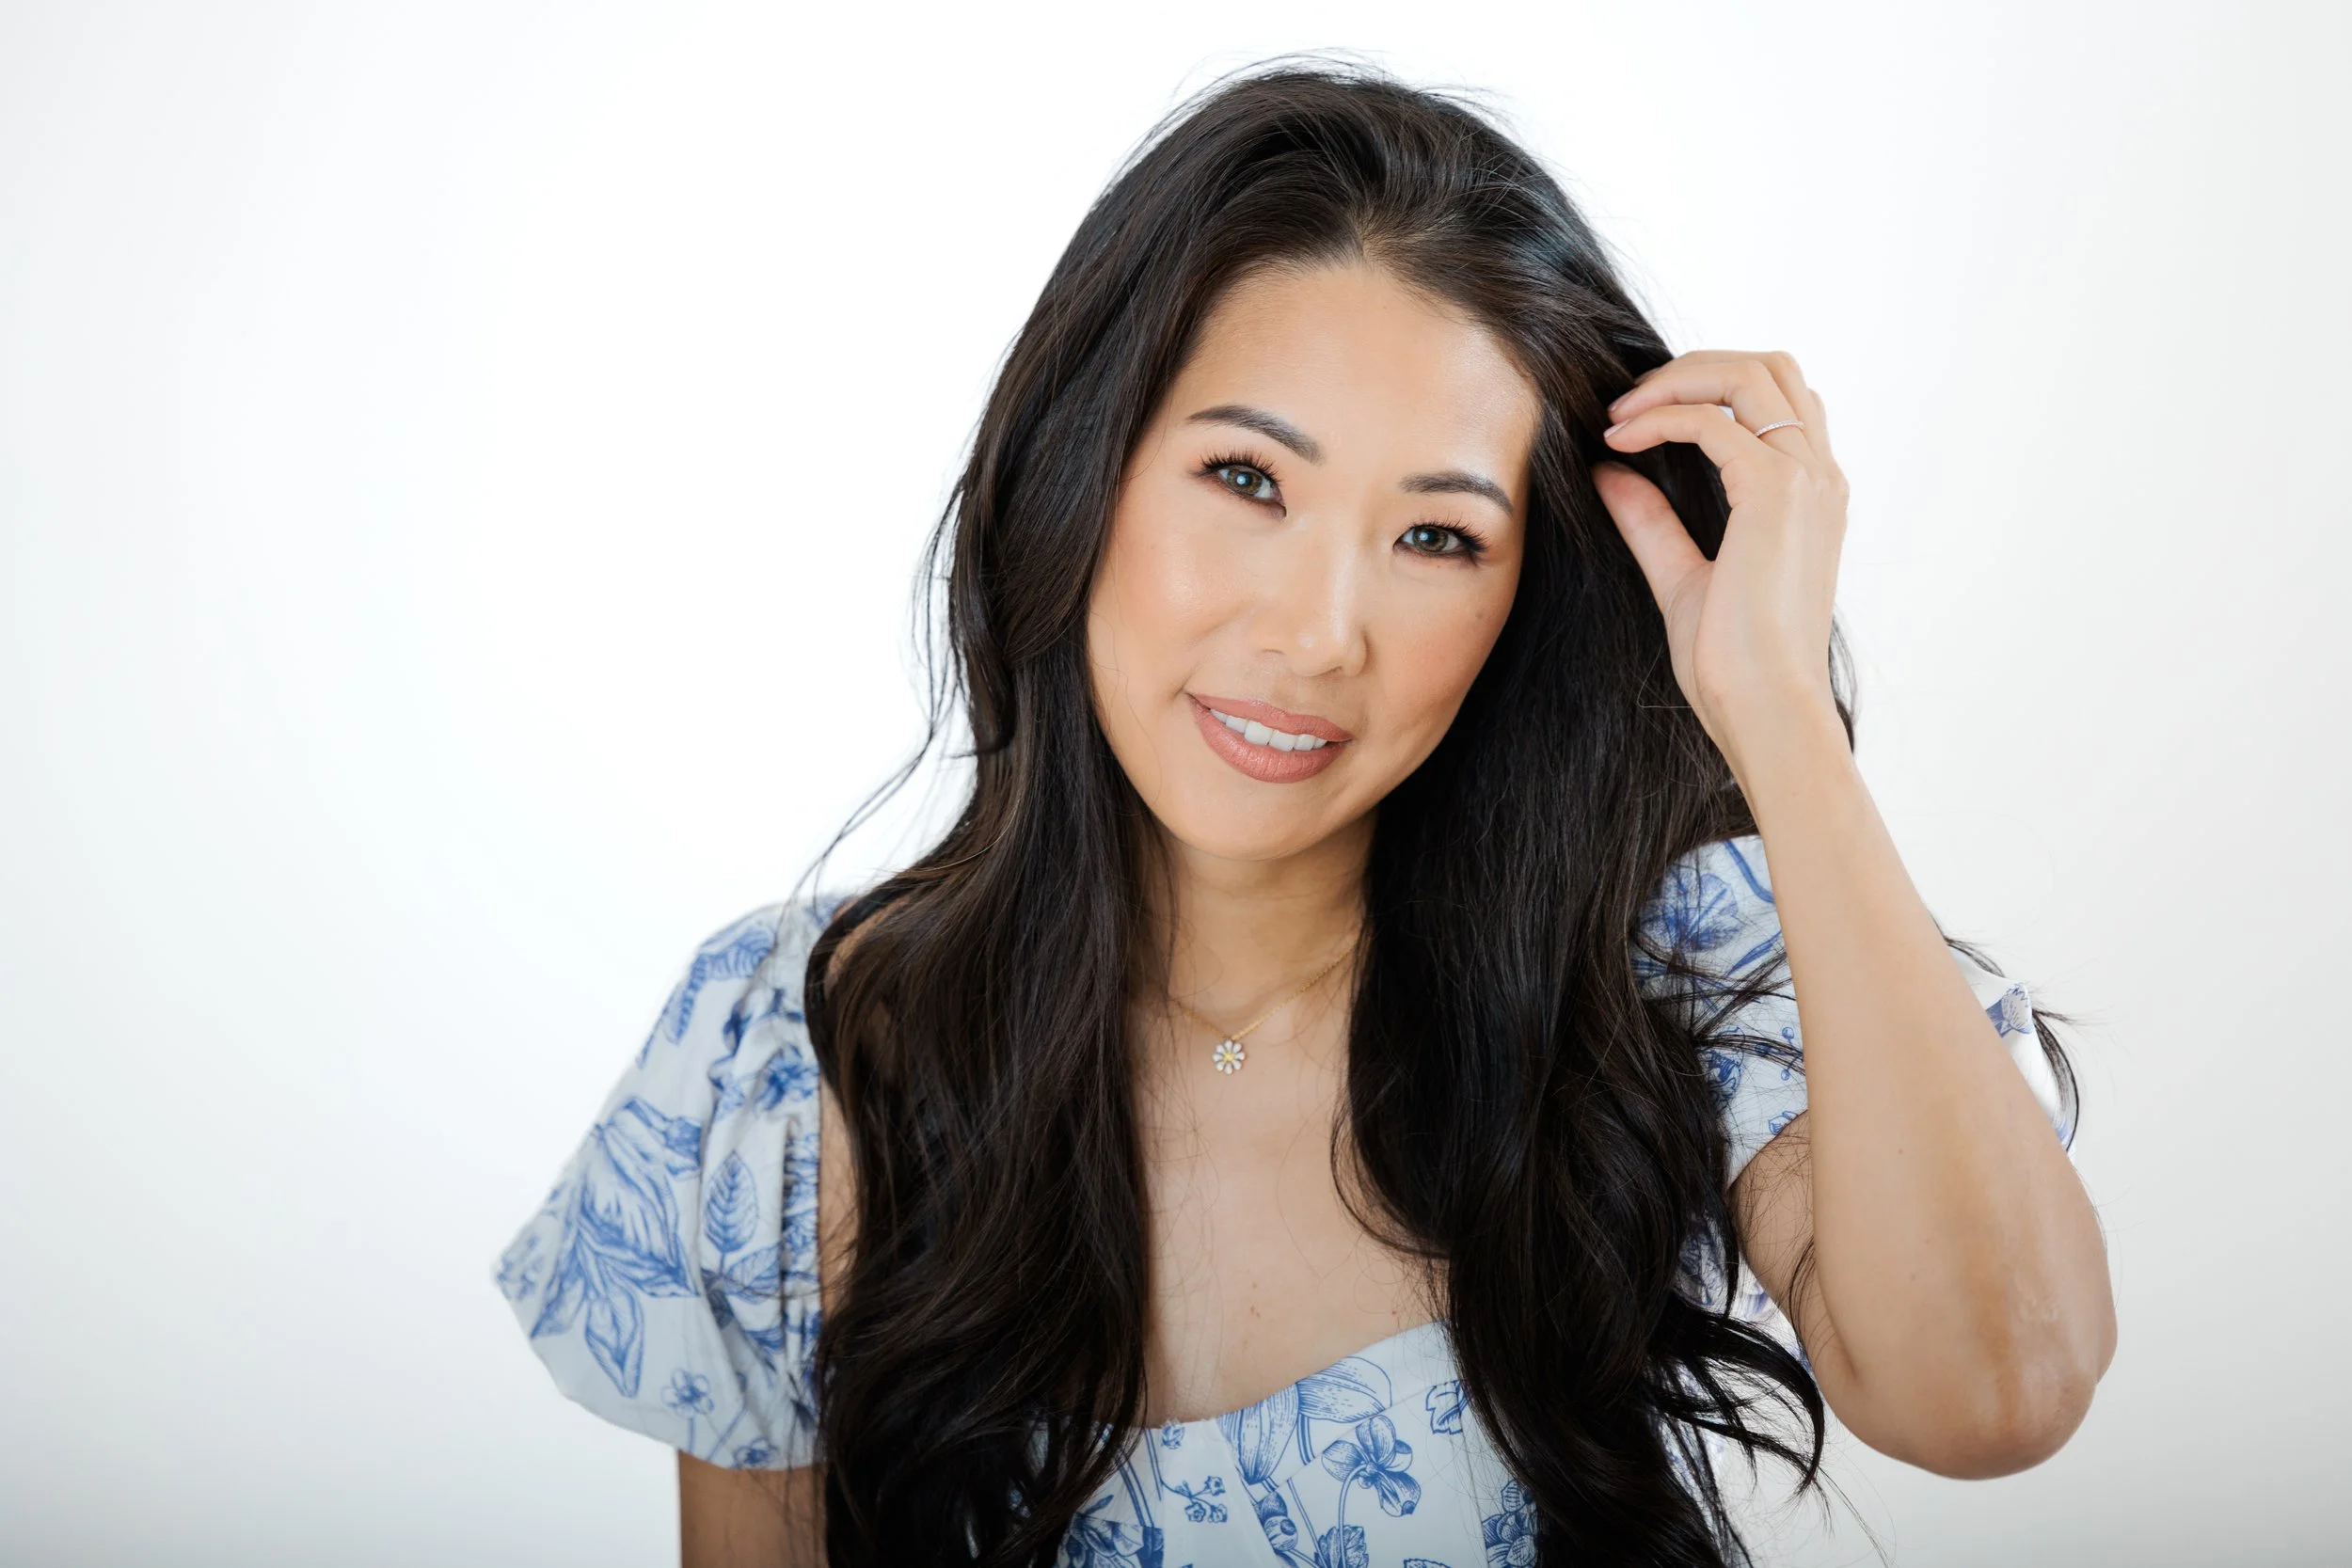
5. Use Light Touches Around Your Hair and Face
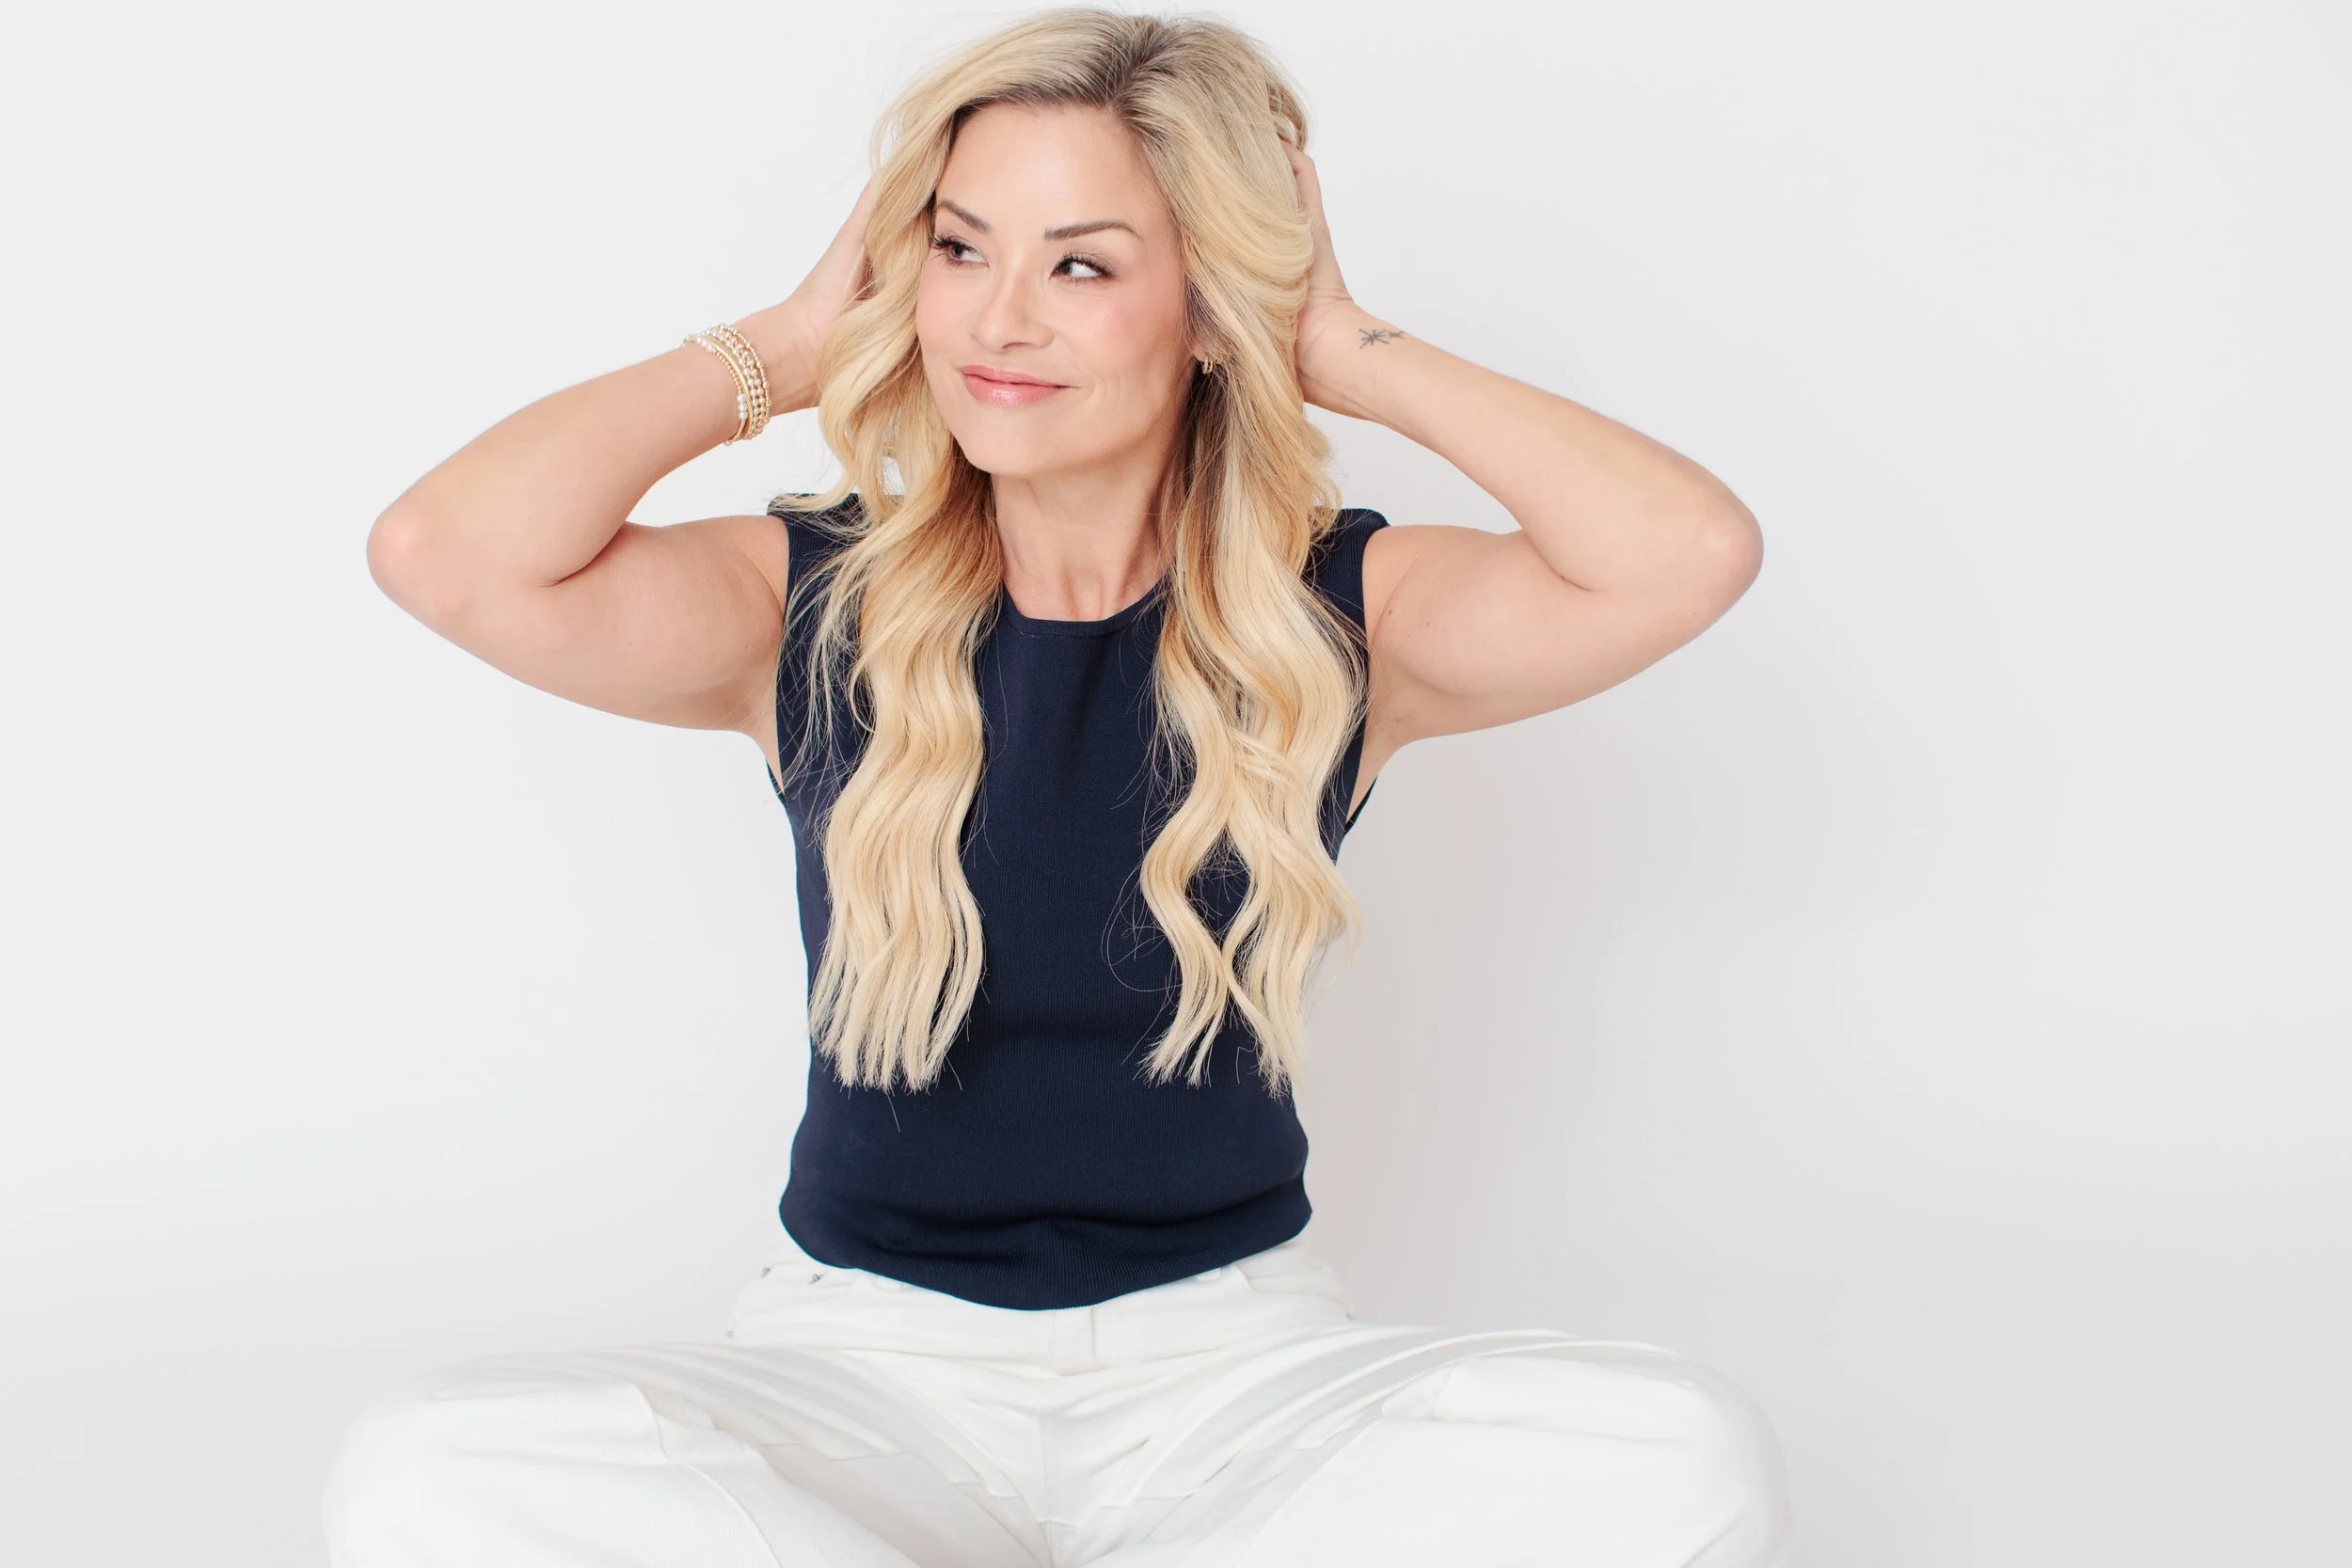
Touching your hair or face can feel staged while you are doing it, but it can look soft and natural in the final photograph when the movement is gentle.
You might:
Tuck your hair behind your ear
Lightly touch your cheek or jaw
Adjust an earring
Brush your hair away from your shoulder
Rest your chin lightly near your hand
Avoid pressing your hand firmly into your face or holding your fingers in a stiff shape. Think of the hand as barely making contact.
This works particularly well when you look slightly away from the camera. It creates a more thoughtful, candid-looking image without pretending the camera is not there.
6. Relax Your Shoulders and Bring Your Face Slightly Forward
Many people pull their chin backward when they feel self-conscious, especially when they are trying to stand up straight. Unfortunately, that can create tension through the neck and jaw.
Instead, gently bring your face forward and lower your chin a tiny amount. The movement should be subtle. Think of bringing your forehead slightly closer to the camera rather than forcing your chin down.
At the same time, let your shoulders drop away from your ears. If one shoulder is closer to the camera, dipping it slightly can create a relaxed line through your neck and upper body.
Good posture should feel lifted, but not rigid.
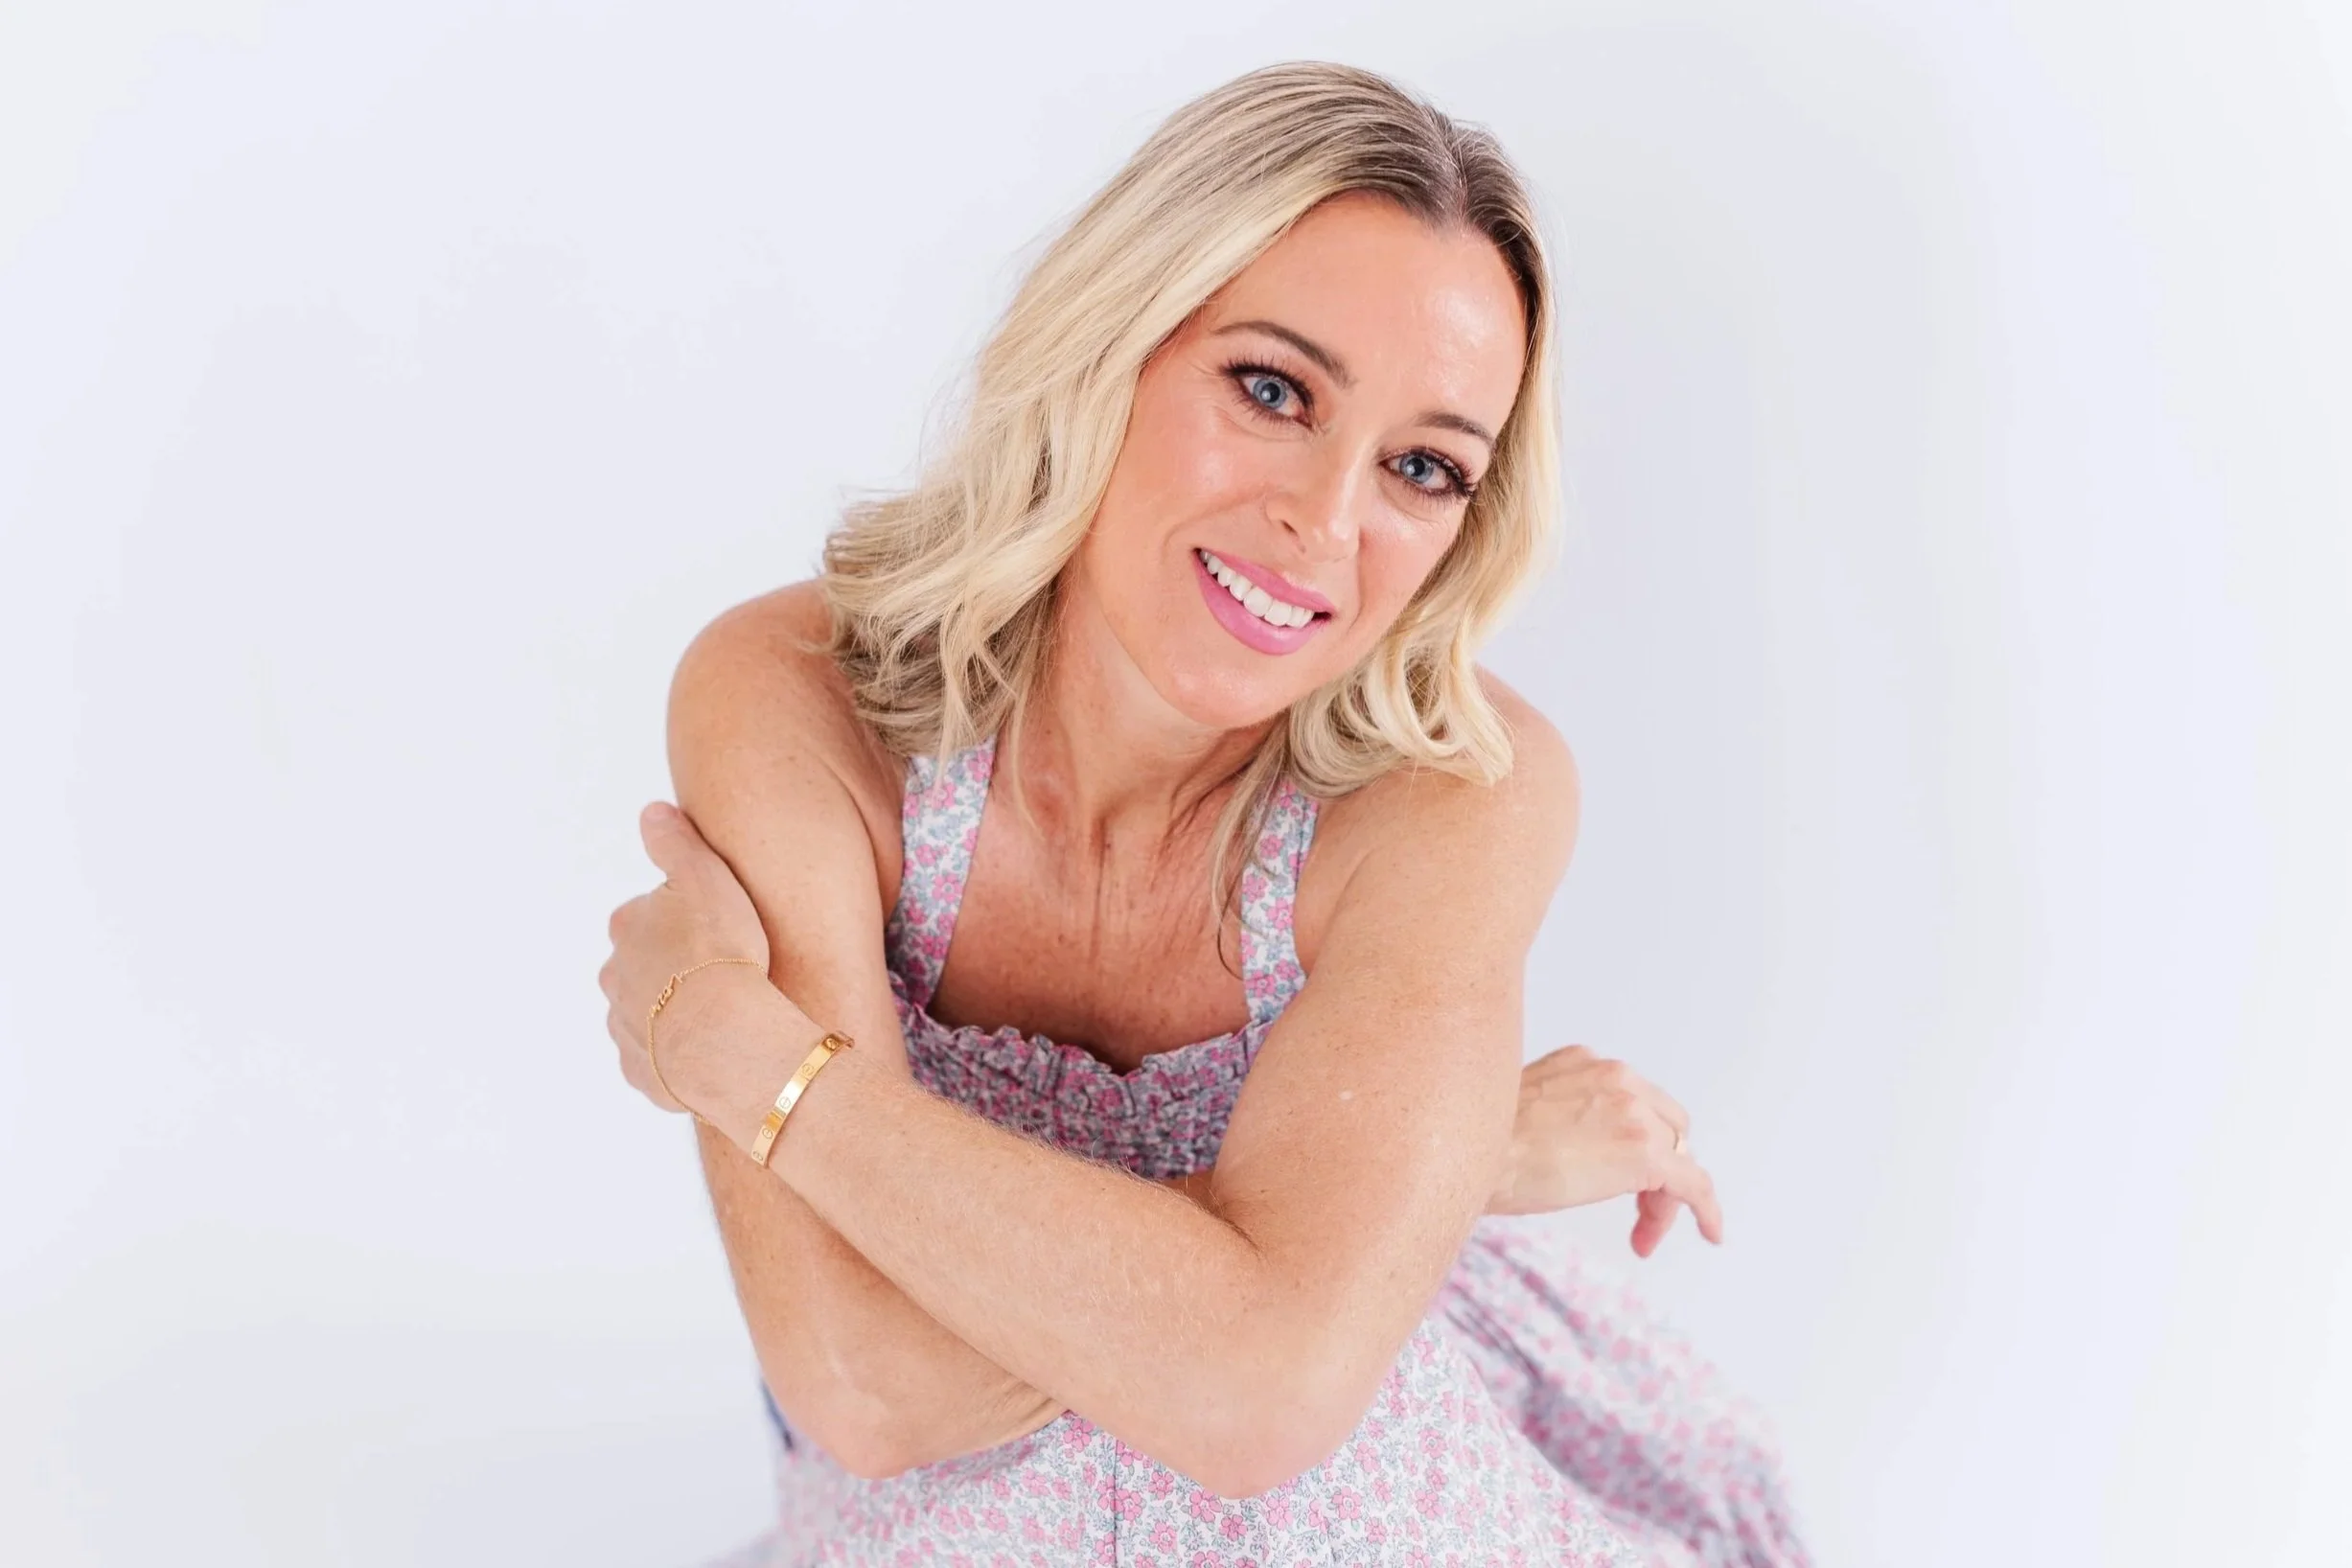
7. Lean In Slightly
A small lean toward the camera can make a portrait feel more engaged and approachable.
If you are seated, come forward slightly from your hips instead of leaning back into the chair. If you are standing, shift your upper body a little toward the camera while keeping your weight balanced.
This works especially well for professional headshots because it creates a sense of confidence and connection without requiring an overly formal pose.
The key word is slightly. A small adjustment is usually enough.

8. Add Movement When a Pose Starts to Feel Stiff
Sometimes the best way to look less posed is to stop holding the pose.
I may ask you to walk, adjust your jacket, turn toward the camera, look away and then look back, or move your hands through a few different options. The movement gives your body something to do and often produces more natural expressions between the more polished photographs.
For family portraits, movement and interaction are especially helpful. Instead of asking everyone to hold the same position for too long, I might have you walk together, pull someone close, look at your child, or respond to what is happening around you.
For branding photos, movement may involve working at a laptop, organizing materials, writing in a notebook, or interacting with something connected to your business.
You are still receiving direction, but the image feels less fixed.

How Posing Changes for Headshots, Branding Photos and Family Portraits
The basic posing principles are similar, but the approach should match the kind of photograph you are creating.
Professional Headshots
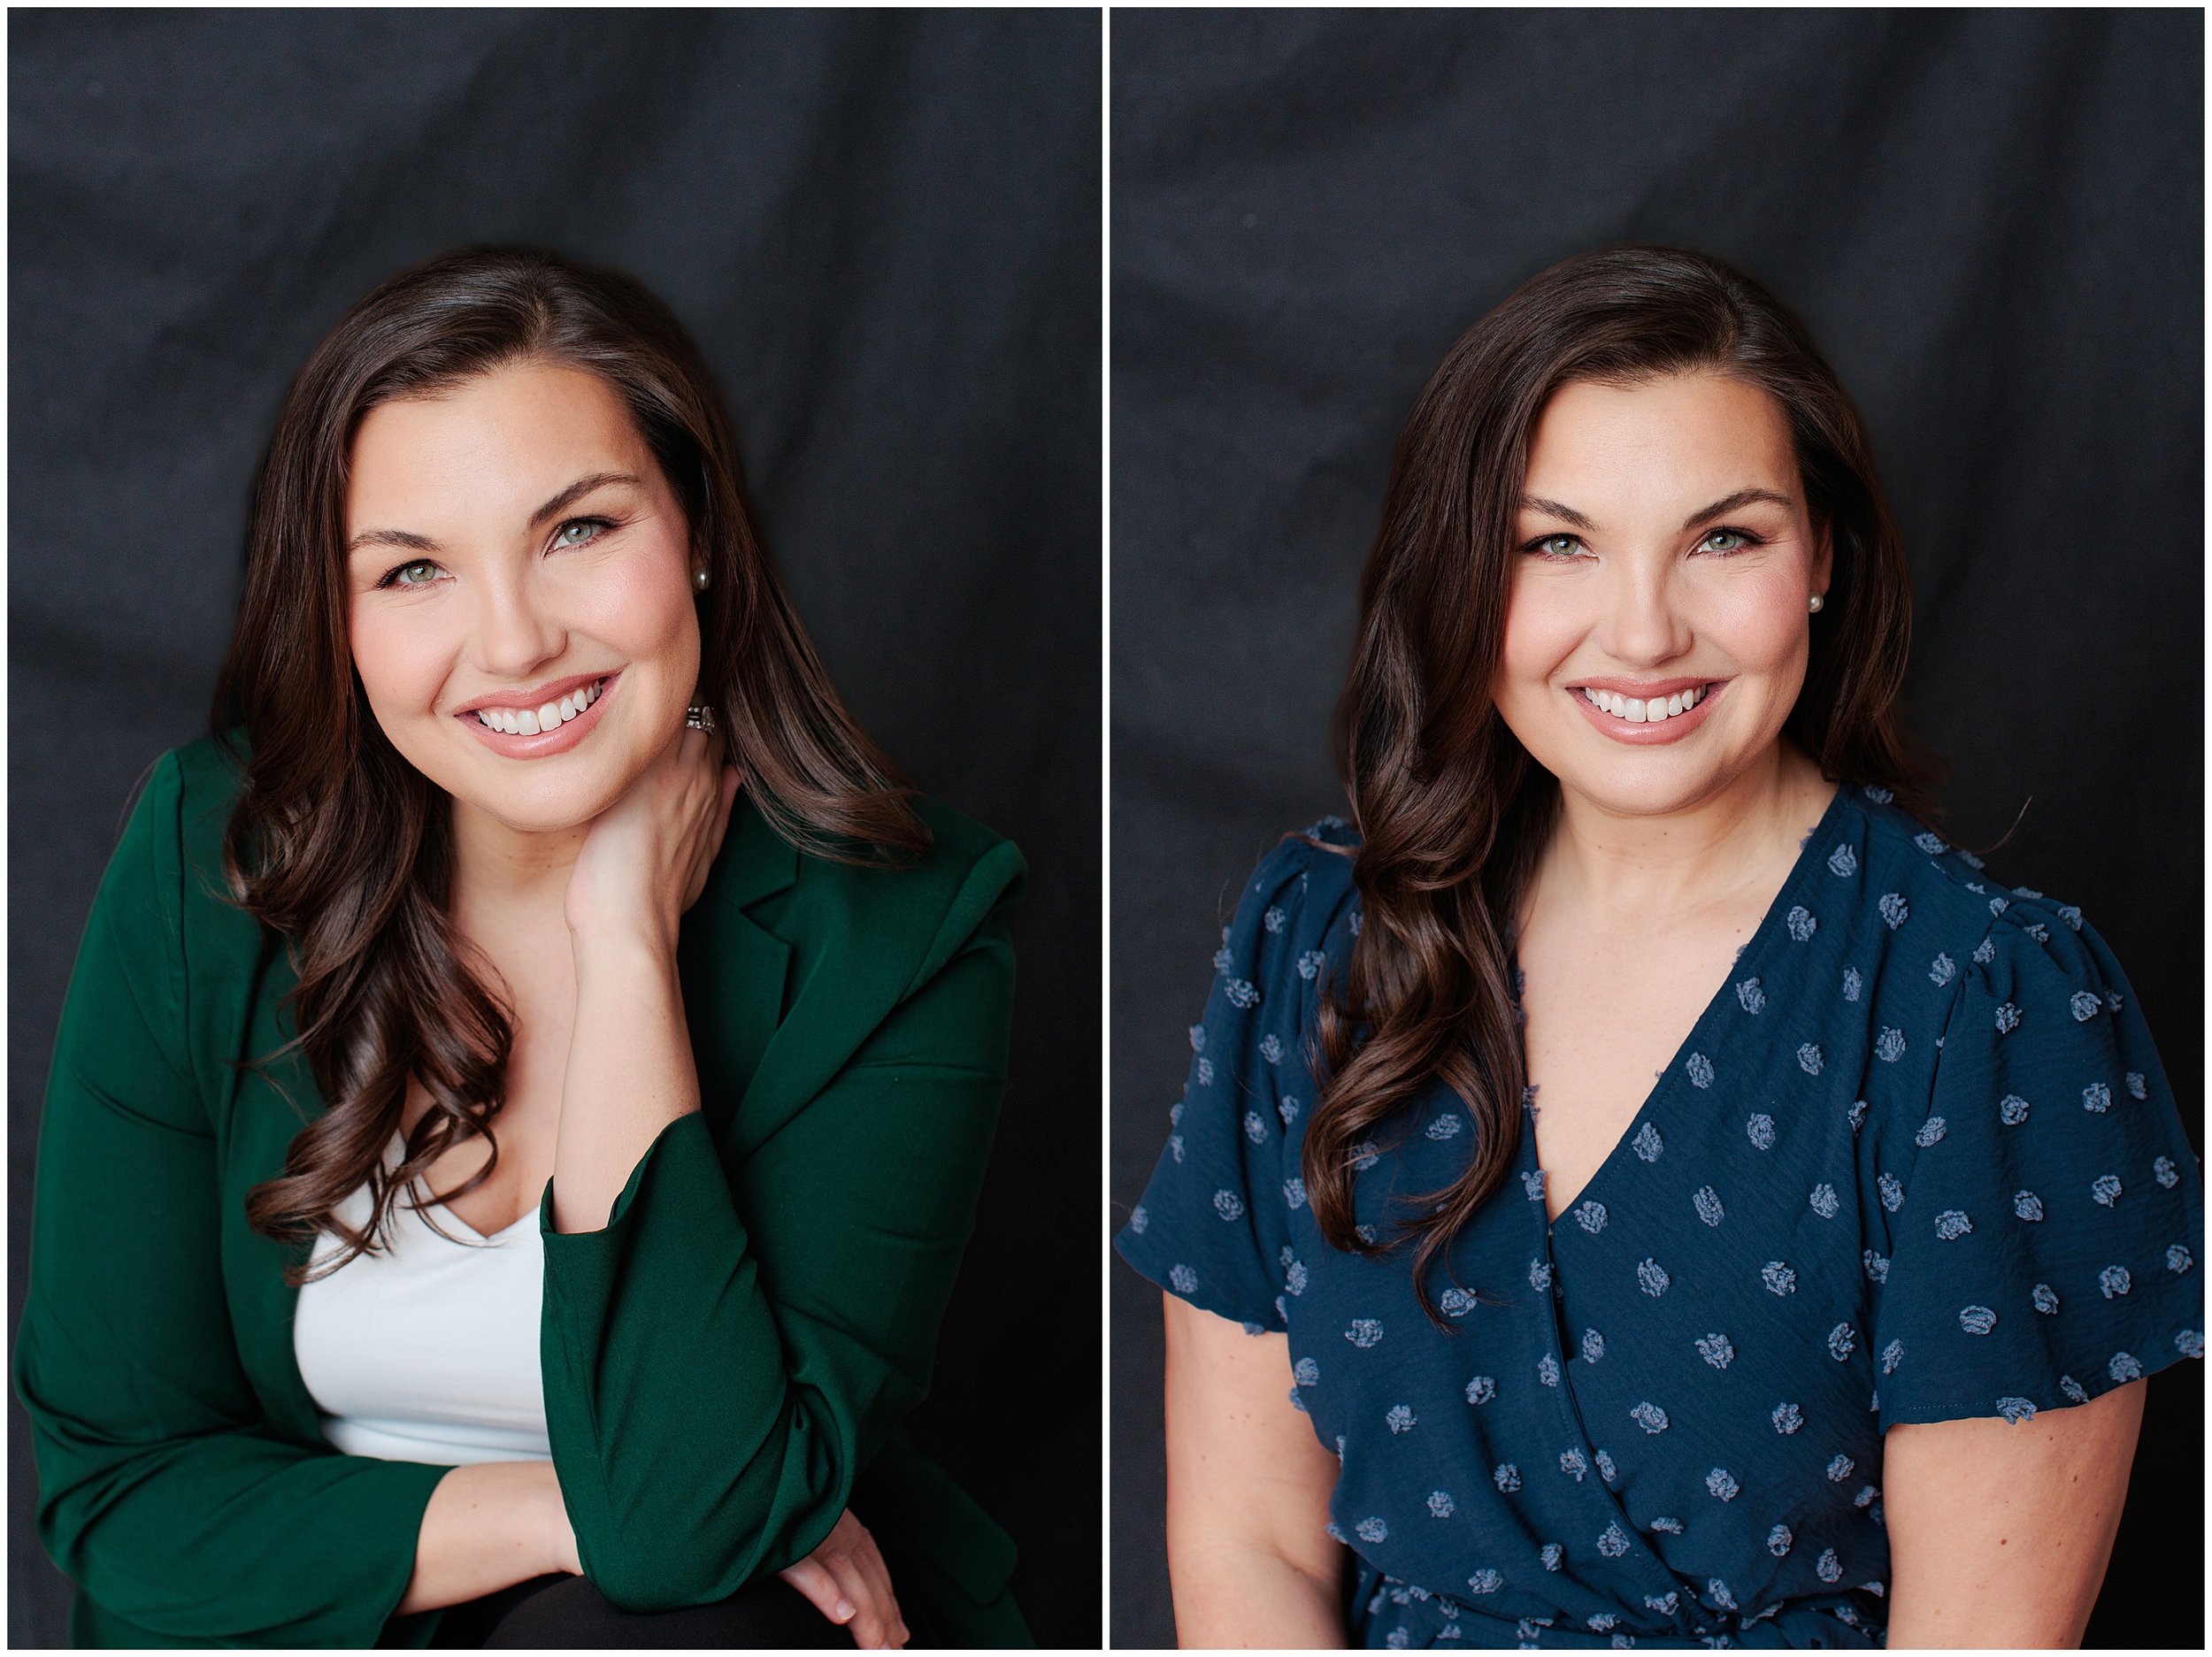
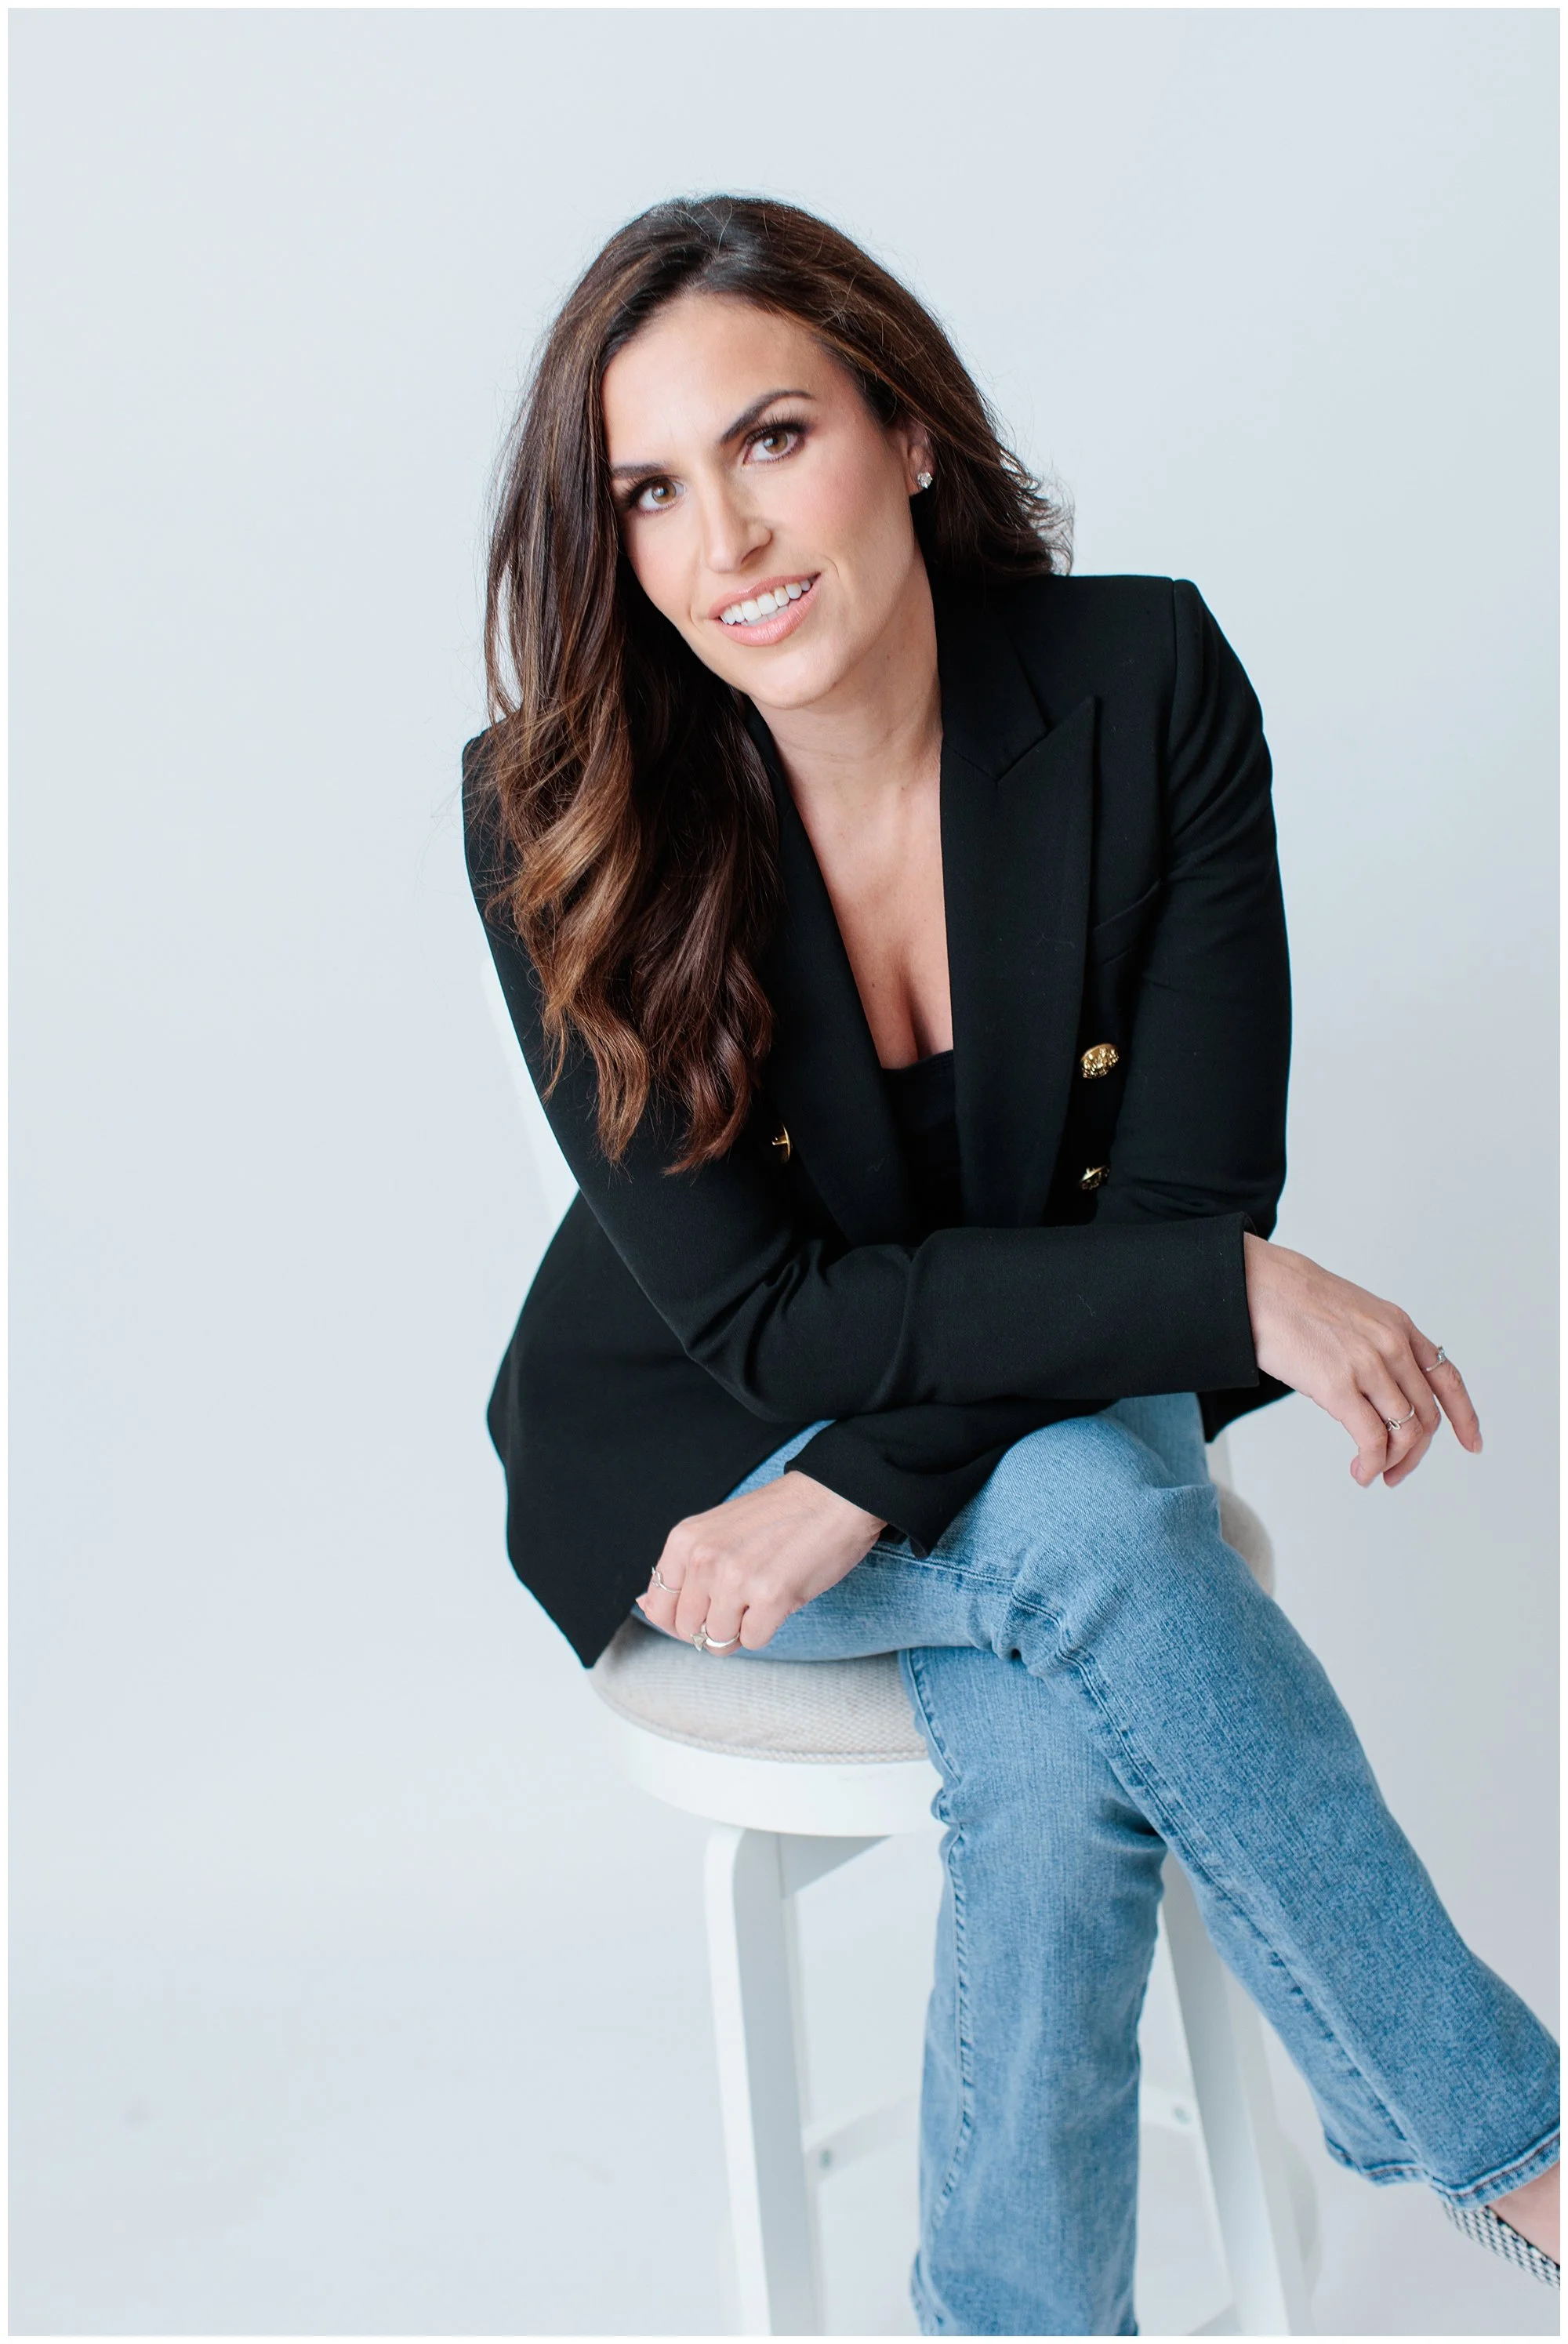
Headshot posing is more precise because the frame is focused closely on your face and upper body. Small adjustments to the shoulders, chin, posture, and expression make a noticeable difference.
During headshot sessions at my Silver Spring, Maryland studio, I guide clients through those adjustments rather than expecting them to figure everything out independently. We also create variations so you have options that feel approachable, confident, warm, or more polished depending on how you plan to use the image.
Branding Photography
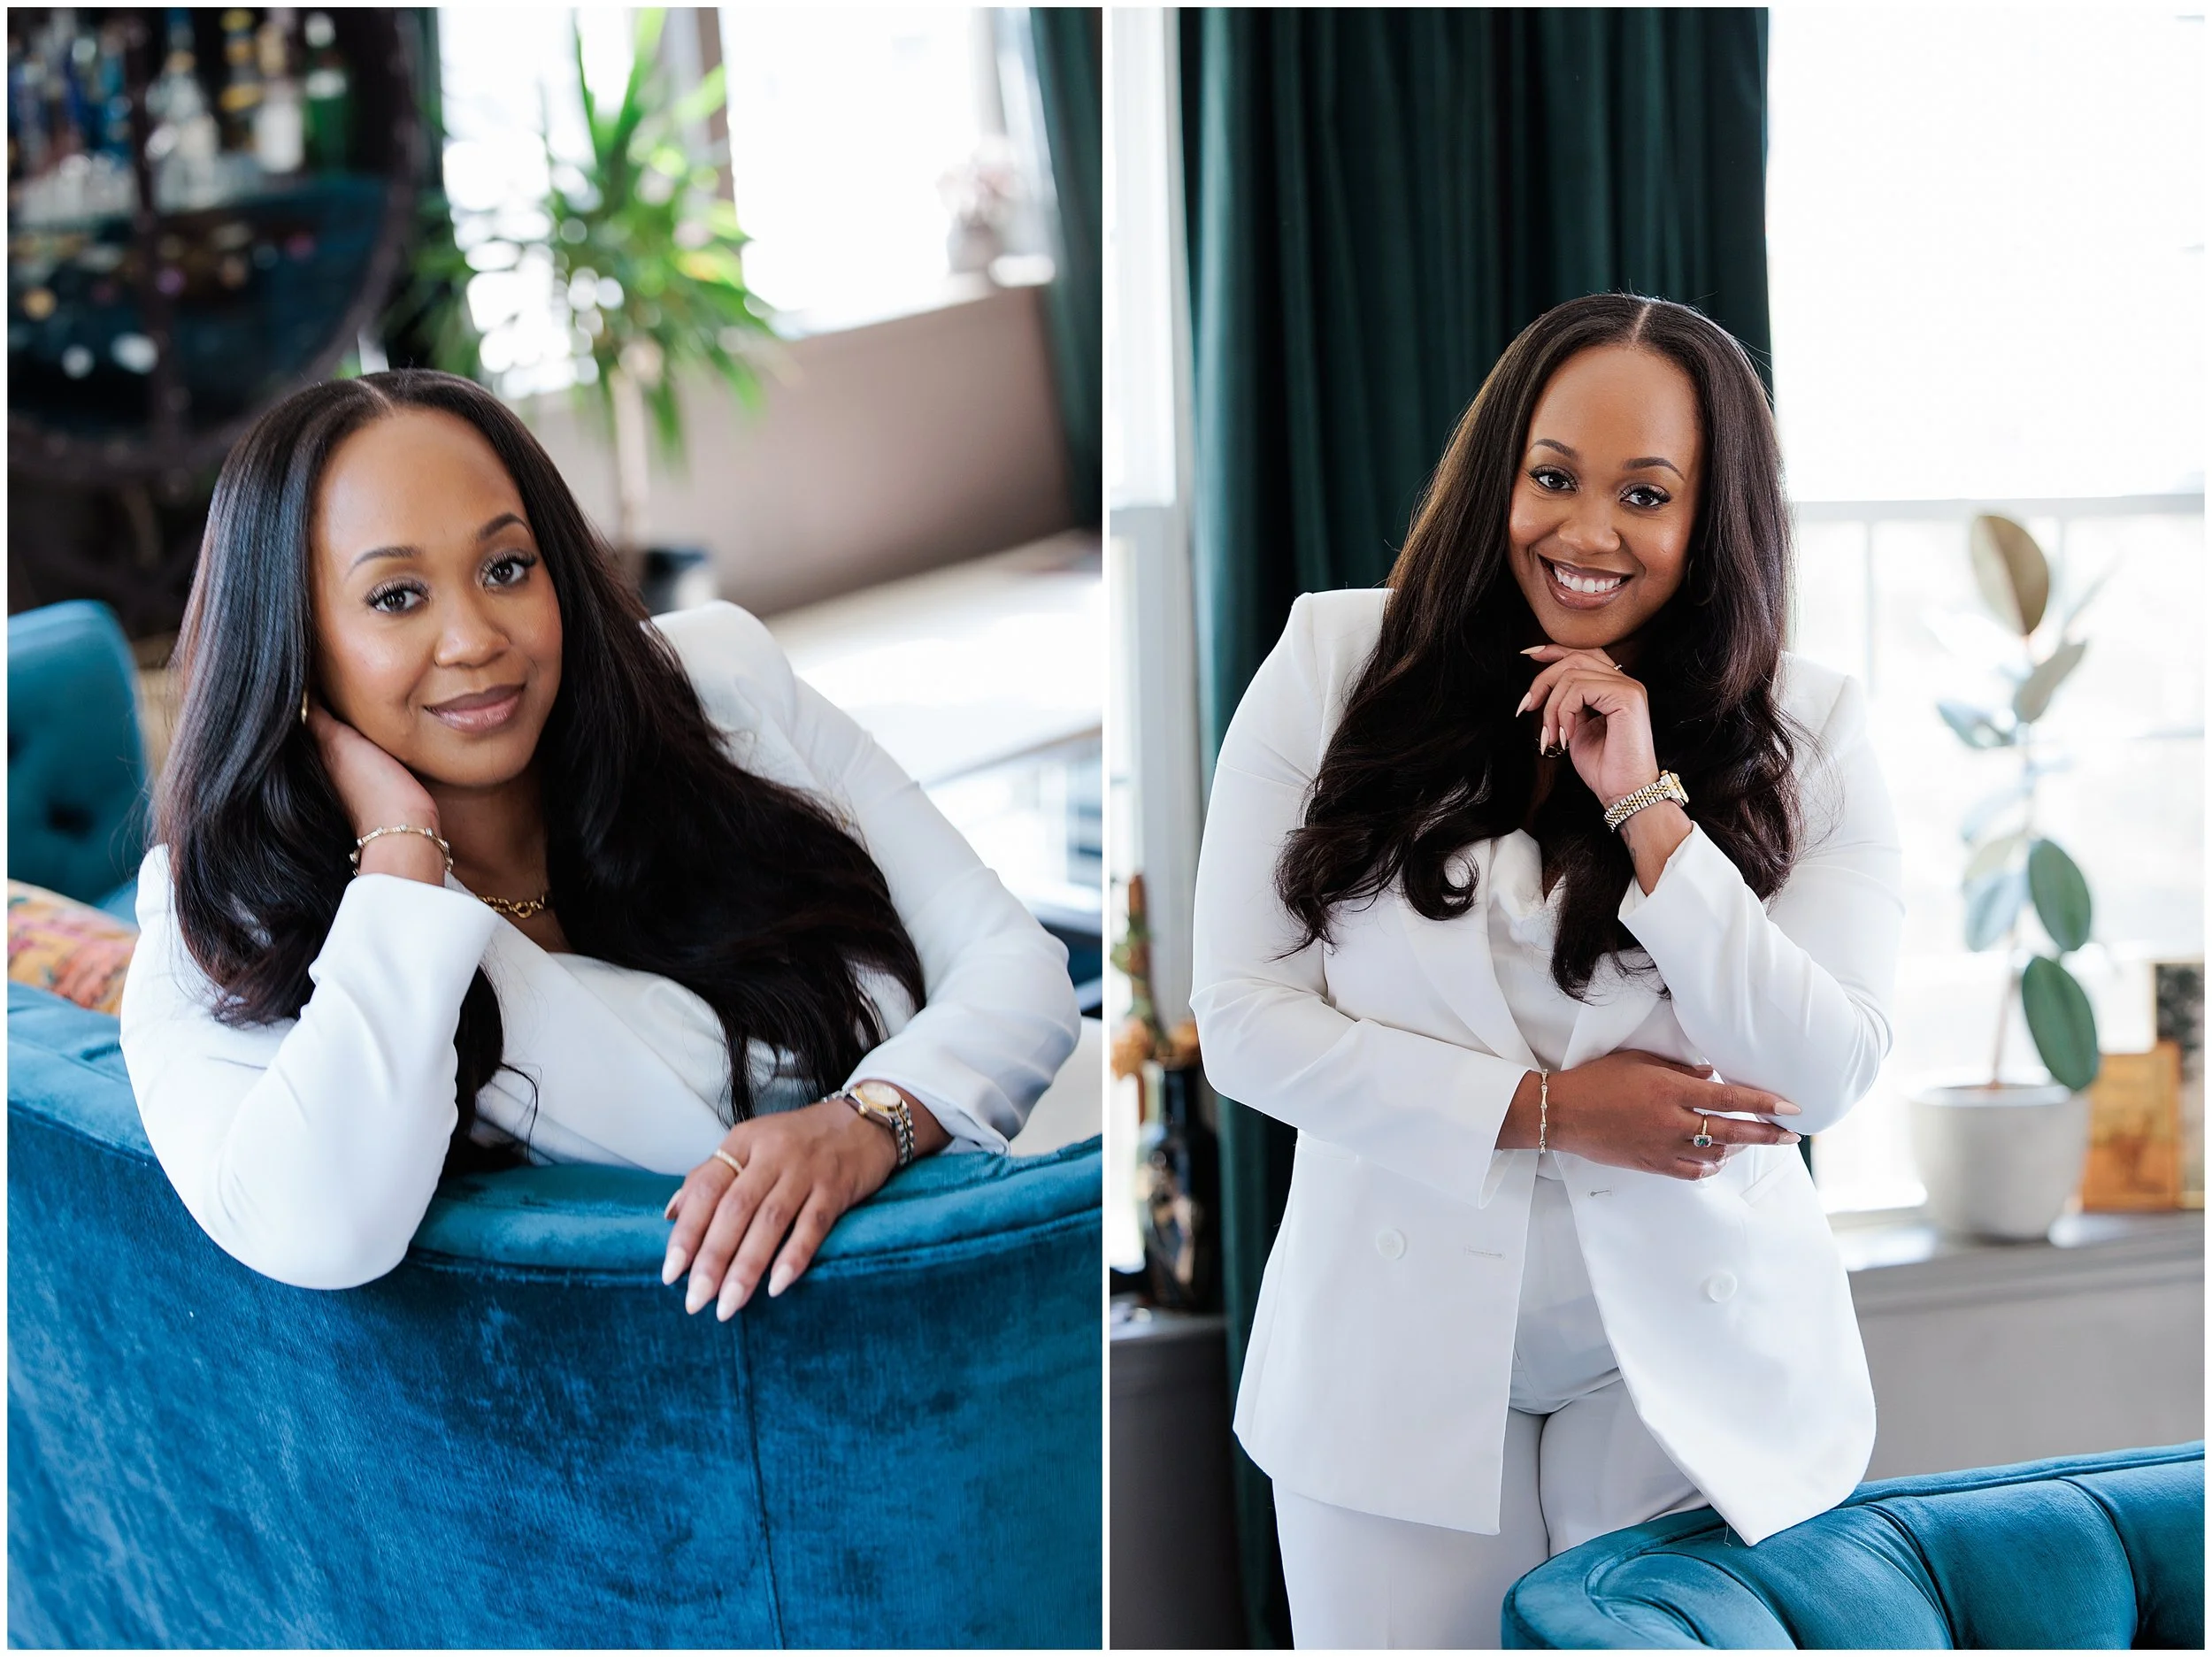
Branding photography usually includes a combination of polished portraits and more natural, action-based images.
The posing should support what you want potential clients to understand about you. A therapist may want to appear calm, open, and trustworthy, while a consultant may want images that feel strategic and confident. A creative business owner may need more movement, personality, and interaction with products or tools.
The strongest branding poses do more than make you look good. They help communicate how it feels to work with you.
Family Portraits
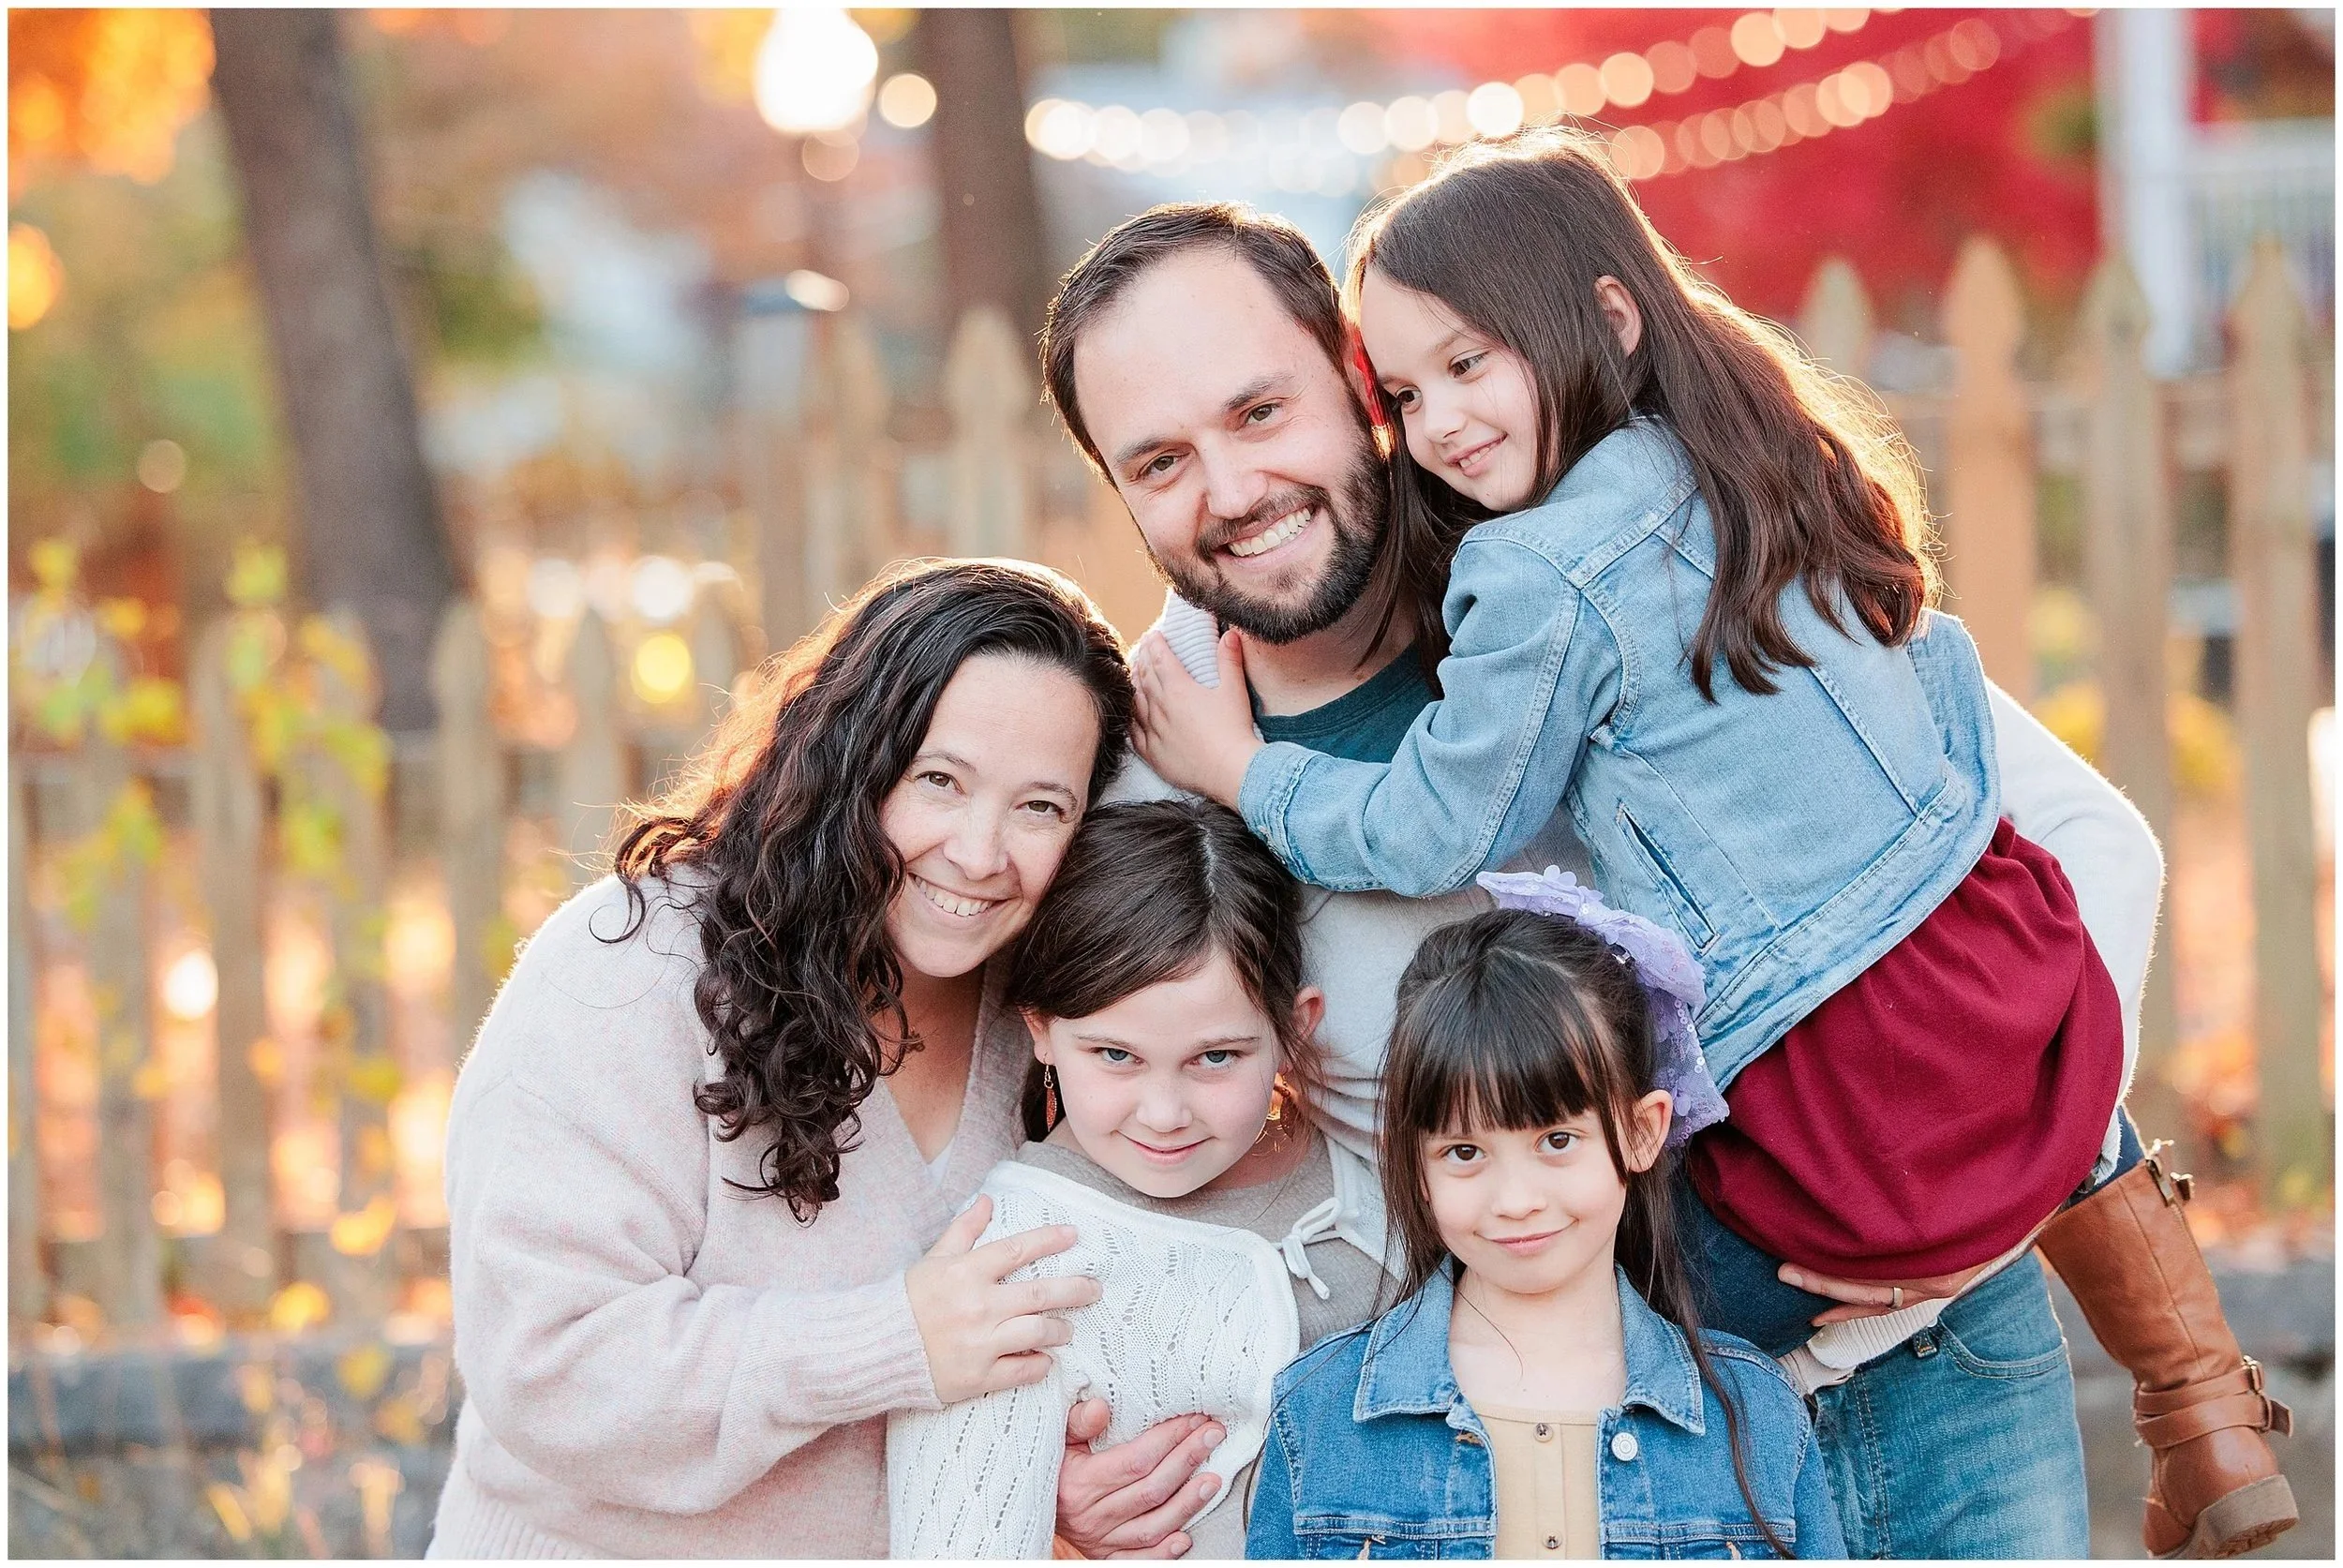
Family posing is less about placing every person perfectly and more about creating connection while keeping the overall composition strong.
I still guide where everyone stands, how bodies fit together, and where hands can go, but I also leave room for movement, personality, and the relationships that make your family yours. Children do not need to hold a pose perfectly, and parents do not need to spend the session correcting them.
The photograph should feel like your family, not a group of people trying to remain frozen in place.
Do You Need to Practice Posing Before a Professional Photo Session?
You can practice in a mirror if that helps you feel more prepared, but you do not need to memorize poses before your session.
It can be useful to notice which side of your face you prefer, how you naturally stand, or which expressions feel most like you. Beyond that, posing is part of the photographer’s job.
I will show you where to stand, give you clear adjustments, demonstrate poses when needed, and continue making small changes throughout the session. You will never be left wondering what to do next.
Frequently Asked Questions About How to Pose for Photos
What should I do with my hands in pictures?
Give your hands a simple purpose. Place a thumb in a pocket, rest one hand on your hip, loosely hold your opposite wrist, touch your hair, or interact with a relevant prop. Keep your fingers relaxed and avoid pressing your arms tightly against your body.
How should I stand to look natural in photos?
Turn your body slightly away from the camera, shift your weight onto one leg, and soften the other knee. Bring your shoulders gently back toward the camera and keep them relaxed.
How can I avoid looking stiff in pictures?
Movement helps. Walk, shift your position, adjust a sleeve, look away and then back, or move through several hand placements instead of holding one pose for too long.
What should I do with my chin in a photo?
Bring your face slightly forward and lower your chin just a little. Avoid pulling your chin backward toward your neck.
How do I smile naturally for pictures?
A natural expression is easier when you are not concentrating on holding your entire body perfectly. Movement, conversation, breathing, and looking away briefly can help reset your expression. During a professional session, I also give prompts and create enough variation that you do not have to produce the same smile repeatedly. We do a lot of fake laughing…. :-)
What if I always feel awkward in photos?
You are in good company. Most of the people I photograph are not professional models and do not arrive knowing what to do. Feeling uncertain at the beginning does not mean you will look uncomfortable in the final images. Clear direction, time to settle in, and a photographer who pays attention to the details make a significant difference.
You Do Not Have to Know How to Pose
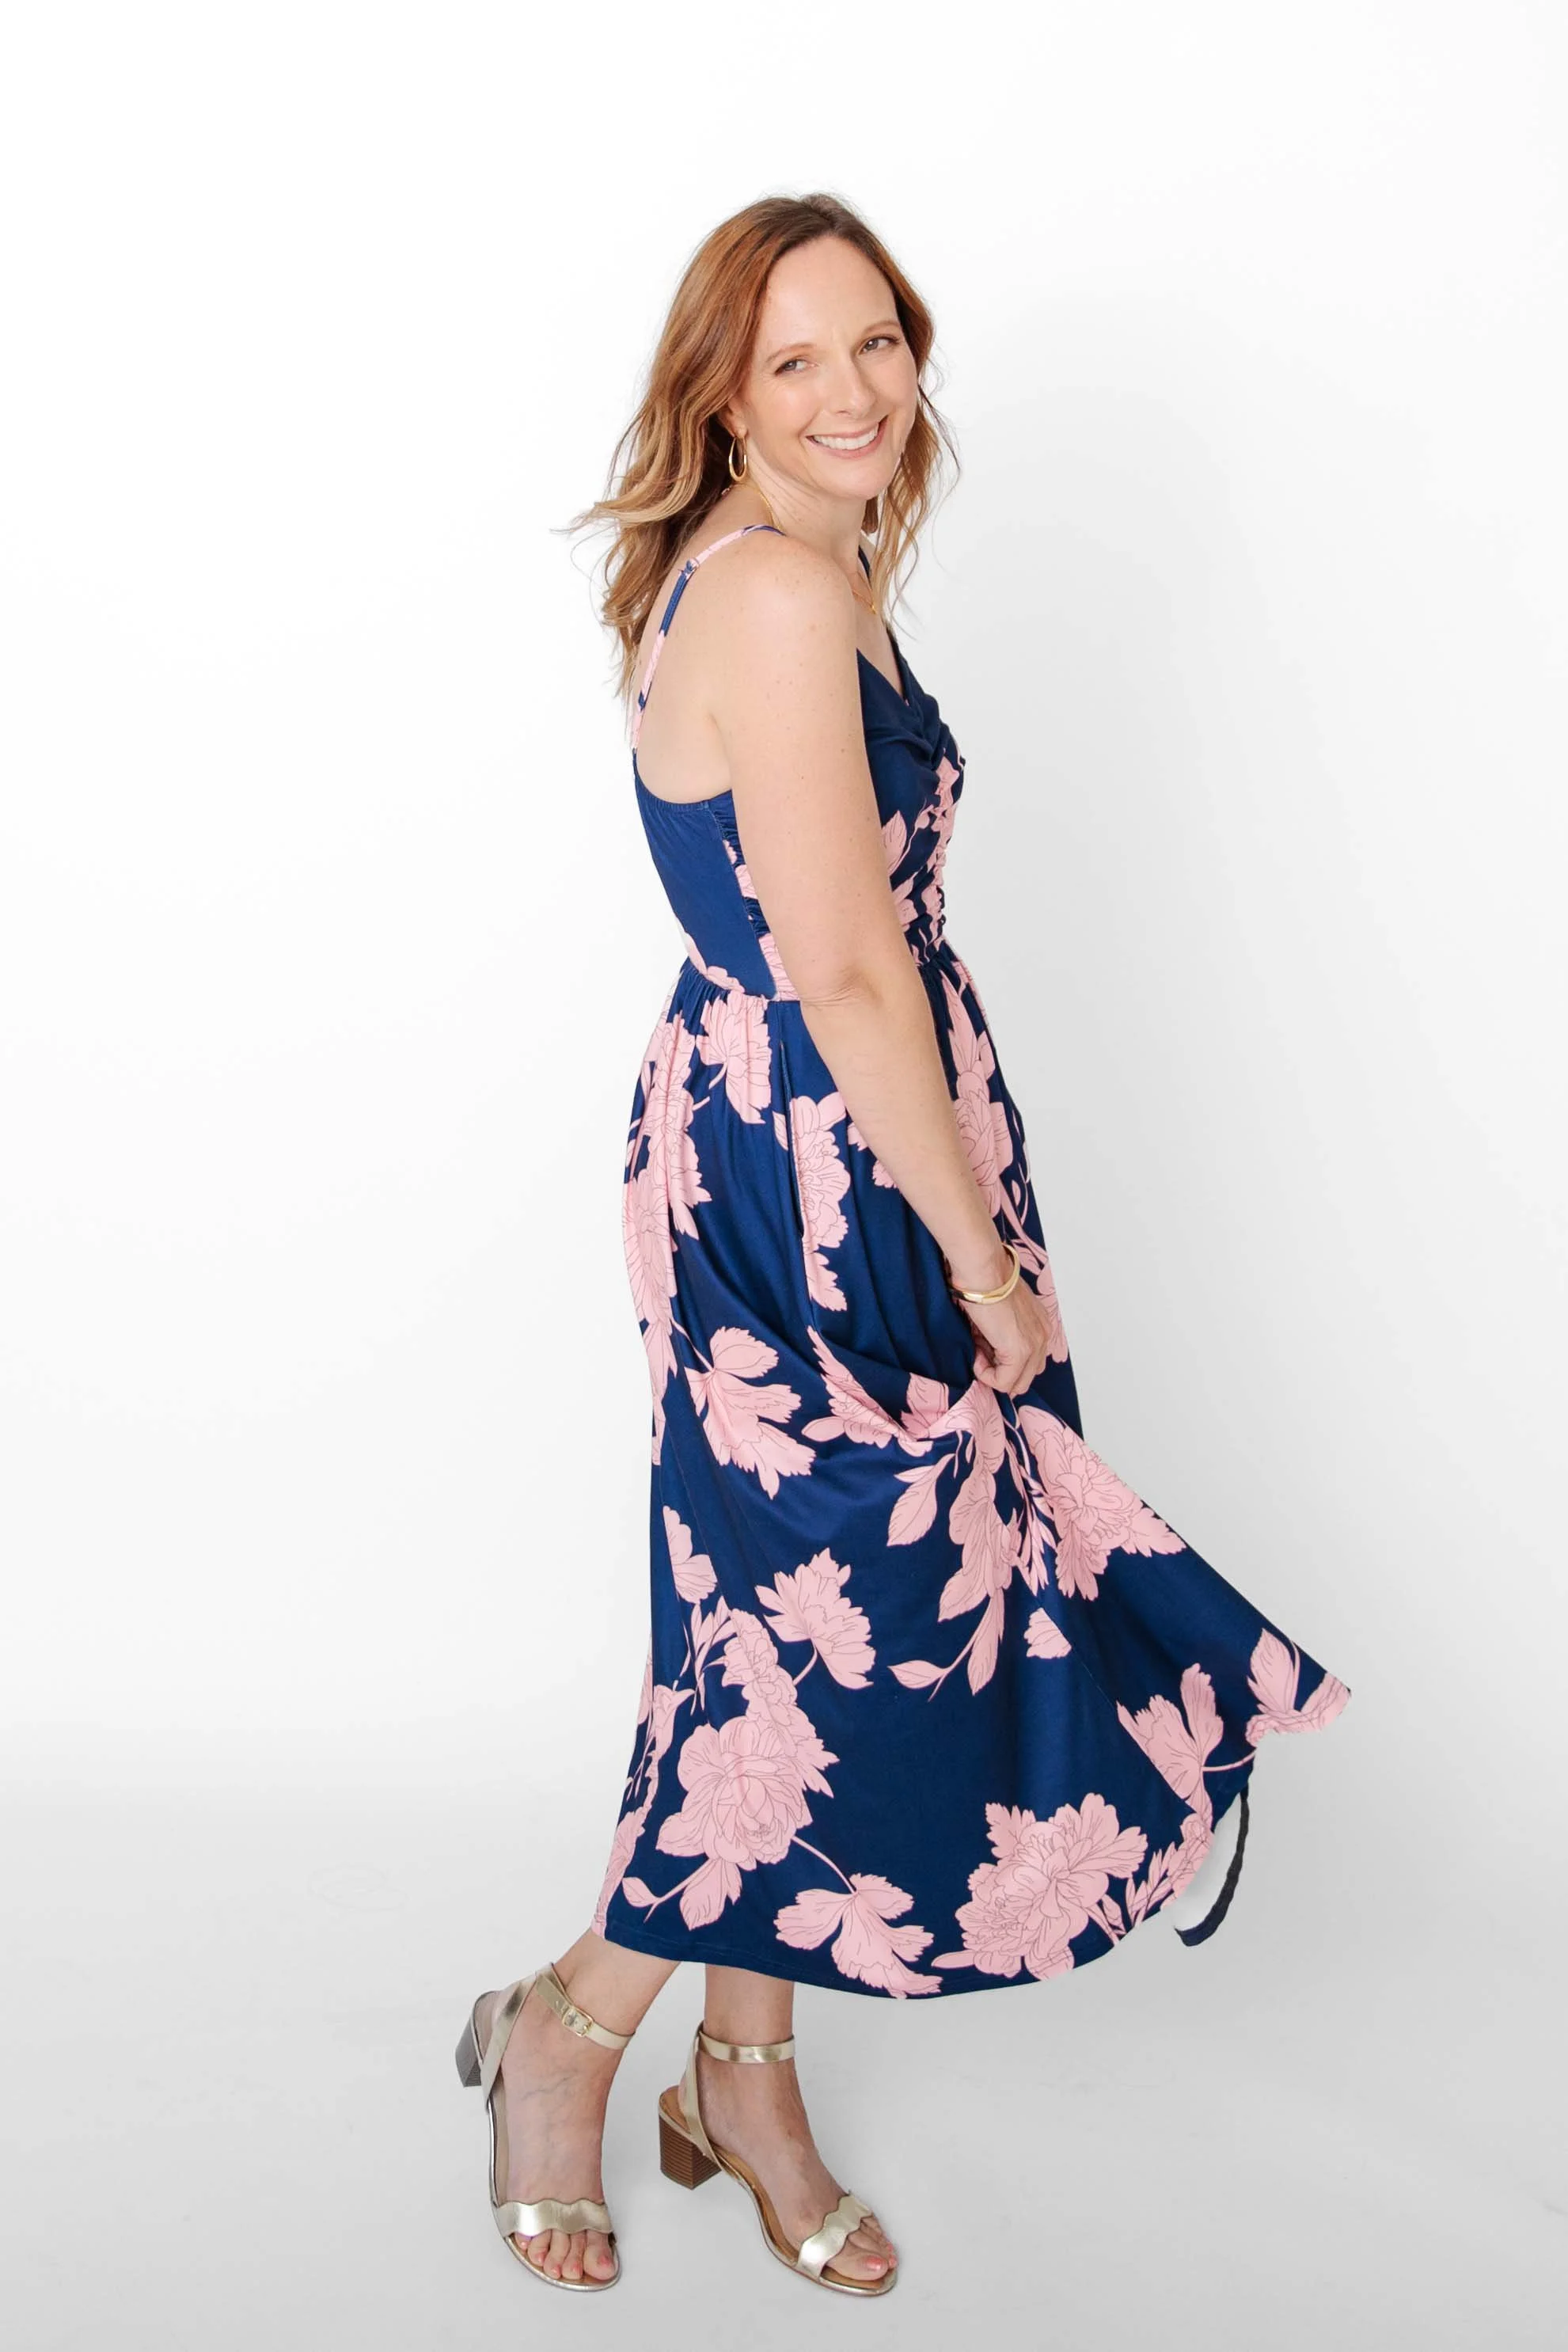

The most useful posing advice is not a complicated formula. Turn slightly, shift your weight, relax your hands, create a little space, and allow yourself to move.
More importantly, choose a photographer (me!) who will guide you.
Whether you are updating your professional headshot, planning a branding session, or creating portraits simply because you want photographs of yourself that feel current and true to you, you should not have to arrive with a list of poses already prepared.
I photograph headshots, branding sessions, families, and modern portraits at my studio in Silver Spring, Maryland and throughout Montgomery County, Washington DC, and the surrounding DMV area. If being in front of the camera makes you nervous, that is something we can work through together. You only need to show up. I will help with the rest.