6 Tips to Better Vacation Photos
Everyone loves vacation. Getting away, enjoying a new place, a new perspective. Slowing down. And if you're anything like me, you love capturing all that wonderful goodness to look back when it's over way too fast and you want to hold onto those memories!
Here are some tips on how to take great vacation photos!
1. Where is the light??
The key to any great photograph is LIGHT! You can have a beautiful scene or subject, but if the lighting is poor, it will never look quite like you imagine!
The most flattering and interesting light is when the sun is at an angle- so closest to sunrise and sunset.
When the sun is directly above, it’s harsh and unflattering.
Of course there may be times you need to take a photo in the middle of the day under harsh light, but find a shady spot for your subject, or position the sun so it is slightly behind your subject!
2. Interesting Angles
Think about the angle of your photo! Most photos are taking from a standing position, making them all look the same and not very interesting.
Get low! Get high! Look UP! Look down. Just do something DIFFERENT then standing with your camera in front of you!
3. Don’t forget the details!
Often times we focus on the sweeping landscapes or the grand sunset. But what else is going on? What are the little things that make up your experience? Don’t be afraid to get close and get some interesting shots of your surroundings. Let your photos tell the story of your vacation.
4. Rule of Thirds
The rule of thirds is a way to make your photos more interesting and pleasing to the eye!If you visualize a grid on your photo divided into thirds, the concept is to place your subject in one of those intersecting lines.
This creates a more interesting and pleasing composition then placing everything dead center!
5. Look for natural framing
It can be a fun way to draw attention to your subject by findings things around it that give a natural framing to the subject and some context as to where you are!
6. It’s not about the camera
Often times people will assume your photos are good just because you have a good camera. But like an instrument, if you are not trained to play it, it’s not going to sound good! So don’t worry about needing to spend a ton of money on a camera. The best camera is the one that you will actually USE because you’re comfortable with it and will carry it with you! If that’s your phone, then embrace it! I take a TON of photos with my iPhone and most people are surprised to learn it was not from my super expensive DSLR. Applying the above tips will help turn any photo into a work of art!
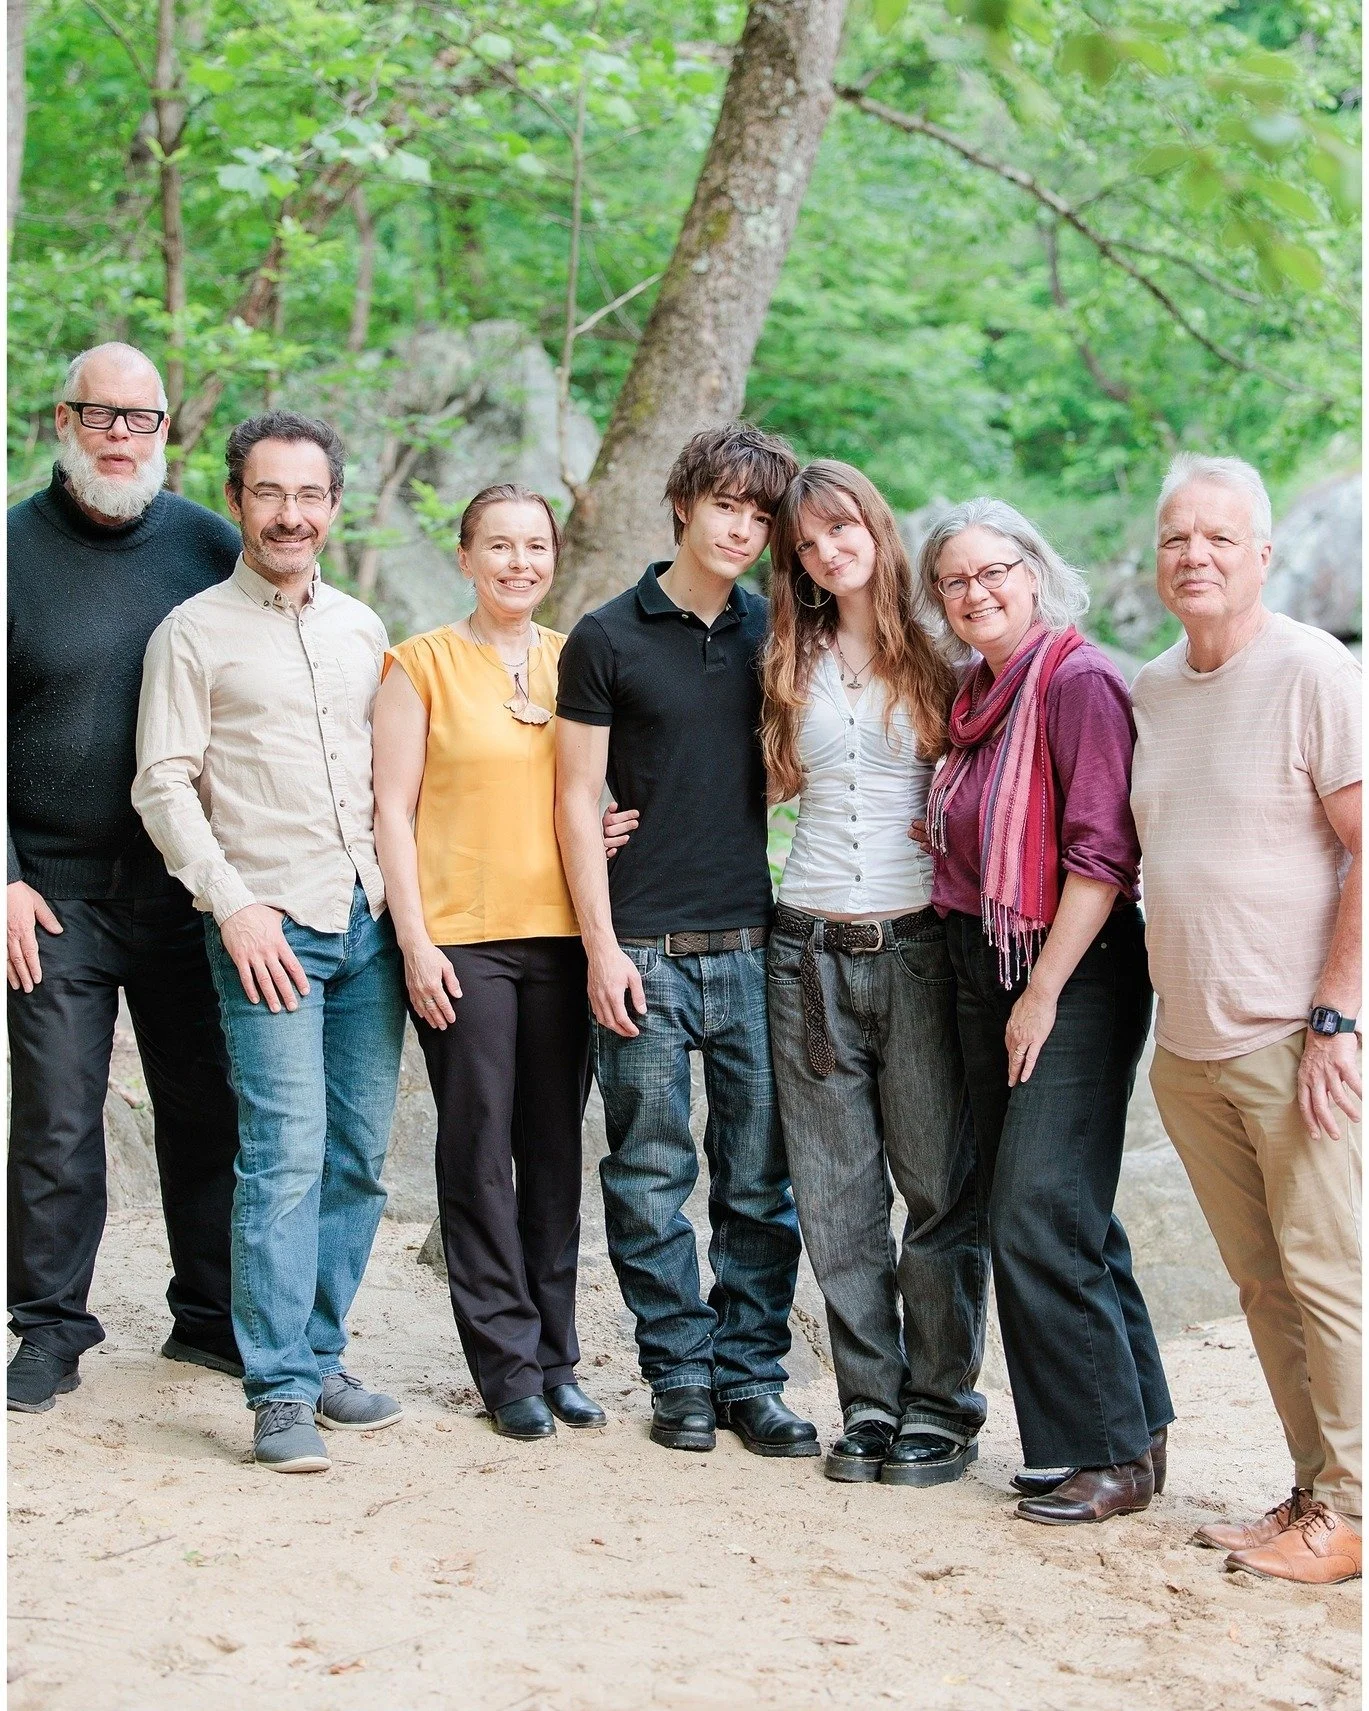
6 Tips on How to Pose in Photos
Let's be honest- we are all trying to look our best in photos. Especially in the world of social media when we see a lot more of each other! Here are a few quick tips for women on how to easily look their best!
TIP 1: Stand a quarter turn away from camera
Think about your feet. Try not to have both your feet facing forward toward to the camera with your weight equally distributed, but instead turn your body a quarter turn away. You show your widest when facing the camera, but a slimmer sliver if you turn slightly!
TIP 2: Pop your front leg
Place the weight on your back leg and bend your front leg- this gives a nice feminine curve and lengthens your body.
TIP 3: Create negative space with your arm
If your arm is straight against your body, it makes your body look wider then it really is. By putting your hand on your hip, leaning it on someone/something- anything to get it away from your body, it creates space and shows the difference between your body and your arm!
TIP 4: Twist and Lean In
Twisting your torso and leaning slightly toward the camera creates a cinched waist and lengths your neck and chin- all very flattering things!
Tip 5: Tippy Toes
If you're not wearing heels, pop up on your toes. It lengthens your whole body and gives you great posture!
TIP 6: Shoot from above
If given the choice, always shoot from slightly above instead of slightly below. This lengthens the neck and jaw and tames those double chins and harsh lines! Give a slight tilt to your head - this makes you look more relaxed and natural!
So there you have it! 6 easy ways to instantly change the game of your photos! A pretty dramatic before and after with just a few simple tricks of the trade! (and now you'll see me doing it every photo!!)
BEFORE AFTER

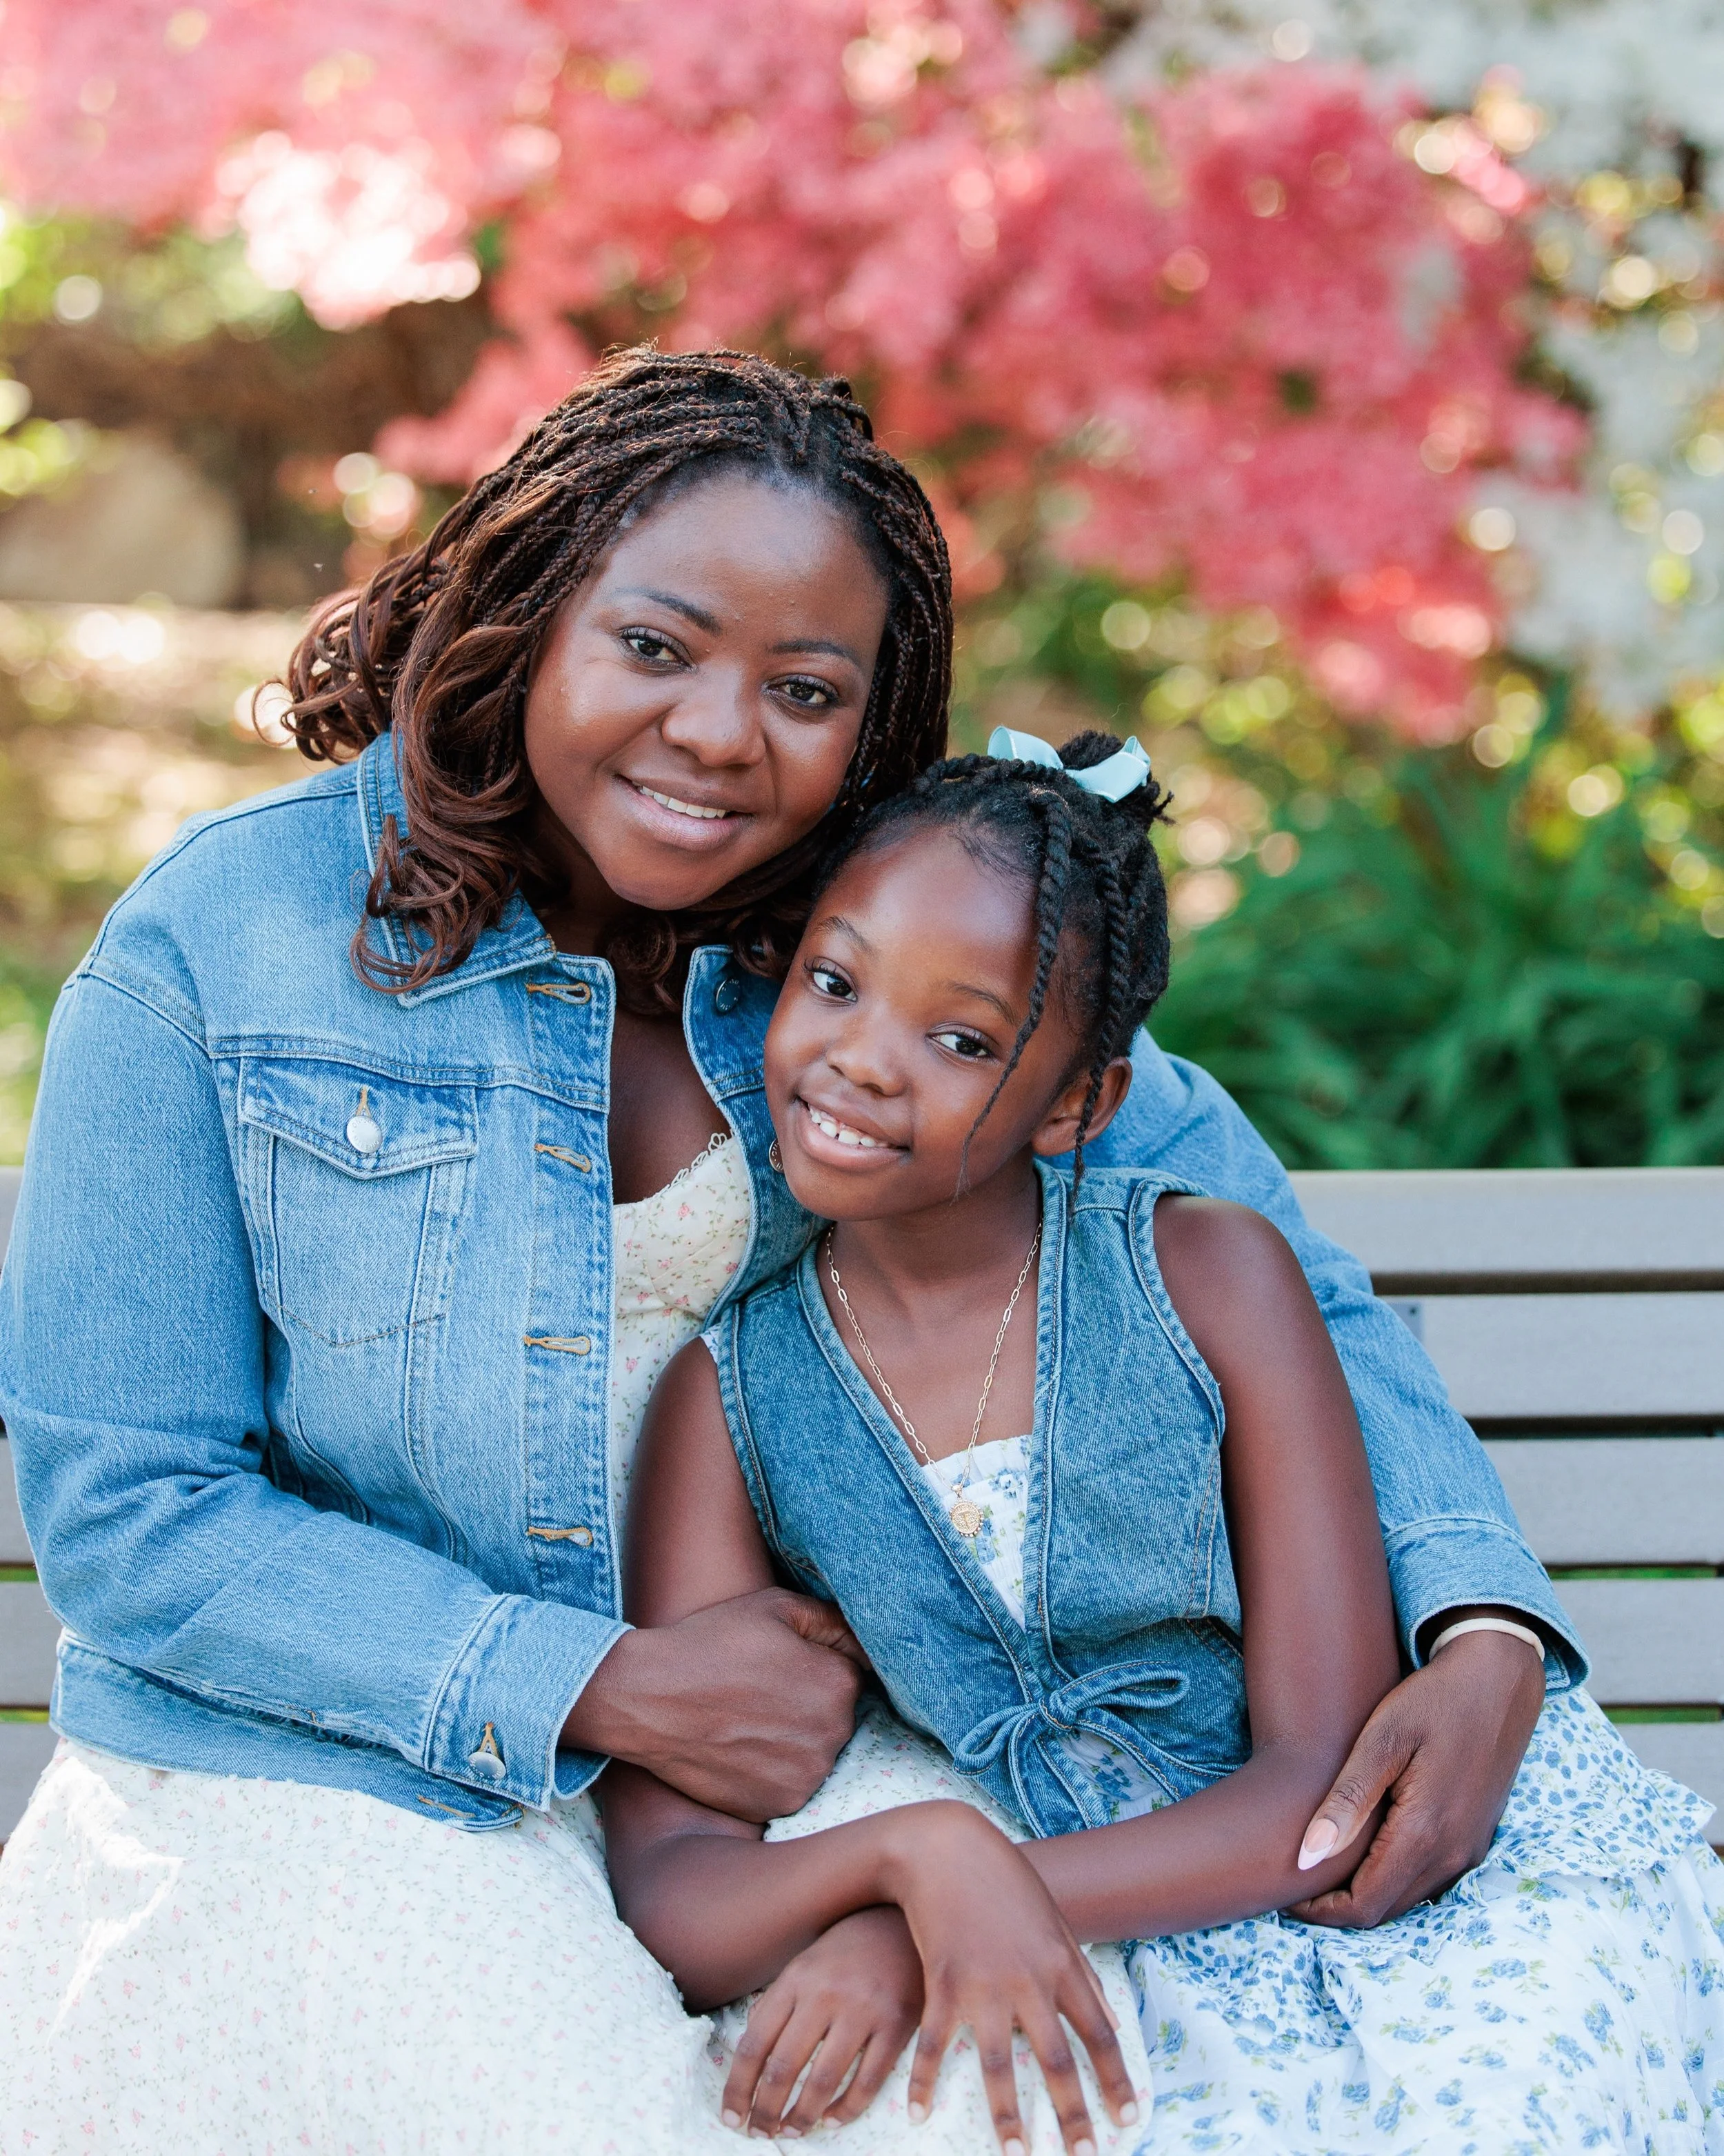
Cherry Blossoms are Coming!
It's hard to believe with the chilly, rainy weather that we're getting close to cherry blossom season!! Spring is coming and one of the most exciting things in DC is the lovely cherry blossoms! They are anticipated to come in early April, so we're almost a month away!
I love to capture these lovely trees, and I especially love to do sessions that incorporate the blossoms! The white and pink fluttery petals add such unique beauty to a photo.
Here are a few tips about seeing and photographing the cherry blossoms:
1. Go Early, and Go on a Weekday
If you are planning on visiting the blossoms near the Tidal Basin (the most famous and most crowded spot), go early in the morning and go on a week day. There will always be crowds, but this is the best timing. Plus, you'll get that gorgeous morning light!
2. Go Beyond the Basin
Most people don't realize there are cherry blossoms in other places besides around the Jefferson Memorial! If you're looking for a less crowded spot, head to Haines Point, the National Arboretum, Stanton Park and a few others you can read about here. They may even be in your own neighborhood!
3. Don't Drive
Seriously. You WILL regret it. Tourists + DC + blossoms = pandemonium. Metro, ride a bike, use Capital Bikeshare, or walk if you're close enough, but there is next to no parking and lots of confused and distracted people trying to get around!
4. Take a Tour!
There are lots of options to bike, walk, eat and cruise your way around the blossoms, plus probably learning a little history. I took a walking tour last year and learned so much!
5. Keep Your Composition Simple
With so many trees and buds and flowers, it's hard to take it all in with one photograph. So focus on one flower, or one tree. Use the arc of the branches and flowers to create interesting compositions.
6. For Commercial Photography, Get a Permit
The National Park Service owns much of the land where these lovely trees live (around the Tidal Basin, Hains Point, etc) so a permit is required for any commercial photography for a fee. This is not a problem as long as you plan ahead to give time to acquire the permit from our sometimes-not-so-fast-and-efficient NPS permit system...
If you are interested in some blossom photos, contact me so we can plan a time and get the permit! I promise it will be worth it!