There are a lot of helpful tools for photography, and trick is knowing what you need to do the job!
Most people know about Photoshop. But that is a huge and complex program and most of the time is like using a bulldozer when you really just need a sand shovel.
I personally use Lightroom for all my photo editing, but even that is a big program for the everyday photographer that is just trying to give their photos a little extra life.
So here are some basic, inexpensive tools that I have found helpful!
DESKTOP AND MOBILE
Photos for Mac
If you have a mac, their Photo program is pretty intuitive and easy to use. It’s an easy way to keep you photos organized and do some basic editing.
Google Photos:
If you don’t have a Mac, Google photos is an easy way to organize and edit your photos as well. It integrates well if you are already using gmail and there’s an app you can put on your phone so your photos are always with you- desktop or mobile.
MOBILE APPS
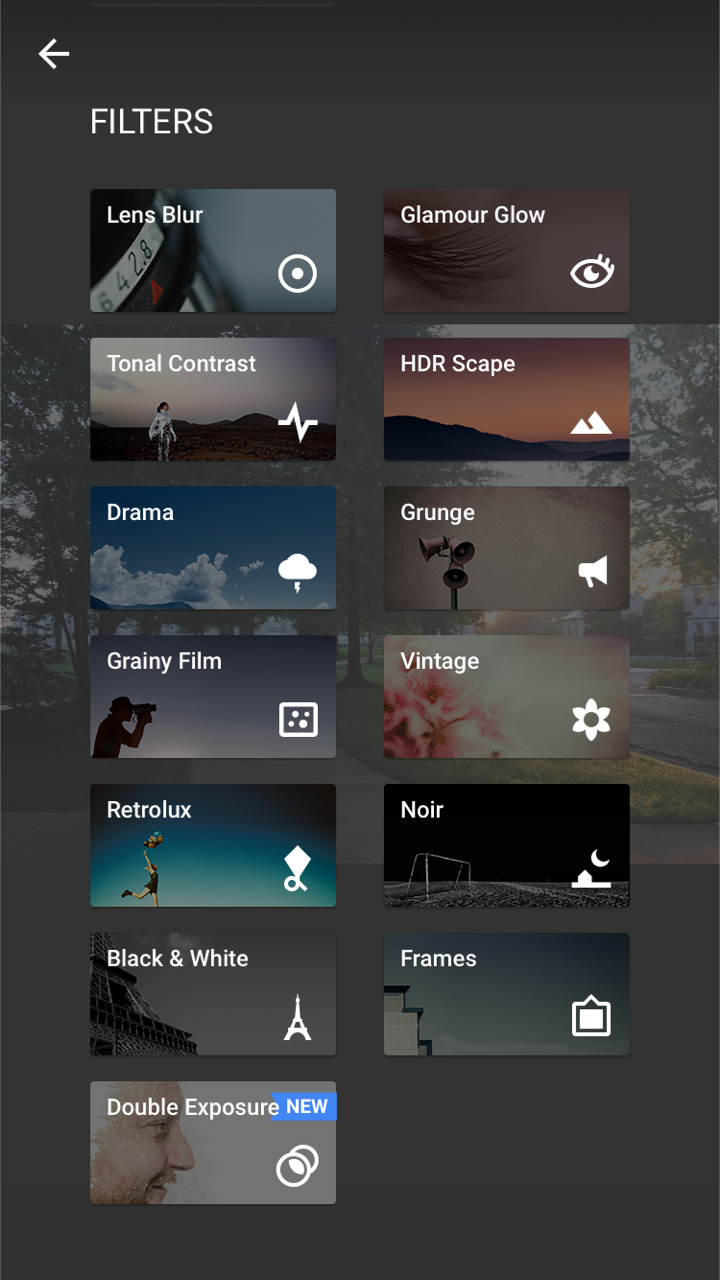
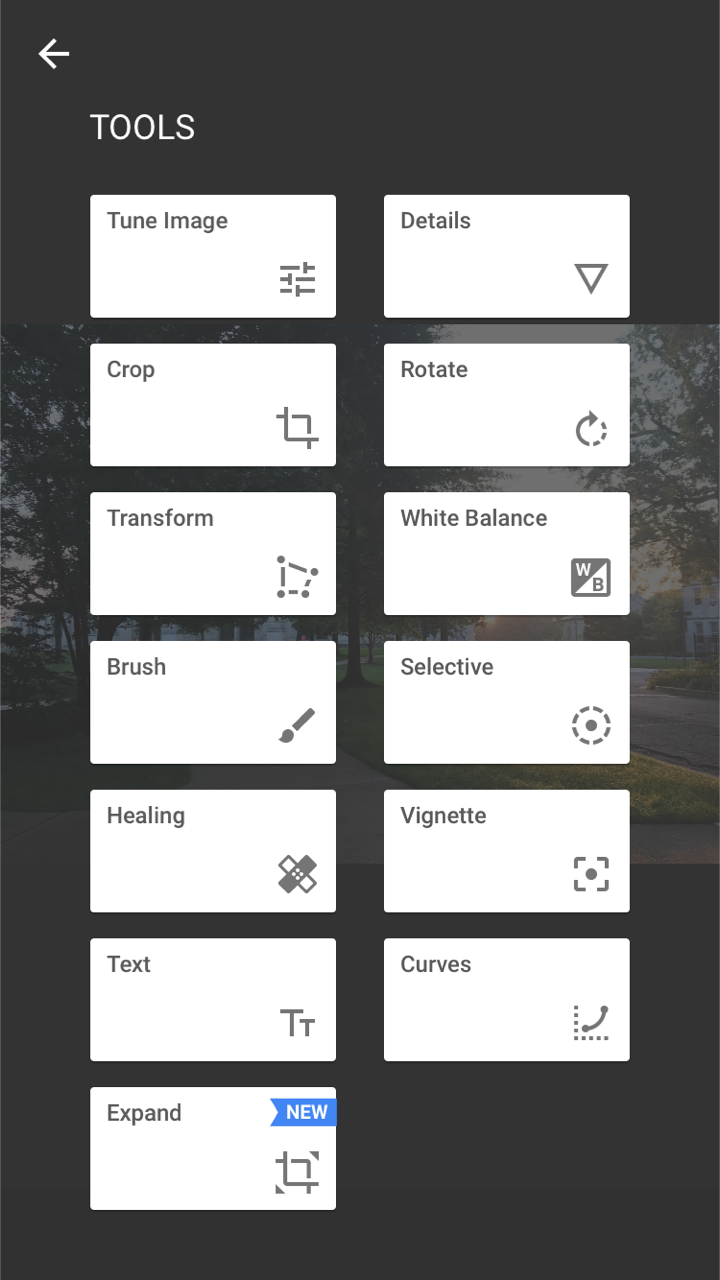
Snapseed
iPhone
Android
This is my go-to editing app for photos I take on my phone (yes, all those running photos typically go through Snapseed!) It allows a lot of options, but the key is “less is more”. The less “edited” it looks, the better (in my opinion) unless you are trying to go for a specific look. I pretty much stick to the “Tune Image” set of tools. The “HDR scape” can be cool for landscape/nature and “lens blur” gives that great depth of field illusion!
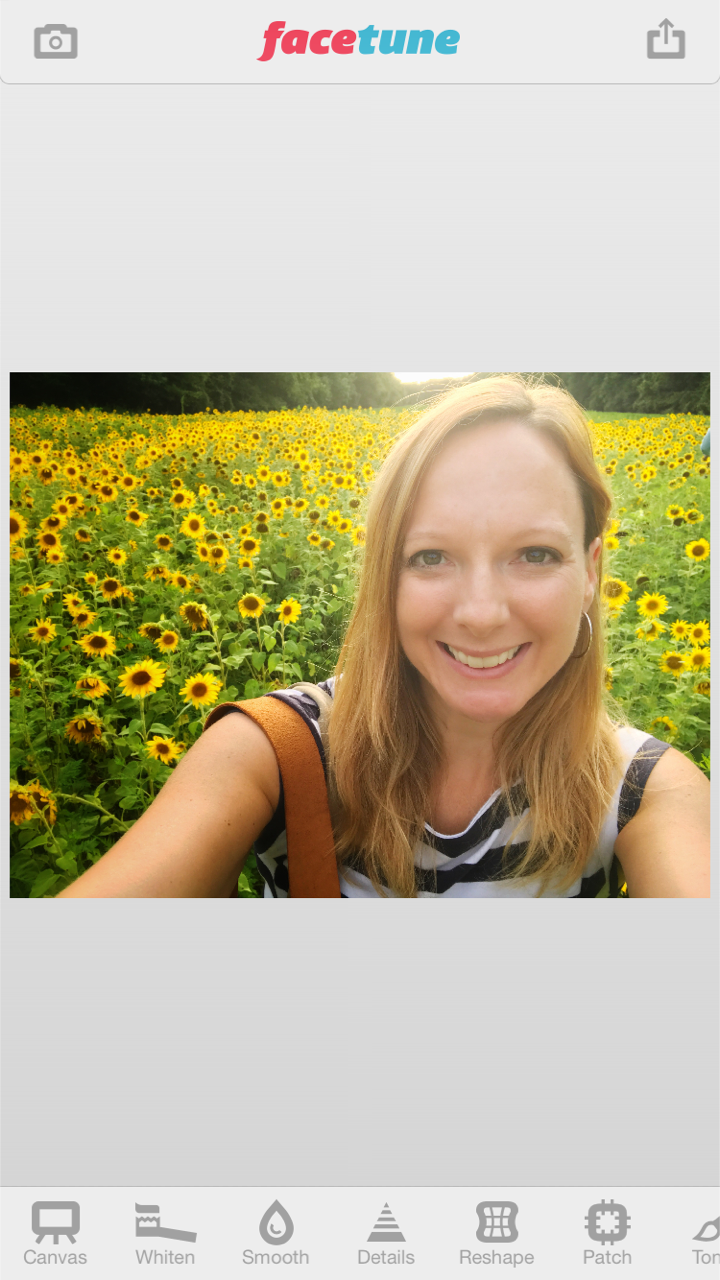
FaceTune
iPhone
Android
Let’s be honest. We all have those photos of ourselves that shock and surprise us when we see blemishes, wrinkles or bulges in places we were not expecting. This app isn’t free, but for a few dollars, it can solve all of those problems! Again, I advise to use sparingly to bring you back to the “best” you and correct for that bad lighting or awkward stance, otherwise you end up looking more like a Barbie doll then yourself!
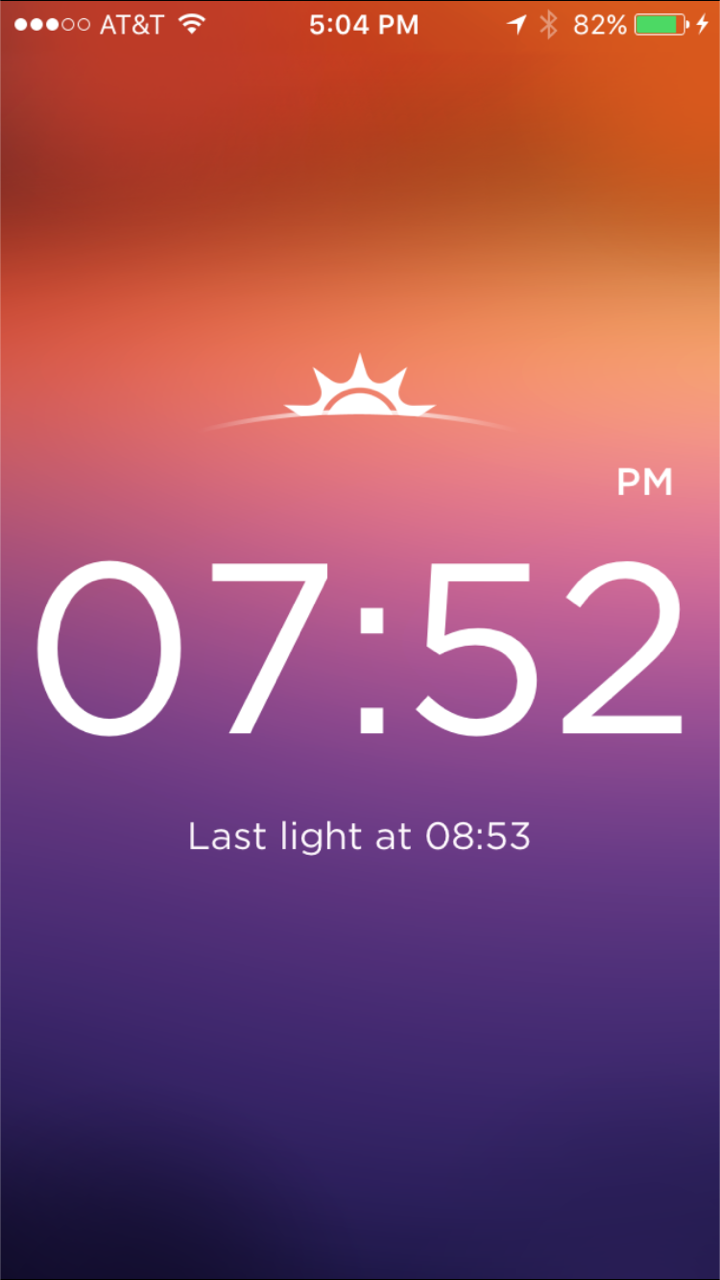
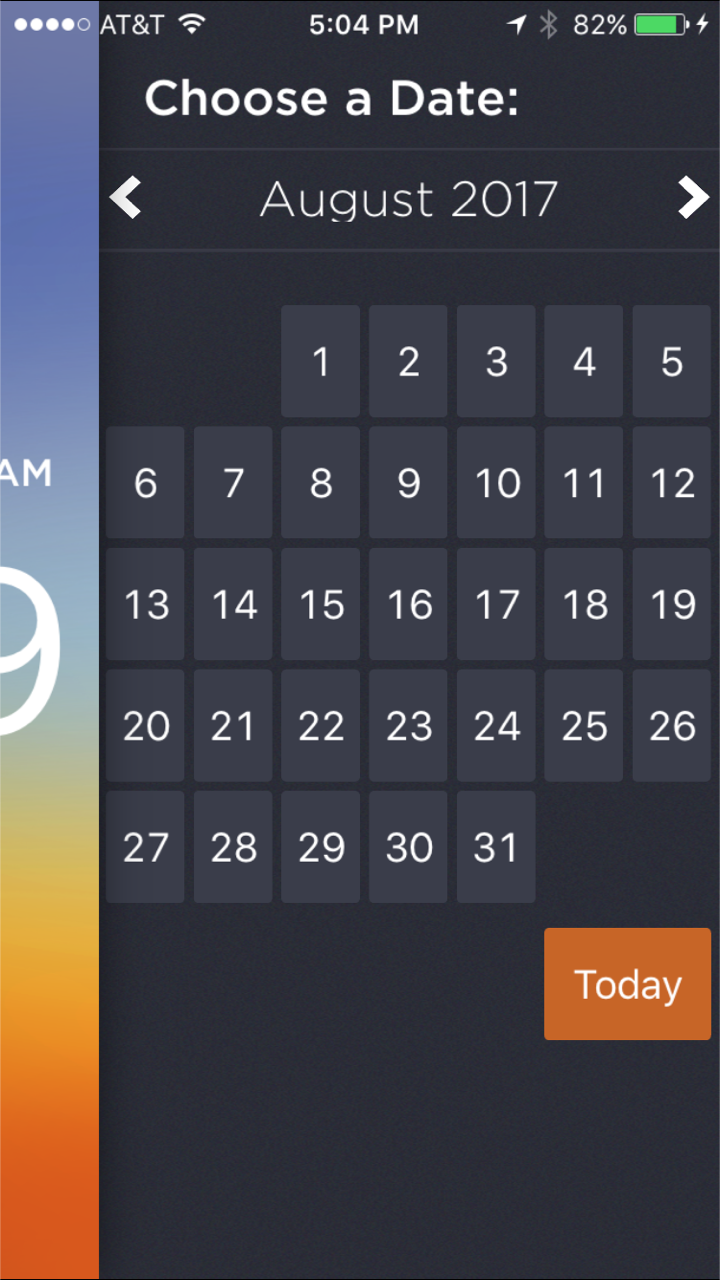
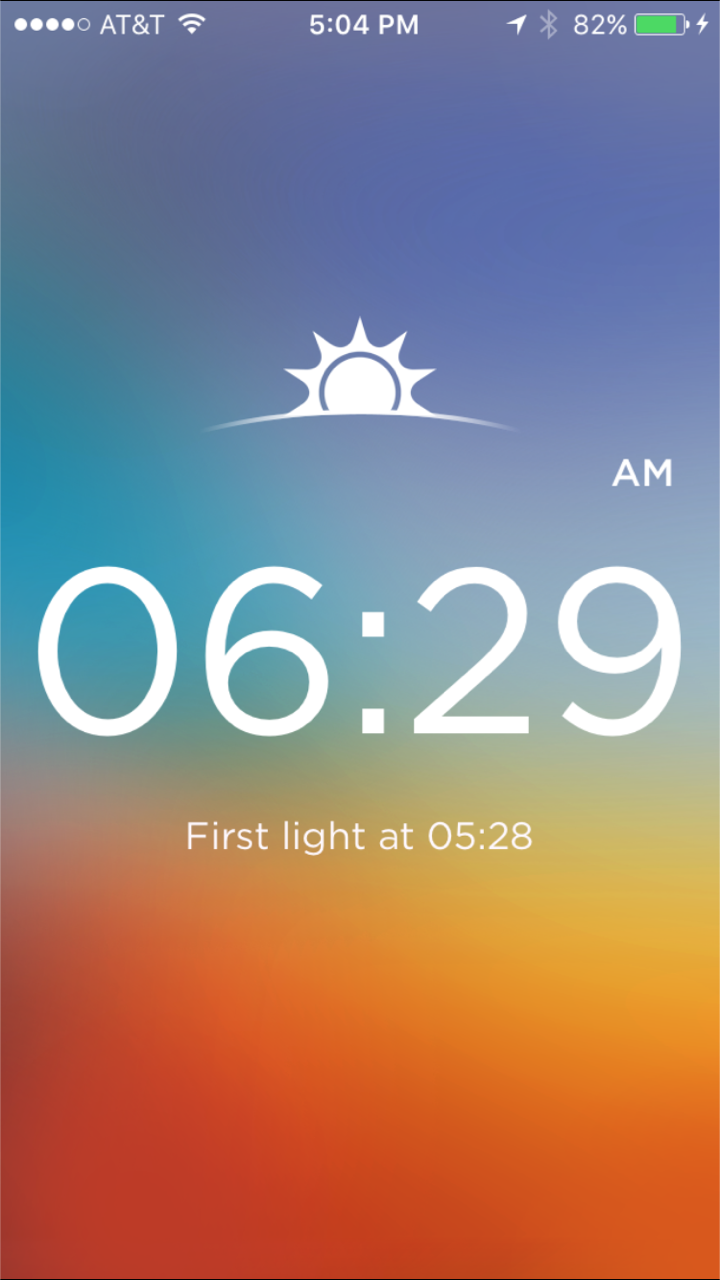
Rise
iPhone
As many of you know, lighting is best closest to sunrise and sunset – otherwise known as “magic hour”. But what we often forget is the sunrise and sunset time changes throughout the year with the days being longer in the summer and shorter in the winter. This handy app tells me the time the sun is going to rise or set on any given day so I can recommend the best timing for your photo session!
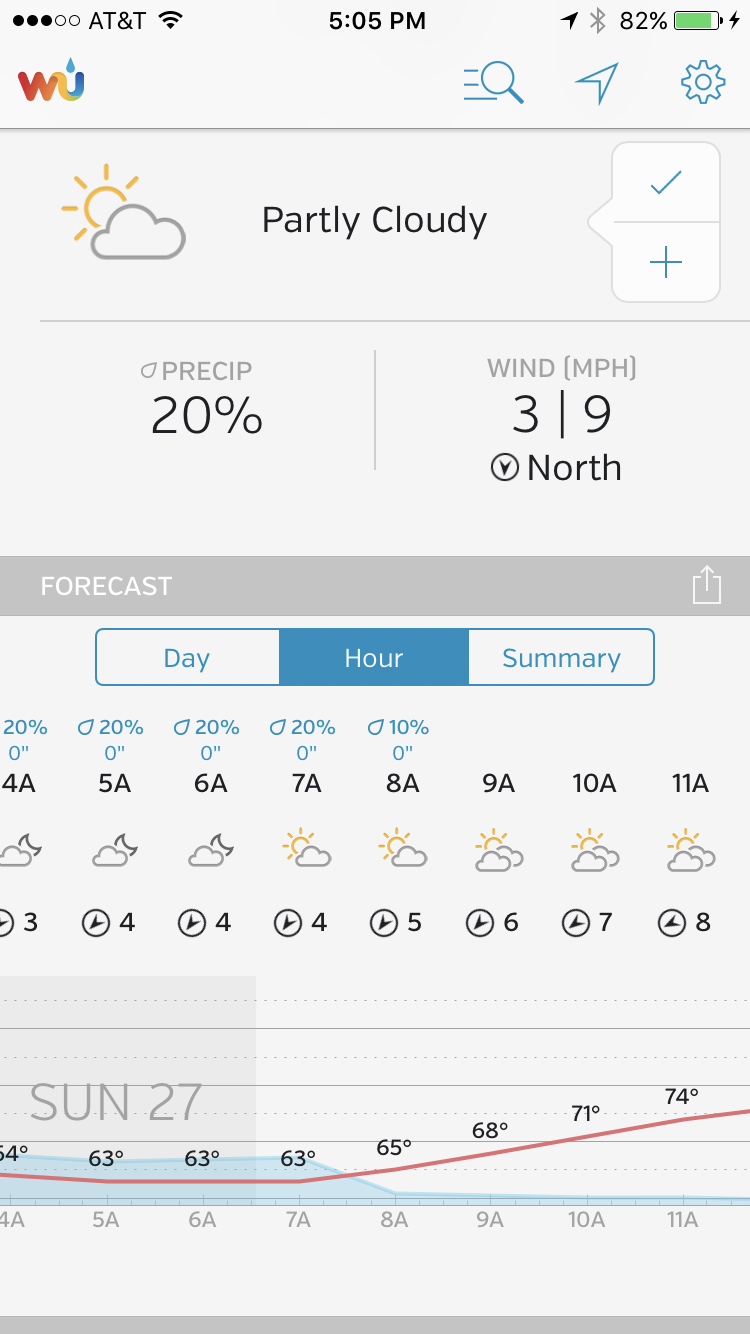
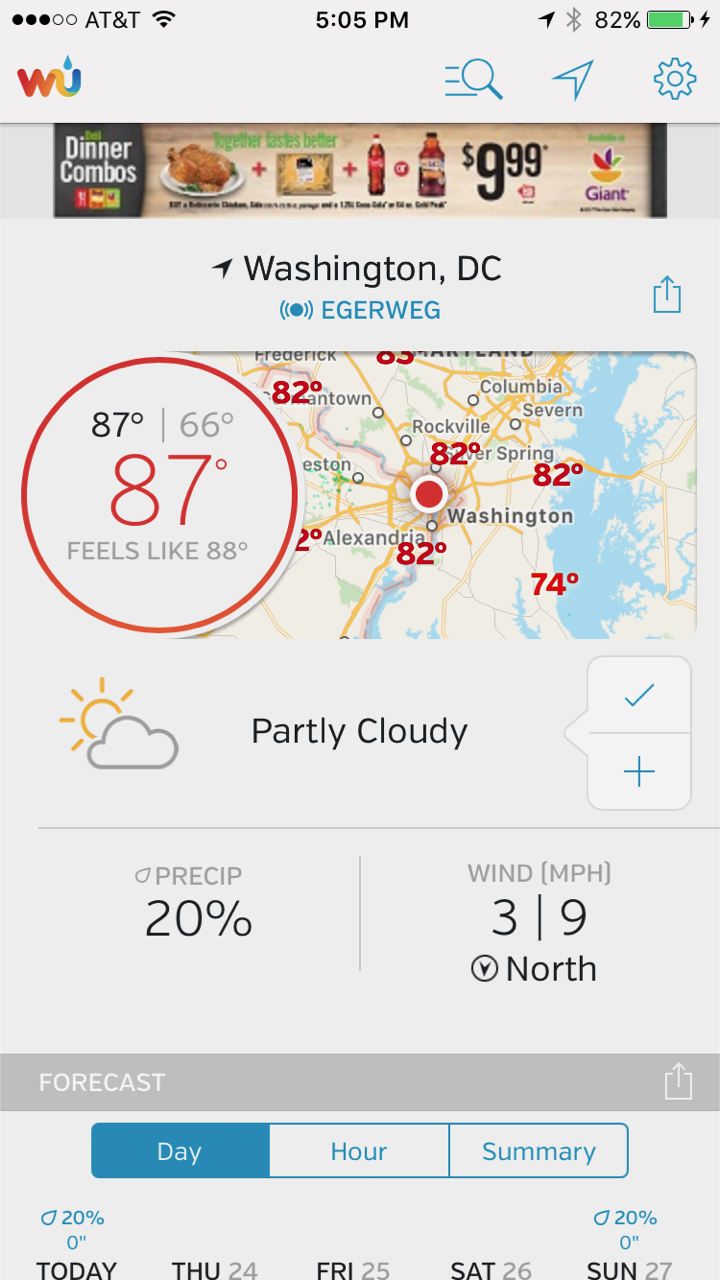
Wunderground
iPhone
Android
Weather predicting. Ugh. If I could be granted one superpower, it would be to predict the weather. I can’t tell you the number of times I’ve rearranged shoots due to the forecast only to have a beautiful and clear day. (I’m looking at you weather.com) I am constantly testing new weather apps to find ones that are most accurate. Wunderground is a new one that I found that seems to be pretty good (so far). If you or anyone else you know has the magical gift of weather prophesy, please contact me immediately. ;-)
OTHER TOOLS
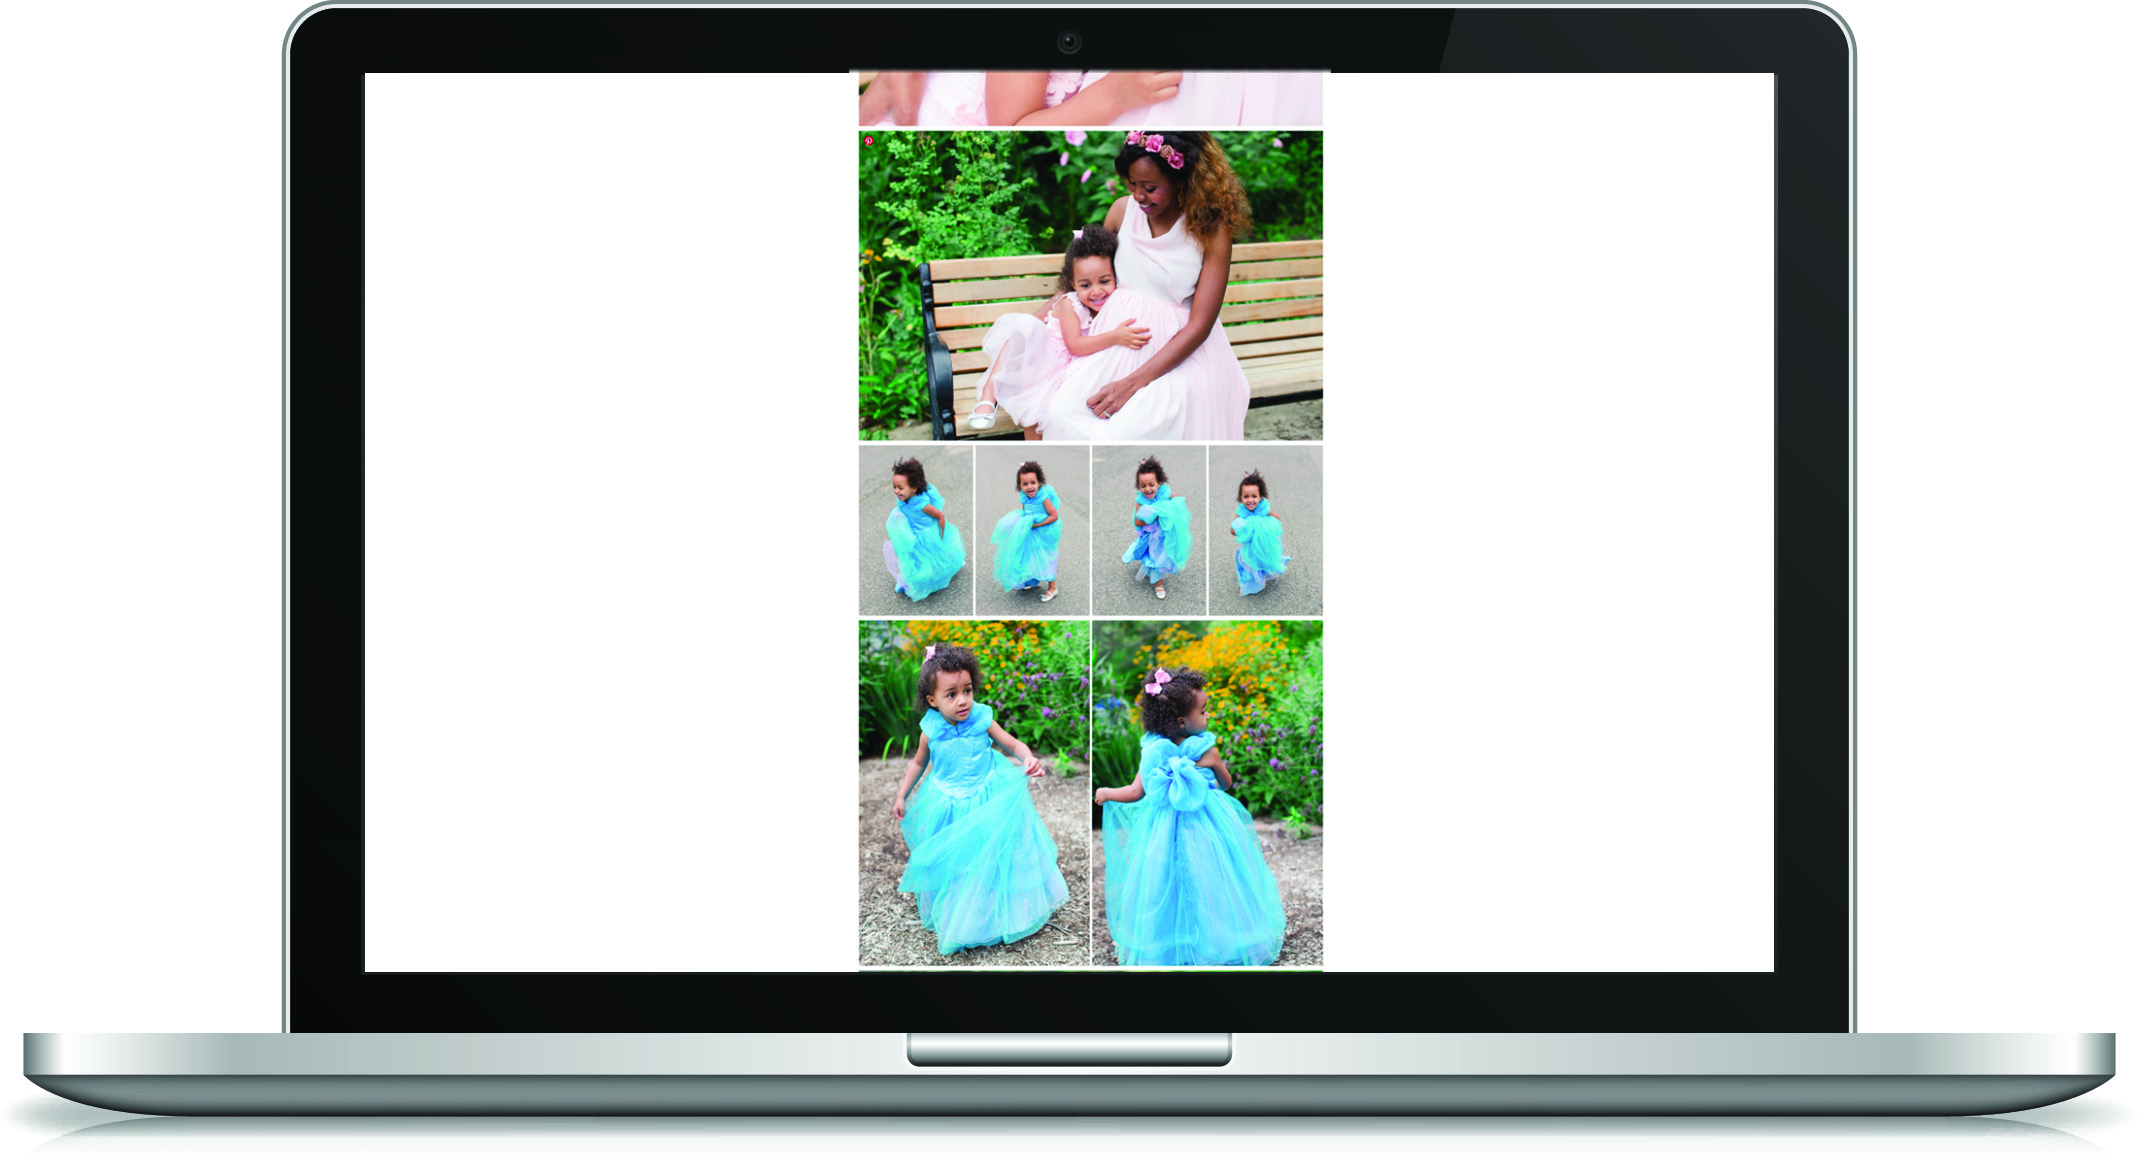
Blogstomp
For any bloggers out there, this is a great tool to quickly and easily pair and output your photos for your blog/social media, etc. You can customize borders, size, how many photos in a frame, add logos, etc. It’s a huge timesaver and make everything look so pretty and professional!